Check the filter monthly and replace it when dirty, or at the interval specified by your equipment and filter manufacturers. There is no single replacement interval that suits every system.
A date on the calendar is a reminder to look, not proof that your filter is still clean. Dust, pets, renovations, and longer heating or cooling cycles can change how quickly a filter loads up. Start with the equipment manual before choosing a replacement.
Plan the next check
- 01Find the right filter first
- 02Check and replace it safely
- 03Set a routine that fits your home
- 04When a new filter is not the answer
Find the right filter first
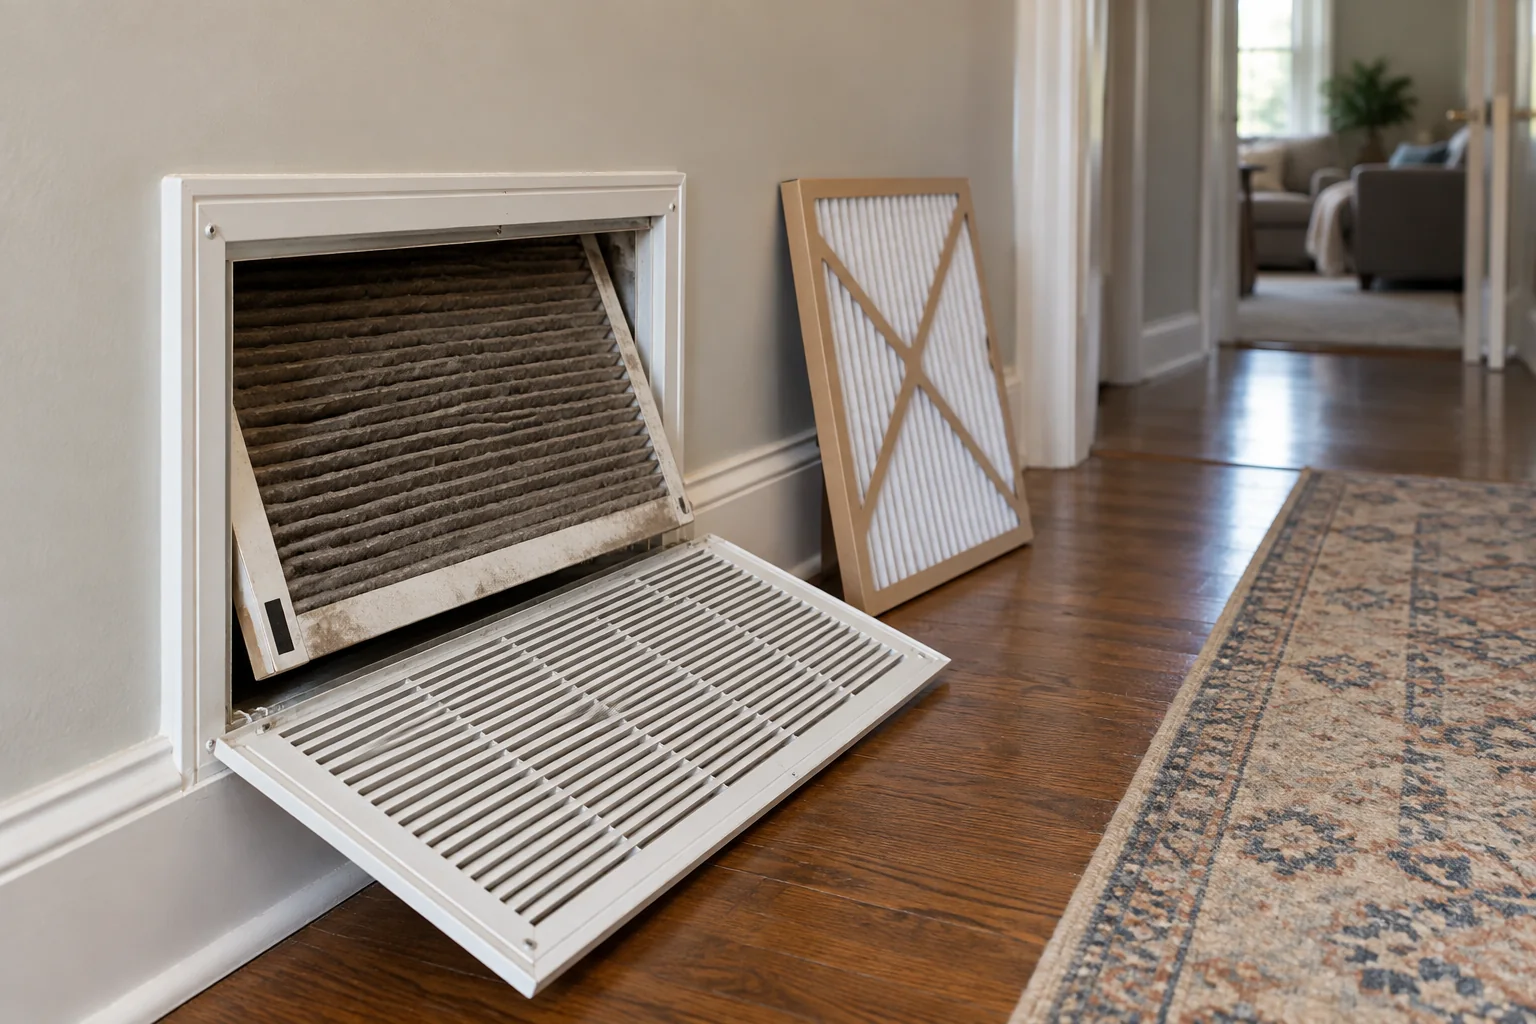
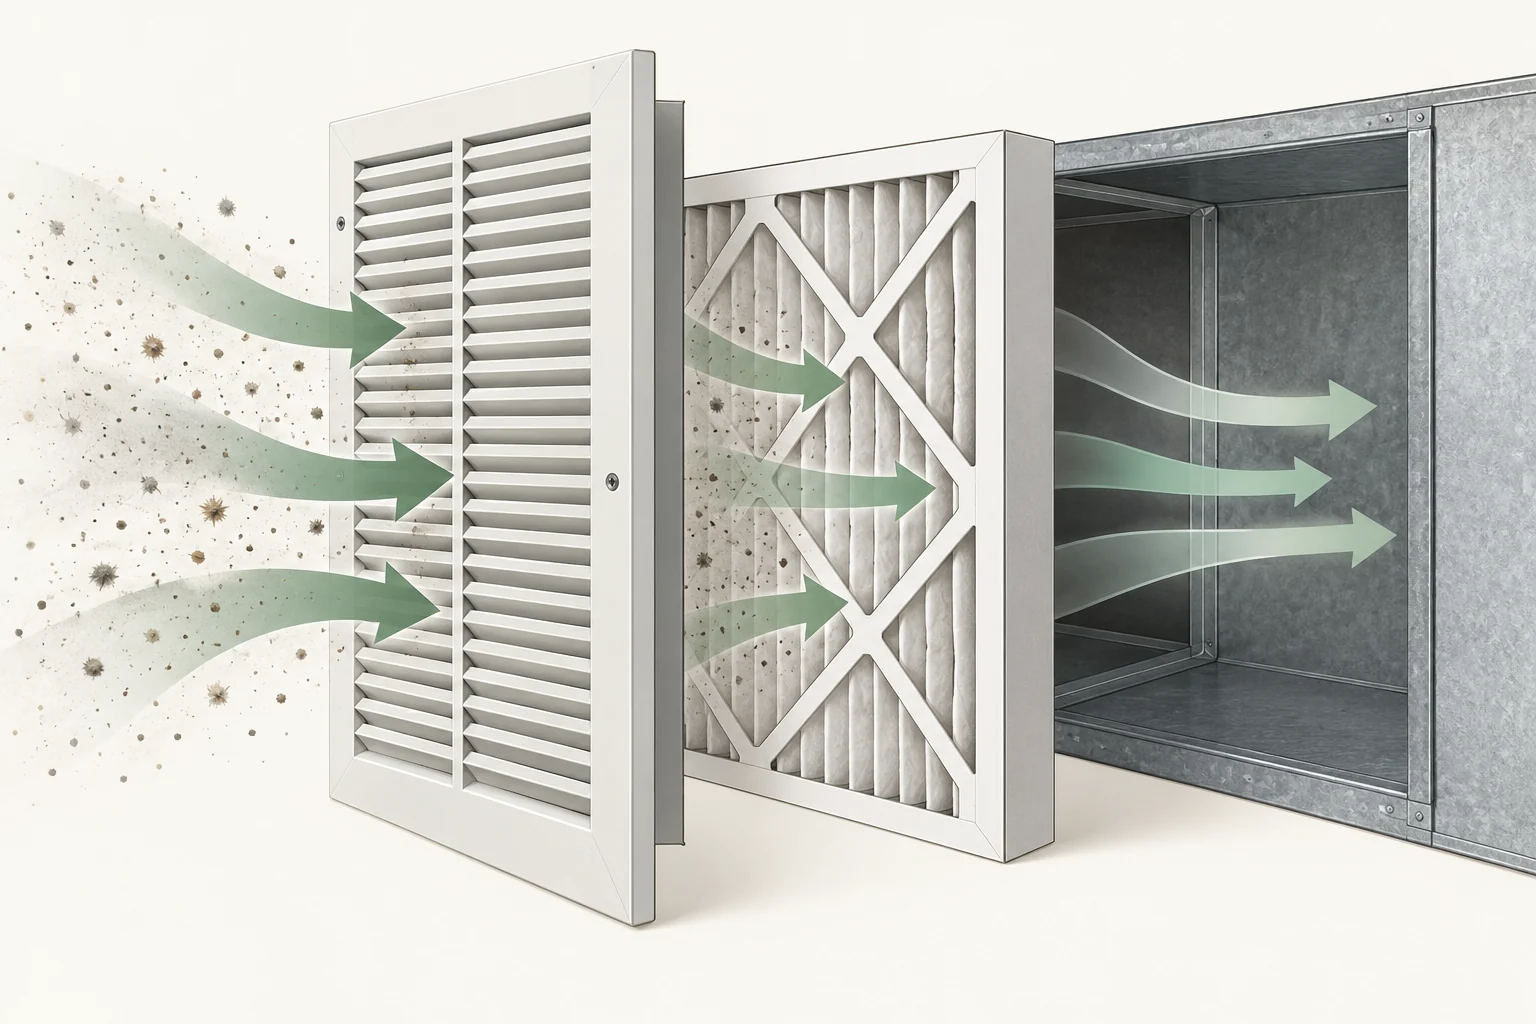
Look for the filter at the return grille or the designated equipment slot. Some systems have more than one. Record the printed dimensions, thickness, and airflow arrow before removing anything. A filter that is almost the right size can let air bypass the media.
Do not choose the highest filtration rating automatically. The system must be able to move air through that filter. Check the allowed rating in the manual or ask your HVAC technician; a thicker filter is not a drop-in substitute for a thin one.
Locate the actual filter path
Before buying a replacement, trace where return air enters the system. A wall or ceiling return grille may hold a filter, while another home has a slot at the furnace or air handler. Some installations have several returns. Photograph each location and the old filter's printed information before you remove anything; a handwritten label on the access cover can be outdated. If you are unsure whether a grille is a return or a supply, do not force it open. Supply registers blow conditioned air into rooms, while return grilles draw room air back toward the equipment. The manual or installer can confirm the intended filter locations.
The nominal dimensions printed on a filter are not always its exact measured dimensions. Compare the old frame, the slot, and the replacement package, including thickness. A loosely fitted filter can allow air to pass around the edge; one that is too thick may prevent the cover from closing. Check whether the arrow on the new frame points toward the equipment when installed. Before stocking several replacements, test one of the proposed model in the actual opening. The aim is a secure fit without crushing the frame or leaving a gap.
Choose filtration the system can handle
Filtration ratings describe what a filter is designed to capture, but the rating alone does not tell you whether your equipment can move enough air through that product. A high-efficiency filter in an unsuitable slot may restrict airflow, especially as it loads with dust. Use the range permitted by the equipment maker or ask a qualified HVAC technician to assess the system. If allergies or indoor-air concerns motivate a change, describe that goal instead of assuming the densest filter is automatically better. The answer may involve filtration, cleaning, ventilation, or a combination tailored to the home.
Keep a record of the filter brand, model, thickness, rating, and purchase date. If a replacement does not have a clear printed rating, do not infer it from packaging claims such as “premium.” Product labels and manuals are better evidence than a generic chart. Also check whether the system uses a washable media filter; its care and drying instructions differ from those for a disposable pleated filter. Never put a damp washable filter back into an operating system simply to restart it sooner.
Check and replace it safely
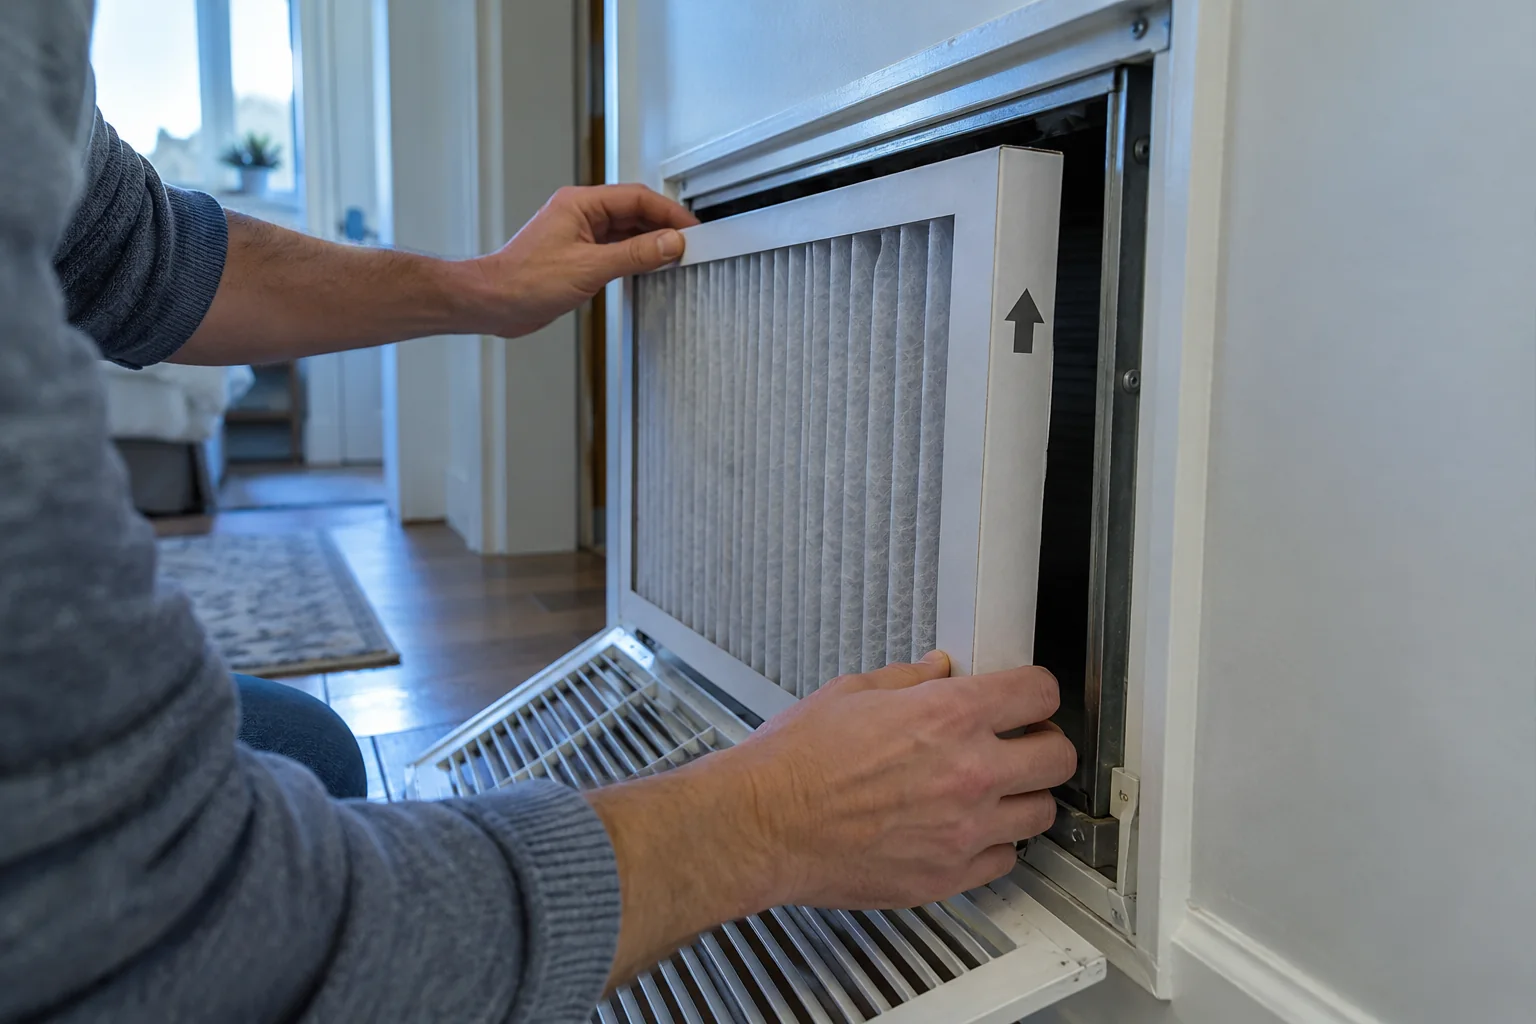
Switch the system off at its controls and follow the manual's access instructions. Slide the old filter out carefully, keeping collected dust contained. Compare the new filter with the old frame and make sure no packaging remains.
Install the new filter with its airflow arrow pointing in the direction air travels toward the equipment, following the unit label. Refit the cover, restore operation, and write the replacement date on your maintenance record. Do not wash a disposable filter.
Make the exchange a controlled task
Prepare a bag for the used filter, a clean replacement, and a way to note the date before opening the access point. Turn the system off using the designated homeowner controls and wait for the fan to stop. Open only the filter slot or return grille intended for routine user access. As you slide the old filter out, keep it level enough that collected dust does not spill into the room or slot. If the frame snags, look for a retaining clip or door detail rather than pulling harder. A torn frame can leave debris behind and make the next filter harder to seat.
Compare the loaded side of the old filter with its clean side. A thin layer of dust does not always prove replacement is urgent, while a visibly matted surface is a reason to change it. Do not judge solely by color: some filter media is naturally gray. Check the date and the manufacturer's interval alongside what you see. If the old filter is wet, investigate why before installing a new one. Moisture around HVAC equipment can signal a condensate, drainage, or other problem that a fresh filter will not correct.
Seat the new filter so it stays flat, follows the airflow arrow, and does not protrude into the cover. Close the access panel completely. An ill-fitting cover may rattle or allow bypass air; do not wedge it shut with improvised material. Restore operation and listen for an unusual sound. Note the date and any observation, such as “construction dust present” or “filter unusually wet,” so the next inspection has context. Wash your hands afterward and follow the product's disposal instructions.
Set a routine that fits your home
Use a monthly reminder to inspect rather than assuming every filter must be replaced monthly. Check sooner during dusty work, heavy use, or if the household has pets. Reusable filters need the cleaning and drying method in their own instructions.
If the filter becomes heavily loaded very quickly, investigate the cause instead of simply extending its life. Keep return grilles clear of furniture, and make sure the filter fits securely.
Set reminders around use, not a magic number
A recurring calendar reminder is useful because it makes inspection habitual. It does not replace the instructions for your particular filter and equipment. A system that runs for long summer cooling cycles has different exposure from one that is rarely used. Pets, dusty hobbies, renovation work, and frequent open windows can also change the loading rate. Check monthly at first. After several observations, you can decide whether the manufacturer's permitted interval is appropriate for this household. Keep the inspection reminder even if replacement is less frequent.
Write down each inspection in a short log: date, whether the filter looked lightly coated or heavily loaded, any unusual odor or moisture, and whether airflow felt different. This takes less than a minute and makes a pattern visible. If a filter stays relatively clean for months, that does not prove the system is healthy; it may also indicate that air is bypassing a poorly fitted filter or another filter location was missed. Conversely, one unusually dirty filter after sanding work is not necessarily the home's normal rate.
Keep the surrounding airflow clear
A clean filter cannot compensate for a blocked return grille. Check that furniture, rugs, curtains, and stored boxes are not covering returns. At the user-accessible filter slot, look for a damaged gasket or bent frame that prevents a good seal. When in doubt, record a photograph and ask the service technician to evaluate the fit.
If your household wants to reduce airborne dust, pair filtration with source control: clean settled dust using suitable methods, manage renovation dust at the work area, and address moisture rather than relying on the HVAC filter alone. The filter's primary role in many systems is also to protect equipment. A household concern about smoke, particles, or allergens may need a separate discussion about ventilation or air cleaning. Avoid promising that one product will solve every indoor-air issue.
When a new filter is not the answer
Weak airflow, recurring ice, unusual smells, or a system that cannot maintain temperature may indicate another problem. Do not keep running an iced-up unit or open electrical compartments. Record the symptoms and arrange a qualified service visit.
Recognize the limits of a filter change
Weak airflow at several registers, ice on cooling equipment, short cycling, persistent odors, and rooms that never reach the set temperature deserve more than another filter purchase. Make a note of which rooms are affected, whether the fan runs, the thermostat setting, and when the symptom began. If the problem started after a filter change, confirm that the new filter is the specified type and installed in the correct orientation. Then stop at the homeowner checks described in the manual. Repeatedly running a system that is icing or tripping protection can worsen the underlying problem.
An HVAC technician can measure airflow and investigate restrictions, blower operation, coil conditions, or controls. Tell them what filter was installed and show the inspection log. That is more useful than saying the system “seems weak,” because it gives a timeline and a possible trigger. Do not open electrical compartments, handle refrigerant components, or remove panels that the manual reserves for service. If there is a burning smell, smoke, or another urgent hazard, shut the system down if it is safe to do so and seek qualified help promptly.
A practical seasonal review
At the beginning of a heavy heating or cooling season, confirm that you have the correct spare filter and can reach the access point safely. Check the homeowner maintenance section of the equipment manual for any other tasks assigned to the owner. After a dusty renovation, inspect earlier than usual. If a service visit is already scheduled, ask the technician whether your chosen filter suits the equipment and whether there are signs of air bypass. Record the answer and the exact product specification for future purchases.
Use a replacement schedule grounded in product instructions and your observations. It may change when the household changes. A new pet, remodeling work, or a different filter type is a reason to reset your observation period, not simply carry forward an old interval. If the filter stays clean but comfort problems persist, treat those as separate diagnostic questions. That distinction keeps a simple maintenance task from becoming a substitute for proper system assessment.
Turn one inspection into a useful routine
A maintenance schedule improves when it records observations, not just dates. Keep a brief note of what you inspected, what you saw, and whether action was needed. Over several cycles, this tells you whether the interval is sensible for your property. A change in season, occupancy, weather exposure, or equipment use can make an old routine too frequent or too slow. Review the schedule when those conditions change instead of treating a printed interval as a guarantee.
Take photos from the same safe position when possible. They make subtle changes easier to recognize and are useful when you ask a contractor for advice. Do not use a photo as a substitute for an inspection where the problem can be hidden. If moisture, noise, or other warning signs appear between scheduled checks, respond then. A calendar is a reminder to look, not permission to ignore an active fault until the next date.
Know what successful maintenance looks like
After a cleaning, replacement, or service visit, check the function that originally mattered. Does water move away, air flow as expected, or the equipment complete a normal cycle? Ask the service provider what they found and whether they recommend any change to the next inspection date. Keep product specifications and invoices so future work starts with accurate information.
If a maintenance task repeatedly produces the same abnormal finding, look for an underlying cause. Replacing a component sooner every cycle may be a symptom-management strategy rather than a solution. At that point, a qualified assessment can be more useful than increasing the frequency again. A good routine leaves the home working reliably and gives you clear signals for when to seek help.
Quick recap
- Find the right filter first.
- Check and replace it safely.
- Set a routine that fits your home.
- When a new filter is not the answer.
Frequently asked questions
Is every three months always enough?
No. Treat that as a possible reminder interval only when it agrees with the product instructions; inspect more often if conditions are dusty.
Can I vacuum a disposable filter?
Replace it. Vacuuming does not restore a disposable filter to its original condition and may damage the media.
Sources & further reading
Manufacturer instructions for your exact model take priority.