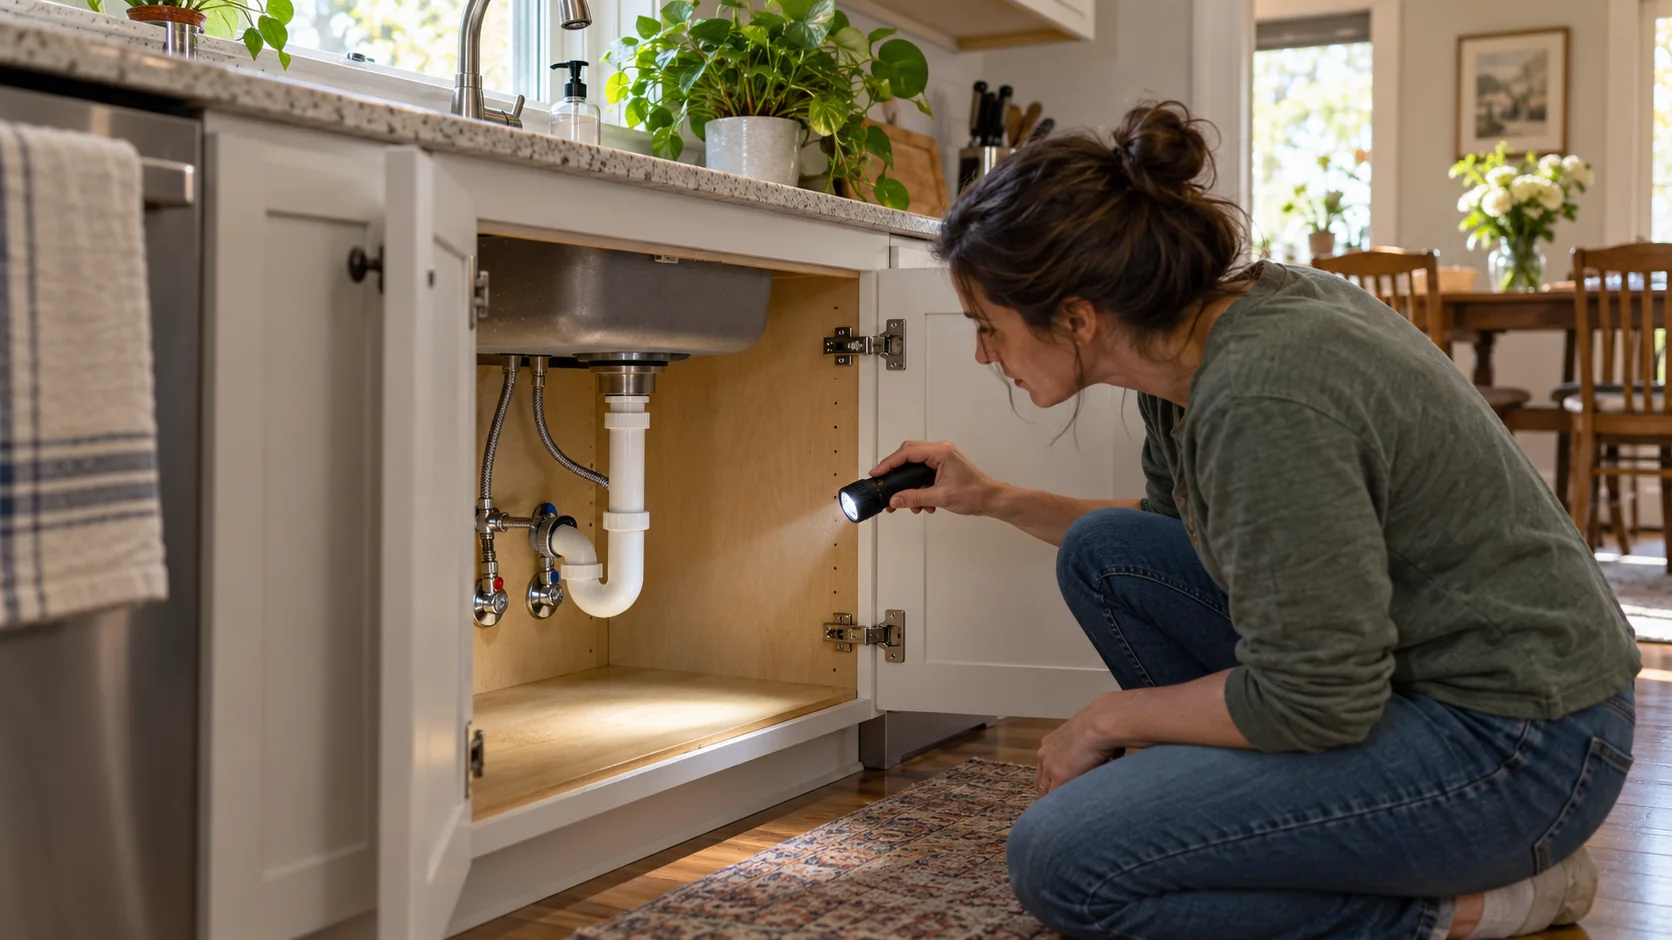
A running toilet commonly has a flush seal that will not close, a chain that catches, or a fill valve that allows water to reach the overflow tube.
Listen after a flush. Does the water never stop, or does the tank refill briefly when nobody has used it? Those patterns help narrow the fault. A small internal leak can be quiet, so inspect the tank rather than judging only by sound.
What to check first
Look inside the tank
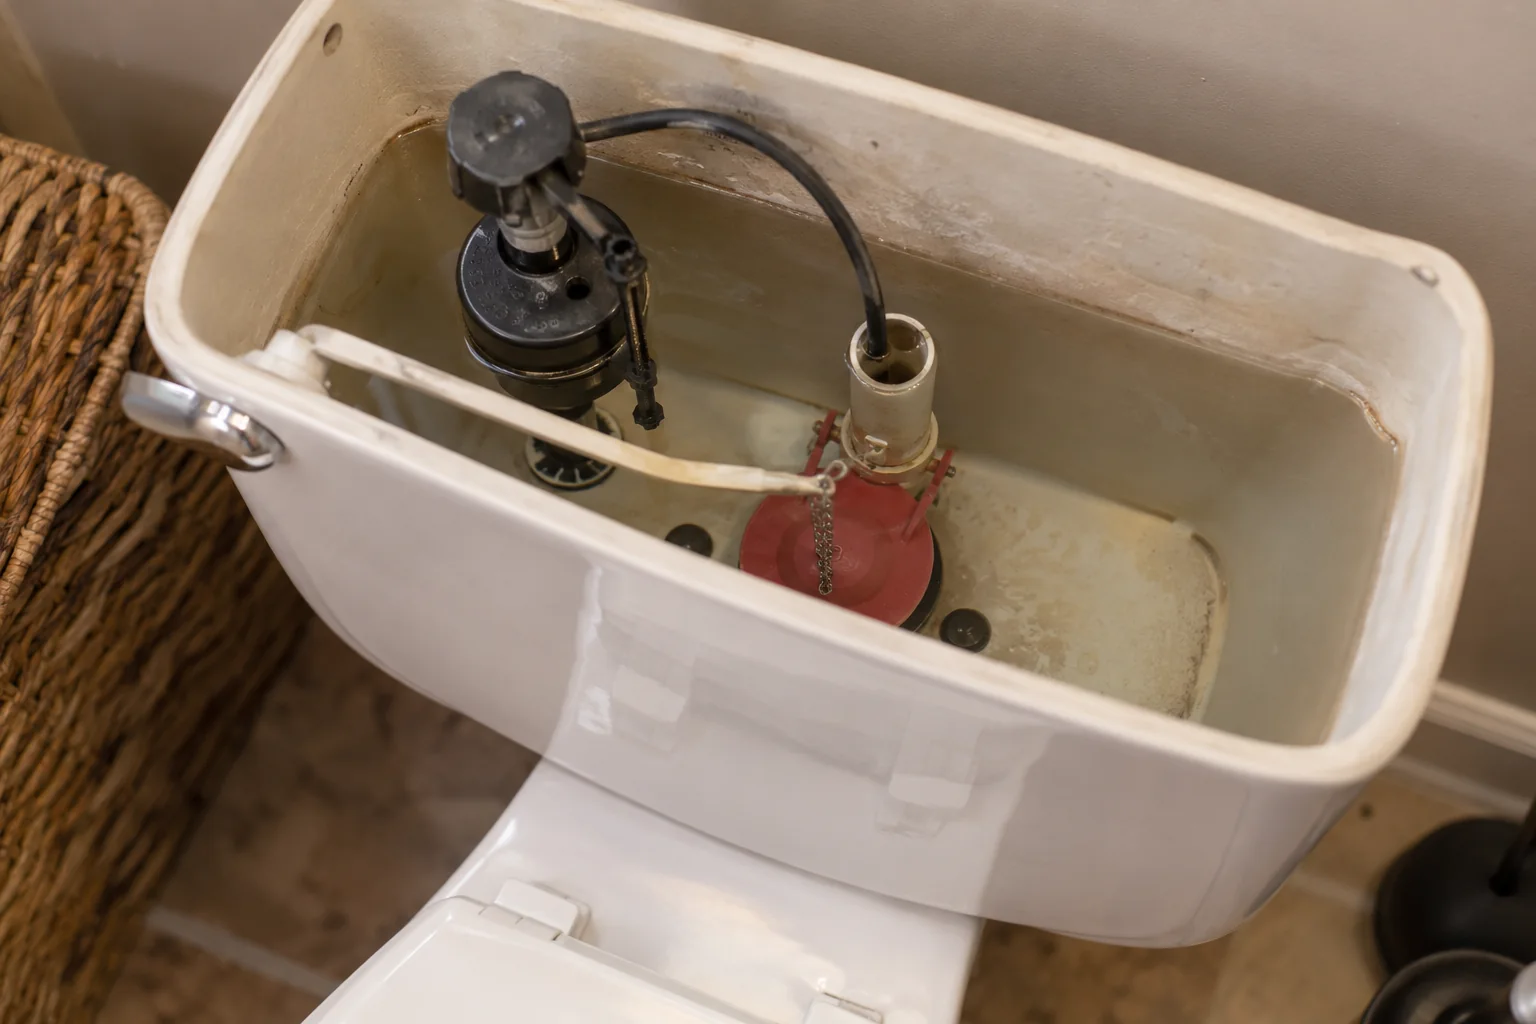
Lift the lid carefully and place it flat on a towel. Flush once and watch from above. Check whether the handle returns, the chain hangs freely, and the flapper or canister seal sits properly after the flush.
Look for water flowing into the overflow tube. If the level is too high, follow the fill valve's instructions for adjustment. Do not bend unfamiliar components or assume every toilet uses the same fill mechanism.
Start by identifying what keeps the valve open
A running sound can come from water flowing into the overflow tube, from water slipping past the flush valve seal, or from a fill valve that never settles. Remove the tank lid carefully and place it on a towel where it cannot slide or chip. Watch one complete fill cycle without putting your hands into moving parts. The float should rise as the tank refills, the fill valve should shut off, and the water level should remain below the top of the overflow tube according to the tank's marking or the manufacturer's instructions. Note which event fails before adjusting anything.
The refill tube is a small hose that normally directs water into the overflow tube after a flush. It should be clipped in the intended position, not pushed deeply down into the tube. A misplaced tube can create confusing symptoms or improper bowl refill. Check the tank label or the valve maker's instructions before moving it. Also see whether a chain is taut, trapped beneath the flapper, or so slack that the handle cannot lift the seal properly. These are observations, not reasons to replace every part at once.
Separate a brief refill from a continuous run
A toilet that runs immediately after flushing may simply have a fill valve that has not yet shut off. A toilet that becomes quiet and then refills at intervals points more strongly toward water leaving the tank slowly. Listen at different times of day and note whether the sound starts without anyone using the fixture. Put a piece of tape or a removable mark at the tank's water level, then leave it undisturbed for a period. If the level falls and the valve later refills, the tank is losing water somewhere. A dry exterior and floor do not rule out water leaking internally into the bowl.
Do not ignore moisture outside the toilet while concentrating on the running sound. Check around the tank bolts, supply connection, shutoff valve, base, and nearby floor. Water on the floor changes the task from a minor efficiency problem to a potential property-damage issue. Stop and arrange repair if the source is not clear. A cracked porcelain tank, unstable toilet, or leaking supply line is not a situation for repeated adjustment of the internal float.
Test for a slow seal leak
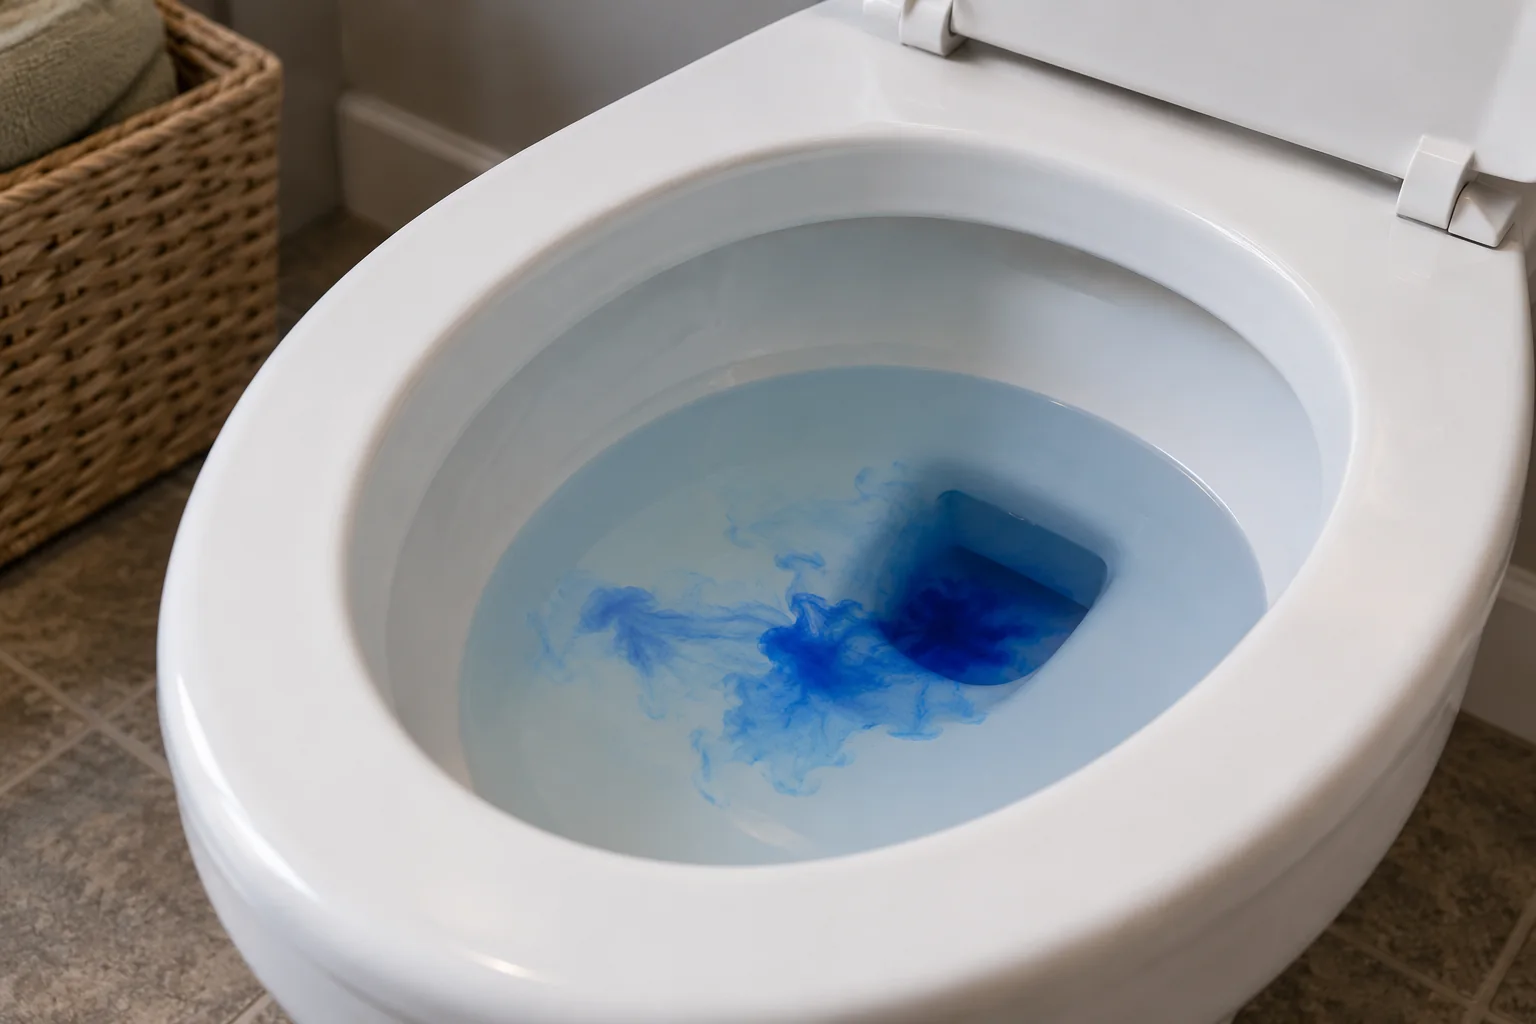
With the tank full and the toilet unused, use a toilet leak-detection dye tablet according to its directions. Color reaching the bowl without flushing suggests water is escaping past the flush seal. Flush afterward to avoid staining.
A twisted chain, debris at the sealing surface, or a worn seal may be responsible. Match a replacement to the toilet model instead of relying on a generic visual match.
Use a simple leak observation before buying parts
If the tank fills and then restarts periodically, a food-coloring test can help distinguish an internal leak. Add a few drops to the tank water without flushing, wait long enough for water to move, and look for color appearing in the bowl. If it does, water is passing from tank to bowl. Follow the coloring product's directions and flush afterward so dye does not remain against surfaces. This test does not identify the exact component by itself; it narrows the path to the flush-valve area or an overflow condition that needs observation.
Inspect the flapper or canister seal only after turning off the supply and flushing to lower the water level. Deposits, distortion, a warped sealing edge, or a chain caught underneath can prevent a complete seal. Wipe away loose debris gently and inspect the seat for roughness. Avoid abrasive scraping that could damage the sealing surface. Some modern toilets use canister seals instead of a conventional flapper; take a photo and match the exact model rather than buying a generic replacement on appearance alone.
If water is entering the overflow tube while the fill valve continues to run, look at the float and water-level setting. The correct level is typically marked in the tank or specified by the maker. A float that rubs the tank wall, a misadjusted level, or a faulty valve can all keep water flowing. Adjust only as described for that valve design. If the valve cannot be set to shut off reliably, replacement may be needed. Repeatedly bending parts or improvising a stop may leave the toilet unable to refill correctly.
Check one variable at a time
A useful repair sequence is observation, one correction, one complete flush cycle, and then a quiet waiting period. For example, first free a trapped chain and test. If the run continues, assess the seal. If the water reaches the overflow, inspect the fill system. Changing the flapper, chain length, and float setting together makes it difficult to know what actually solved the problem and can introduce a second fault. Write down the original setting or photograph it before adjustment.
Make one correction at a time
Before removing parts, close the toilet's supply valve and flush to lower the tank level. Confirm that water has stopped entering. If the shutoff will not close or begins leaking, stop and call a plumber.
Fit the model-specific replacement according to its instructions. Reopen the supply slowly, check all disturbed connections for drips, and test several flushes. Then leave the toilet unused and check for another refill.
Match a replacement to the toilet
Toilet tanks contain parts that look similar but differ in diameter, height, connection style, and the way they interact with the flush handle. The model number is often inside the tank or under the lid. Use it to find the manufacturer's parts diagram if available. Bring a clear photo of the existing assembly and its mounting points when buying a replacement. A “universal” flapper may still need adjustment and may not suit every flush-valve seat. If the mechanism is proprietary, the correct seal can be less expensive and more reliable than replacing the whole assembly.
Turn the supply valve slowly and confirm it actually stops incoming water before loosening any part. An old valve that will not close fully is a separate repair. Do not force a corroded shutoff or overtighten plastic threads. If you replace a seal, clean the seating surface as instructed, install the part without twisting it, and check that it moves freely. Reopen the supply gradually. Watch the first fill and flush with the lid still off so you can see whether the part seats and whether water stops below the overflow.
Verify the result beyond the first quiet minute
A newly installed seal can look fine during one flush but still leak slowly. After the tank fills, note the water level and listen again after an undisturbed period. Repeat the coloring test if the original symptom was intermittent. Check the floor and supply connection with a dry tissue for new moisture. Replace the lid carefully without pressing on the flush mechanism. If the toilet has a dual-flush button in the lid, check that the button rods or cables are correctly seated according to its instructions before declaring the repair complete.
A simple log helps if the fault returns: note whether the running starts immediately after a flush, only overnight, or after the handle sticks. Those details point to different mechanisms. If you have several toilets, make sure you are working on the one actually using water; sounds can travel through pipes or walls. Avoid relying solely on the sound in an adjacent room when identifying the fixture.
Know when to call a plumber
A cracked tank, leaking supply connection, corroded fittings, or an inaccessible valve calls for professional help. If a new seal does not solve the issue, the valve seat or fill mechanism may need further diagnosis.
Know when the repair exceeds a homeowner adjustment
Call a plumber when water appears outside the tank, the toilet rocks, porcelain is cracked, the shutoff valve leaks, or the internal assembly does not match the instructions you have. Persistent running after a correctly fitted seal and water-level adjustment also deserves diagnosis. The problem may involve a worn flush-valve seat or another component that requires more disassembly. If a part is held by a nut beneath the tank, removing it may involve separating the tank from the bowl. That is a different risk from changing a simple seal inside the tank.
Take photos of the inside of the tank and the model marking before the visit. Describe whether water spills into the overflow, color reaches the bowl, or the fill valve keeps operating. This information can help the plumber bring the right parts and spend less time reproducing an intermittent symptom. If the toilet cannot be made to stop, close the local supply valve if it operates safely and arrange service. Make sure household members know that fixture is unavailable until it is repaired.
Reduce the chance of a repeat
Avoid chemical drop-in tablets unless the toilet and component manufacturers approve them. Some products can affect rubber or plastic parts and conceal a developing leak by coloring the water. Flush normally and make a habit of listening for the fill valve to stop after the tank refills. A brief check when cleaning the bathroom can catch a slow leak before it becomes a large water bill. If a handle needs to be held or jiggled, treat that as a sign to inspect the chain and seal rather than a normal operating trick.
Keep the model number and the date of any replacement part in a home-maintenance note. That information is more useful than a drawer of unmatched spare flappers. When the tank is quiet and the level remains stable, the immediate problem is solved. If water usage still seems high, investigate other fixtures or ask the water utility how to check the meter.
Make the next decision from evidence
Before buying another part or repeating a treatment, compare the current symptom with the one you recorded at the start. Has the frequency, location, sound, smell, or amount of water changed? A partial improvement can mean the first issue was real but not the only issue. Write down the single action you took and what happened afterward. A photograph or short video is useful when a fault appears only briefly. Keep the record factual; “ran for two minutes after the cycle ended” is more useful than “seems broken.”
If the first safe check does not explain the problem, return to the affected-versus-unaffected comparison. Check whether the issue follows one fixture, one room, one operating mode, or the entire system. This pattern can prevent unnecessary replacements. Do not keep resetting an alarm, breaker, or safety cutout to gather more observations. A stop signal is itself evidence that the owner-level investigation has reached its boundary.
Hand off a useful case
When you contact a professional, provide the model or fixture type, the timeline, the conditions that reproduce the problem, and the checks you have already completed. Ask what the technician plans to measure or inspect before authorizing a major replacement. If the proposed work changes after the inspection, request a clear explanation of the new finding. Keep invoices and part information with your home records. This makes a return visit easier to evaluate.
After any correction, test the original symptom under normal conditions and then check for new leaks, odors, noises, or error indicators. A quiet moment is not proof that an intermittent fault has gone. If you cannot verify the result safely, ask the service provider to demonstrate it. The point of troubleshooting is to narrow the cause and make an informed decision, not to keep working until every component has been disturbed.
Frequently asked questions
Why does it run only every few minutes?
The tank may be slowly losing water into the bowl and refilling when the level drops.
Should I replace the entire toilet?
Not necessarily. Many internal leaks involve a replaceable seal or valve; inspect the condition and identify the cause first.
Sources & further reading
Manufacturer instructions for your exact model take priority.