Locate where the door rubs, check hinge security, and consider humidity changes before sanding or planing anything.
A door that worked last month may be reacting to humidity, a loose hinge, or movement in the frame. Removing material immediately can leave a gap once the underlying issue changes. Start with observations that are easy to reverse.
What to check first
Find the contact point
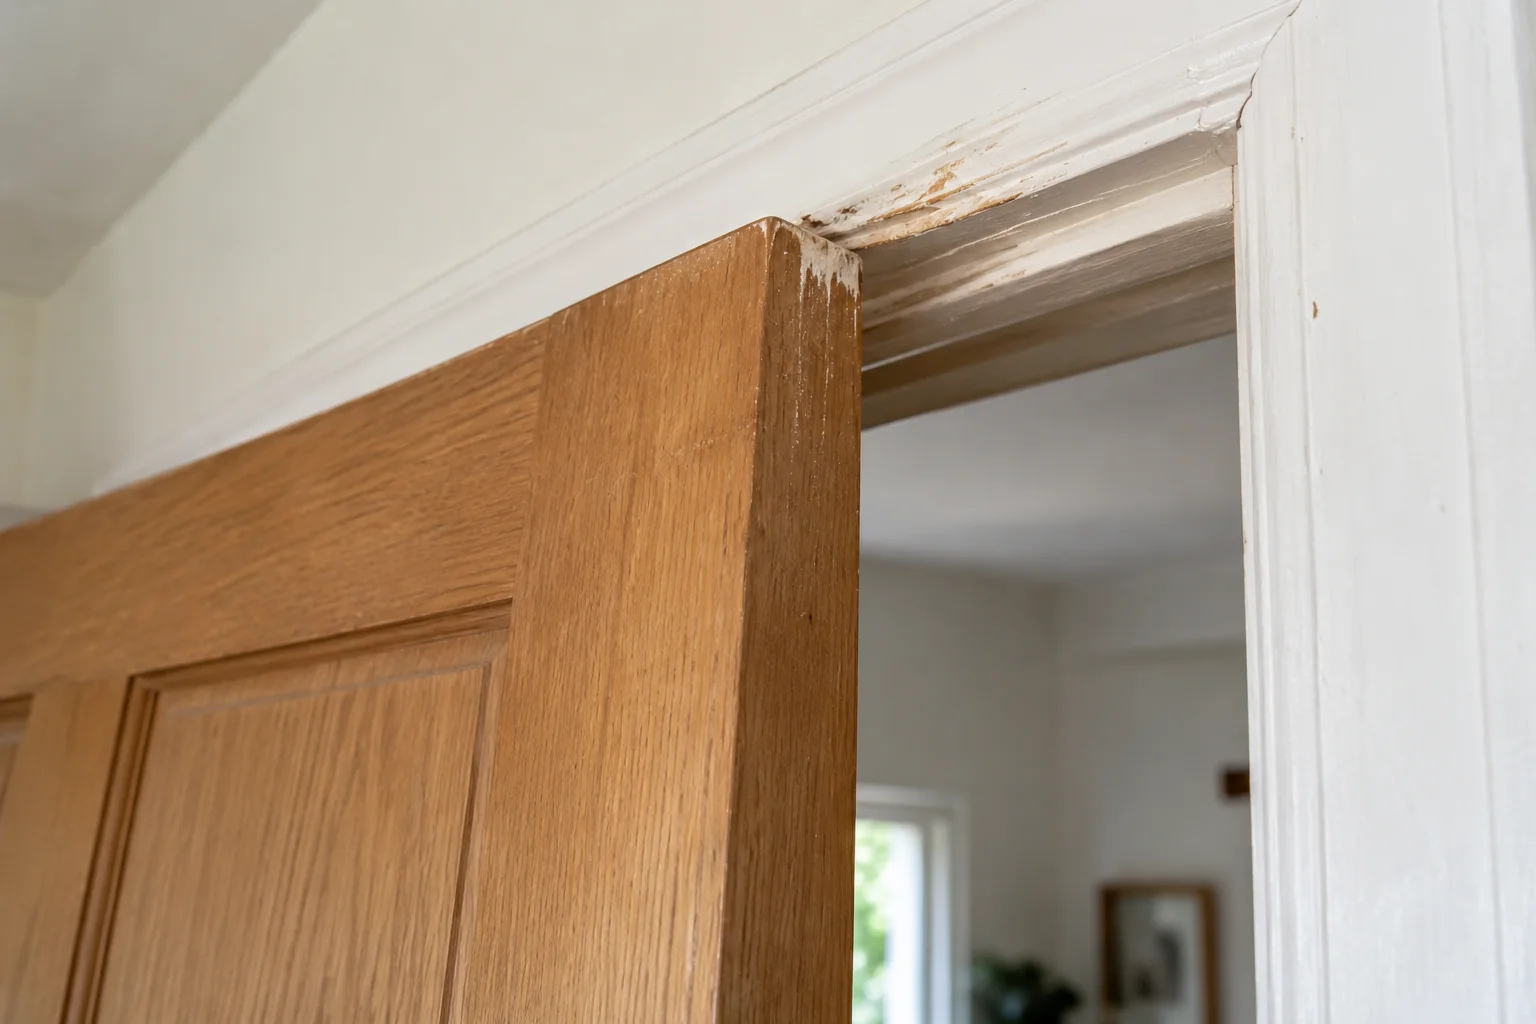
Close the door slowly and observe the gap around its edges. Look for shiny paint or scuff marks. Note whether it catches at the top corner, along one edge, or only at the latch.
A latch that misses the strike plate is not necessarily a door-edge problem. Avoid forcing the handle or slamming the door; that can loosen hardware further.
Find precisely where it catches
Close the door slowly without forcing the latch. Watch the gap above, beside, and below the leaf. A bright flashlight held along the edge can reveal a shiny rub mark, compressed paint, or damaged weatherstrip. Slip a thin piece of paper between the door and frame at several points to compare resistance, then remove it. The pattern matters: contact only at the upper latch corner may point to hinge movement, while an entire edge rubbing after humid weather may point to swelling. Do not cut material until you know which surface is involved.
Check whether the door closes differently when the latch is held back. If it does, the strike plate or latch may be the immediate problem rather than the edge of the door. Look for a loose plate, a bent latch, or a mark where metal contacts metal. Also note whether the door is interior or exterior, and whether it must self-close for fire safety. Heavy, rated, or automatic doors should be assessed by someone who understands their hardware. A door that will not close securely is more urgent than one that merely needs a firm push.
Record when the problem occurs
Does the sticking happen every day or only after rain, a shower, or a season change? Wood and frames can respond to moisture, but an expanding gap or a new crack can also indicate movement that should be investigated. Take a photo of the same gap now and after conditions change. Use a ruler or a narrow card as a repeatable reference, not as a reason to force the door. If several doors begin sticking together or the floor nearby changes, consider a broader building issue rather than repairing every edge independently.
Avoid blaming the hinges solely because the door hangs from them. A swollen threshold, raised flooring, paint buildup, or worn weather seal can create similar resistance. A methodical contact map keeps the repair small.
Check the hinges
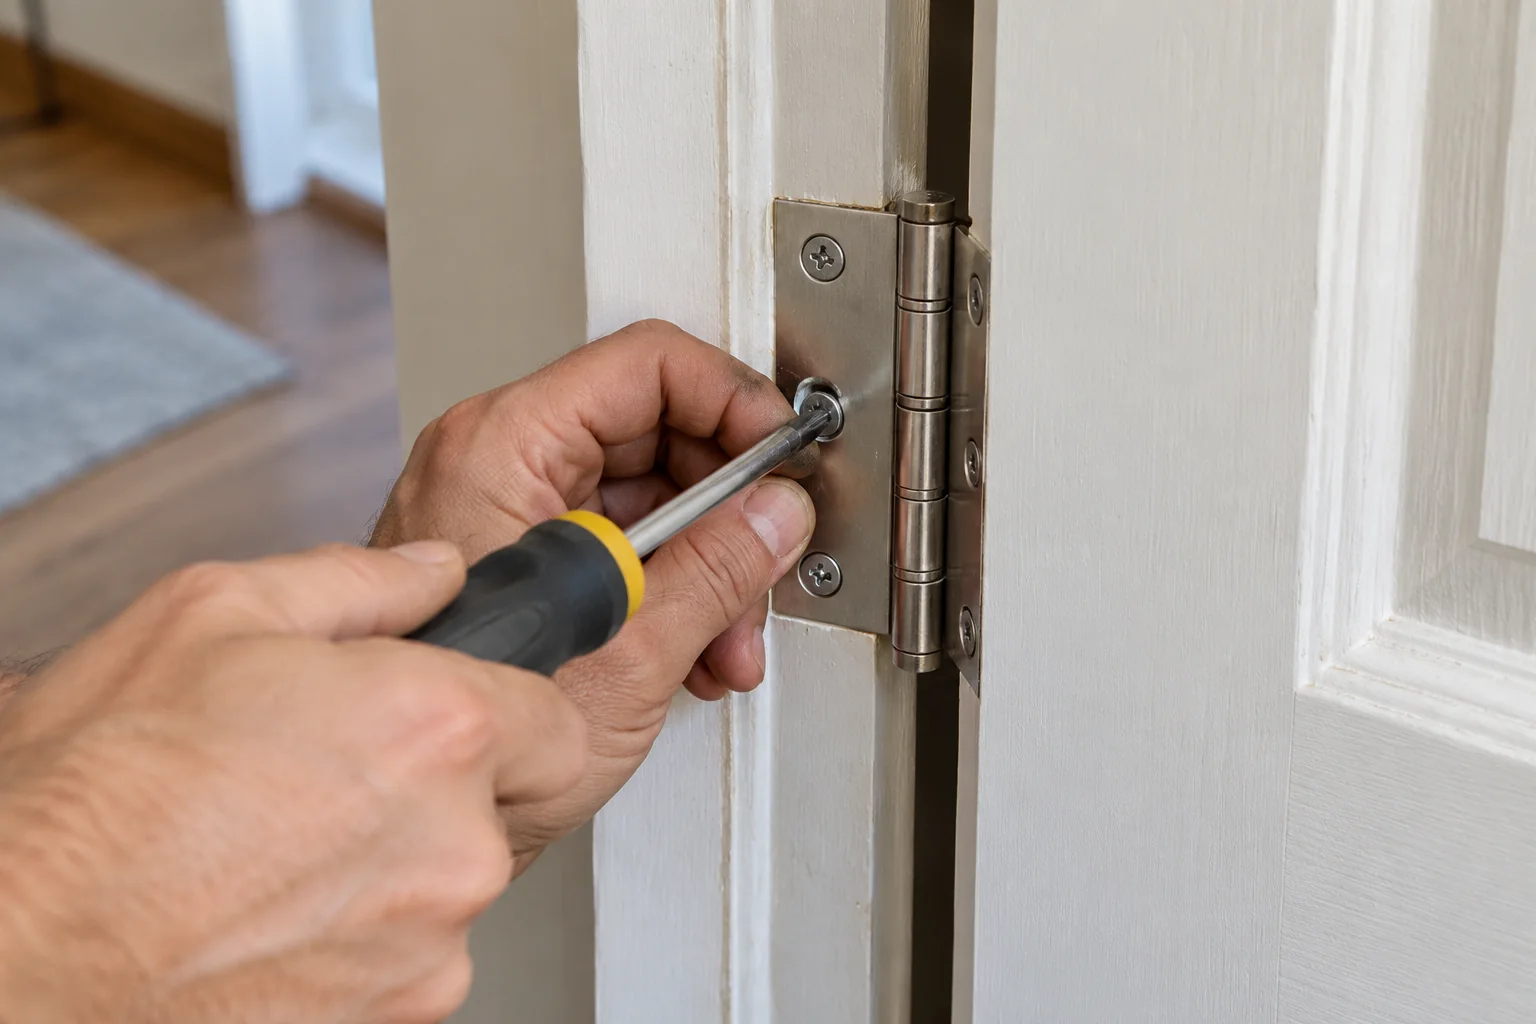
With the door supported naturally in its opening, gently snug visibly loose screws using the right driver. Do not replace them with much longer screws without knowing what is behind the frame.
If screws no longer grip, or a hinge is bent, seek a suitable repair rather than repeatedly tightening. Heavy doors and special hinges are better handled by a professional.
Check the support before removing material
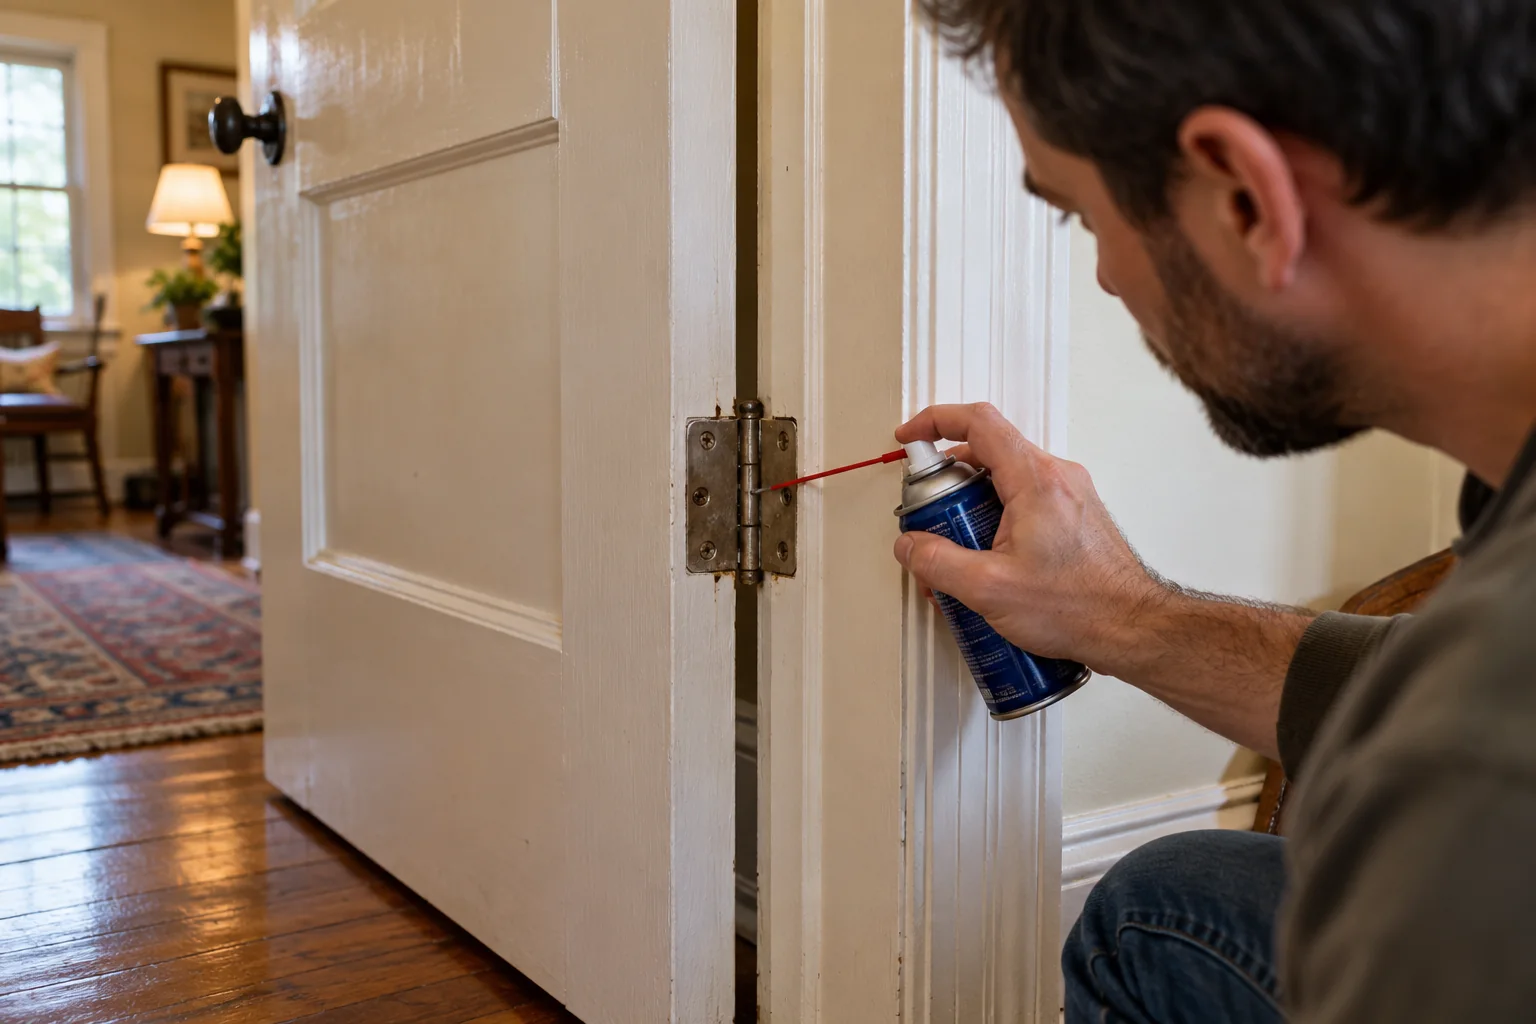
Open the door partway and look at each hinge leaf. Are screws missing, backing out, or spinning without grip? Does the hinge move against the frame when the door is lifted slightly? A loose upper hinge can let the latch side drop. Tighten an accessible screw with the correct driver while supporting the door, stopping when it is snug. Do not overdrive it or replace it with a random longer screw without checking for hidden wiring, glazing, or other construction details. A stripped hole needs a repair suited to the frame material.
If a hinge is bent, cracked, or unusually loose, the fix may involve replacement or frame repair. Lubricant can quiet a squeak but cannot hold a sagging door in place. Heavy exterior doors and fire-rated doors have additional requirements; avoid improvising a hinge arrangement. If the door shifts suddenly or feels unsafe, stop using it until it is assessed. Keep fingers clear of the gap while testing.
Test after each small correction
After tightening one loose hinge, close the door again slowly. Compare the gap and latch action with your starting observation. If the contact point moves, the adjustment has changed the geometry; do not keep making changes blindly. Recheck the strike plate and threshold. Photograph a useful improvement so you can tell whether the door later returns to its old position. One small change at a time is faster than trying several screw, hinge, and strike adjustments and then wondering which created a new bind.
Painted screw heads may tear the finish when disturbed. Score only where appropriate and follow precautions for old coatings. If the paint could be hazardous, seek assessment before scraping or sanding.
Consider seasonal moisture
Note whether the sticking coincides with damp weather or a room that stays humid. Improve normal ventilation and address leaks. Do not use intense heat to dry a door or expect paint to correct swelling.
If the door changes shape seasonally, allow the cause to be assessed before irreversible trimming. Check the manufacturer's guidance for engineered or veneered doors.
Let moisture clues guide the next choice
A door that binds during damp weather may have absorbed moisture through an unsealed edge or may be reacting to high indoor humidity. Look for peeling finish, dark staining, swollen trim, or a leak nearby. Check bathrooms and exterior doors for sources of persistent wetting. Improving ventilation or fixing a leak may matter more than shaving the door. Cutting a swollen edge while it is at its wettest can leave an excessive gap when it dries. Record the condition and address the moisture source first.
Weatherstripping can also compress or shift. A folded strip may hold the door away from the latch, while a worn strip can allow drafts and water. Replace it only with a compatible profile and confirm that the door still closes and latches. Do not remove a required smoke or fire seal simply to make closure easier. On an exterior door, a reliable seal and lock are part of the result.
Use restraint with sanding and planing
Removing wood or paint should be a last, measured step after hinges and moisture have been considered. It is difficult to add material back. If a professional determines trimming is suitable, the new edge needs proper finishing so it does not absorb moisture again. Old paint can require special precautions before disturbance. Fire-rated door edges and clearances must not be altered casually. A quick pass with sandpaper may seem harmless but can change the tested assembly or spread hazardous dust.
If the door catches at the floor, check for a rug, shifted threshold, or new flooring before blaming the leaf. A door may need clearance for both movement and ventilation, depending on its role. A professional can identify the appropriate gap.
Escalate persistent movement
Several newly sticking doors, new cracks, or a visibly distorted frame deserve a building assessment. If trimming is appropriate, first identify old coating hazards and obtain landlord permission where needed. Fire-rated doors must retain their required fit and certification.
Recognize movement beyond the door
A sticky door accompanied by a new diagonal wall crack, sloping floor, window that also binds, or recurring frame movement deserves a broader assessment. The door may be the visible symptom of moisture damage or building movement. Do not keep tightening hinges and cutting edges to chase an evolving problem. Photograph the changes with dates and ask an appropriately qualified professional to evaluate them. A sudden inability to close an exterior door also affects security and should be addressed promptly.
If only one hinge screw has lost grip, a targeted frame repair may be enough. If the jamb itself is soft or damp, the fastener problem is secondary. Repair the material and moisture source. If the latch does not engage after the door moves freely, adjust or repair the hardware according to its instructions. The complete test is easy opening, smooth closure, secure latching, and no new draft or rubbing.
Recheck under normal conditions
Test the door several times without lifting, slamming, or pulling the handle sideways. Ask another household member to use it normally; a repair that works only with a special technique is not finished. Check it again after the next humid spell or cold snap if the symptom was seasonal. Keep a note of what changed so you can distinguish a repeat fault from a new contact point. On an exterior door, inspect the weather seal and lock after any adjustment.
Prevent damage by controlling indoor moisture, addressing leaks, and keeping hinges secure. Avoid hanging heavy loads on the door or letting it slam repeatedly. A sticking door is often fixable with a small, careful adjustment, but the order matters: identify the contact, check support, consider moisture, then decide whether material removal is justified. This is especially important for exterior doors that must latch securely. That order protects the door's fit and the home's safety features.
Make the next decision from evidence
Before buying another part or repeating a treatment, compare the current symptom with the one you recorded at the start. Has the frequency, location, sound, smell, or amount of water changed? A partial improvement can mean the first issue was real but not the only issue. Write down the single action you took and what happened afterward. A photograph or short video is useful when a fault appears only briefly. Keep the record factual; “ran for two minutes after the cycle ended” is more useful than “seems broken.”
If the first safe check does not explain the problem, return to the affected-versus-unaffected comparison. Check whether the issue follows one fixture, one room, one operating mode, or the entire system. This pattern can prevent unnecessary replacements. Do not keep resetting an alarm, breaker, or safety cutout to gather more observations. A stop signal is itself evidence that the owner-level investigation has reached its boundary.
Hand off a useful case
When you contact a professional, provide the model or fixture type, the timeline, the conditions that reproduce the problem, and the checks you have already completed. Ask what the technician plans to measure or inspect before authorizing a major replacement. If the proposed work changes after the inspection, request a clear explanation of the new finding. Keep invoices and part information with your home records. This makes a return visit easier to evaluate.
After any correction, test the original symptom under normal conditions and then check for new leaks, odors, noises, or error indicators. A quiet moment is not proof that an intermittent fault has gone. If you cannot verify the result safely, ask the service provider to demonstrate it. The point of troubleshooting is to narrow the cause and make an informed decision, not to keep working until every component has been disturbed.
Frequently asked questions
Can soap on the edge solve it?
It may temporarily reduce friction but does not correct alignment or swelling.
Why does it stick only in summer?
Seasonal humidity may change the dimensions of timber, although hinge or frame issues should still be checked.
Sources & further reading
Manufacturer instructions for your exact model take priority.