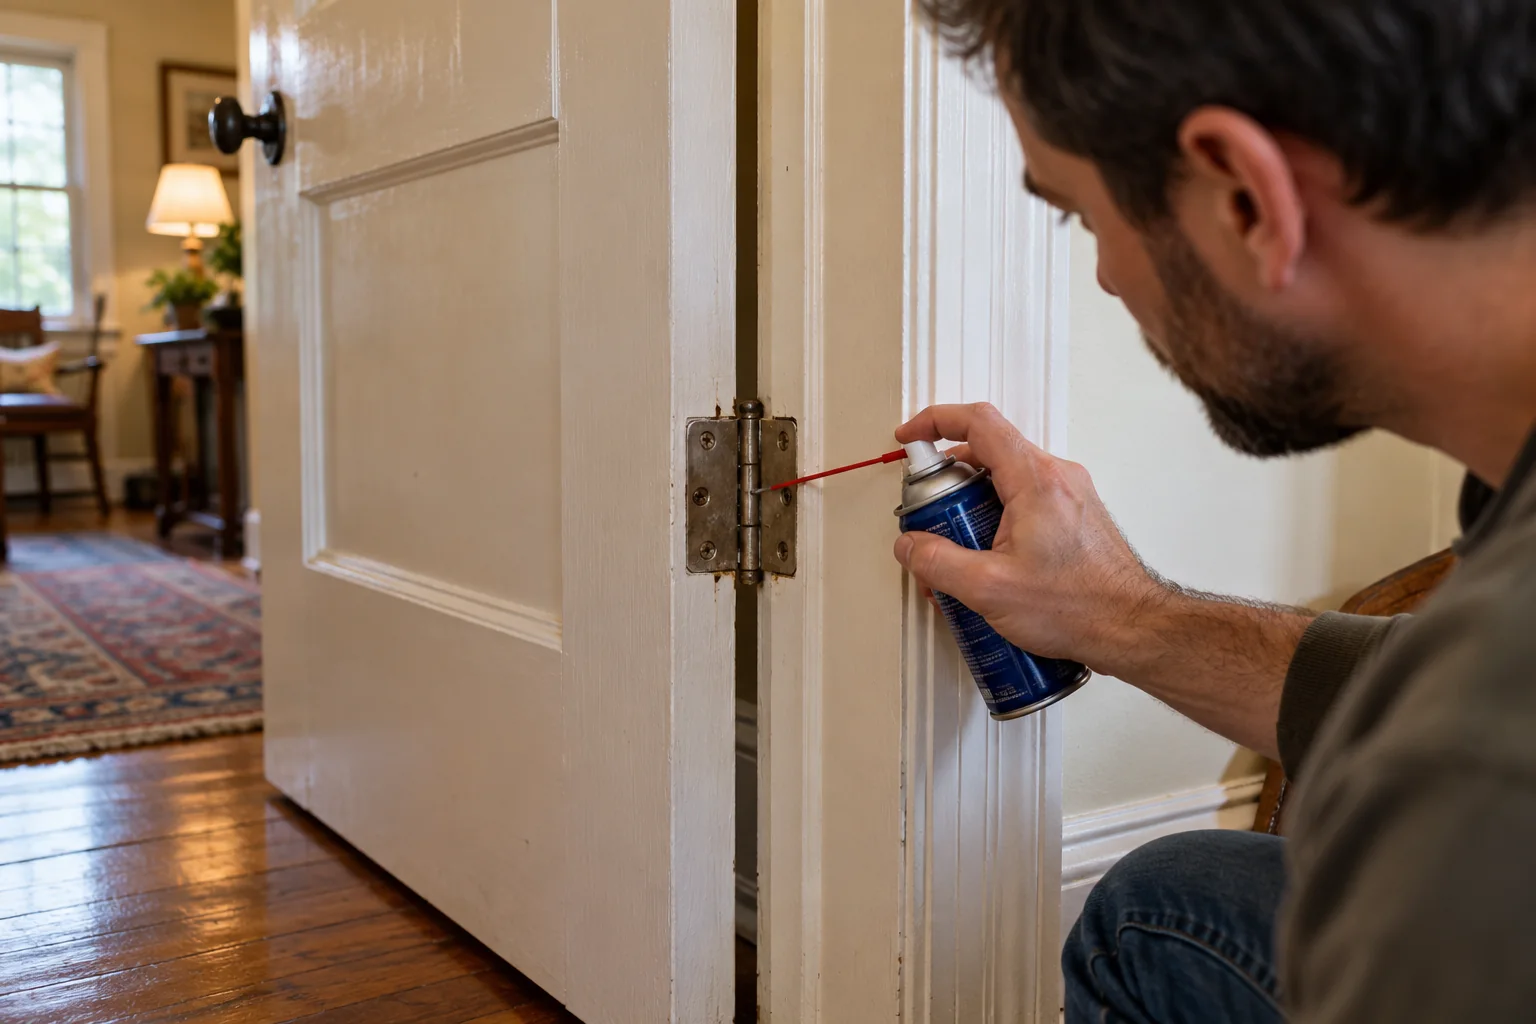
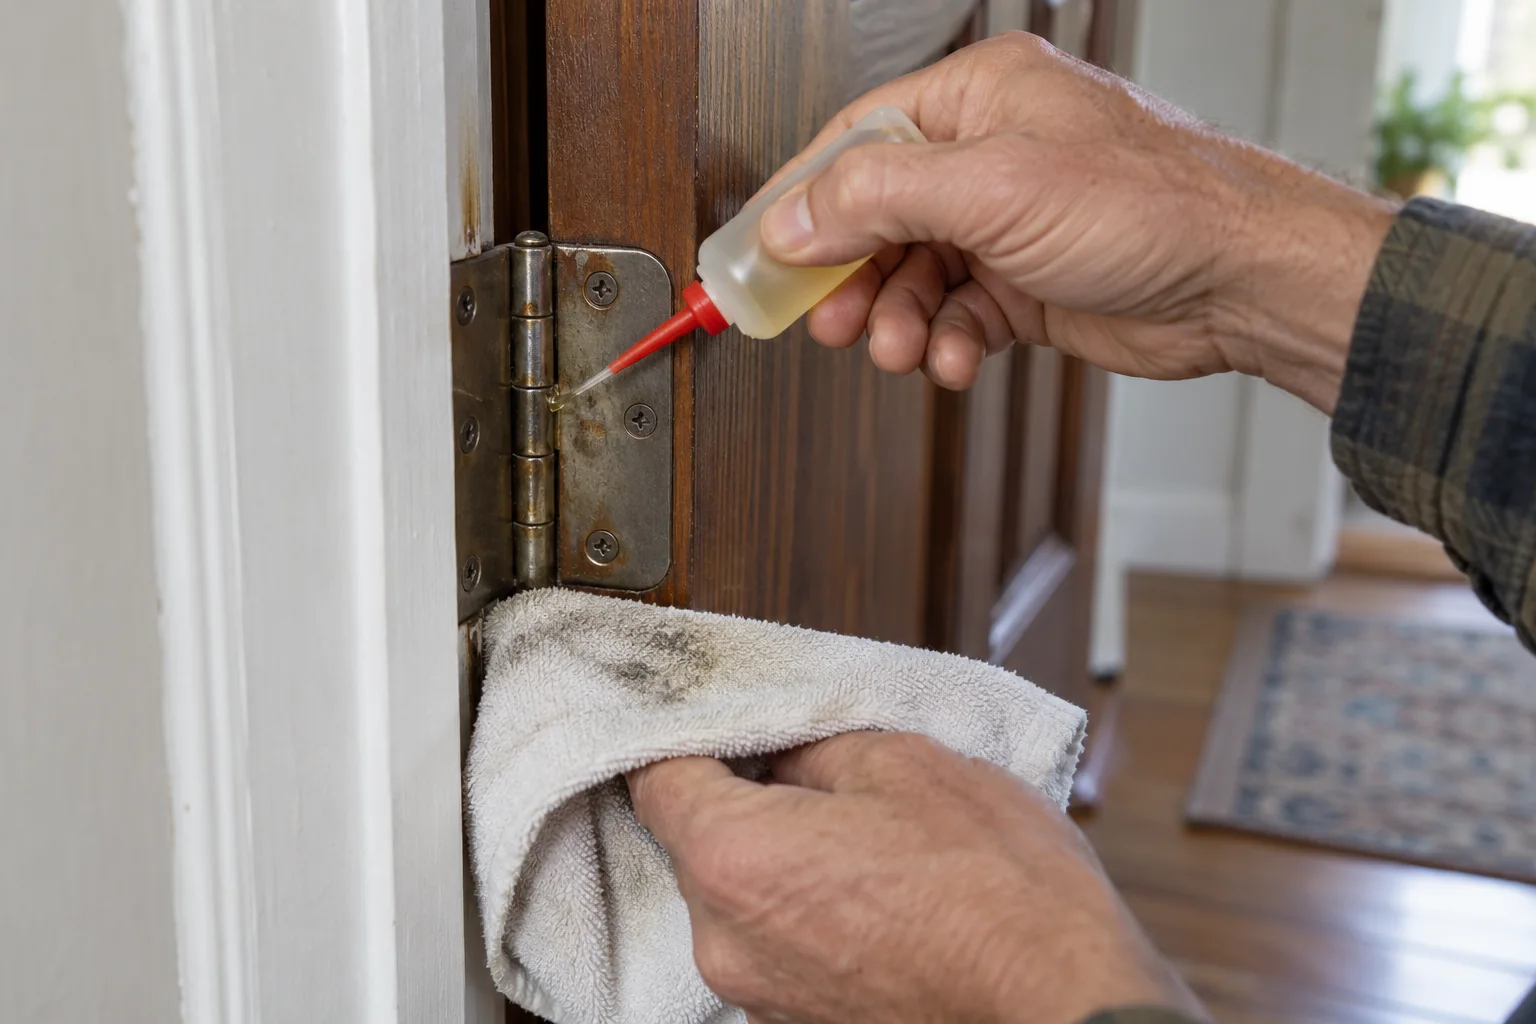
Find the hinge producing the sound, clean the exposed hinge surfaces, and apply a small amount of suitable hinge lubricant according to its label.
A squeak does not automatically mean the hinge needs replacing. Dry contact points, dirt, or a loose fitting may be enough to create it. Work on one hinge at a time so you know which small change makes a difference.
Make the first move safely
Do not alter a fire-door closer or self-closing hinge. Have safety hardware serviced appropriately.
Step 1: Identify the noisy point
Open and close the door slowly while listening near each hinge. Keep fingers out of the hinge gap. Also check whether the door is rubbing on the frame, which needs a different fix.
Look at the hinge screws. If a screw is visibly loose, use the correct screwdriver and tighten gently. Stop if it spins without gripping; forcing it will not repair the hole.
Find the hinge that is actually making the sound
Open and close the door slowly while standing clear of the swing. Listen near the upper, middle, and lower hinge rather than assuming the closest one is responsible. A squeak that begins at one angle may point to a dry hinge pin, while a rubbing or scraping sound near the latch side may mean the door is contacting the frame. Hold the door at a few positions and note whether the sound changes. If it binds, sags, or needs to be lifted to latch, treat alignment as part of the problem.
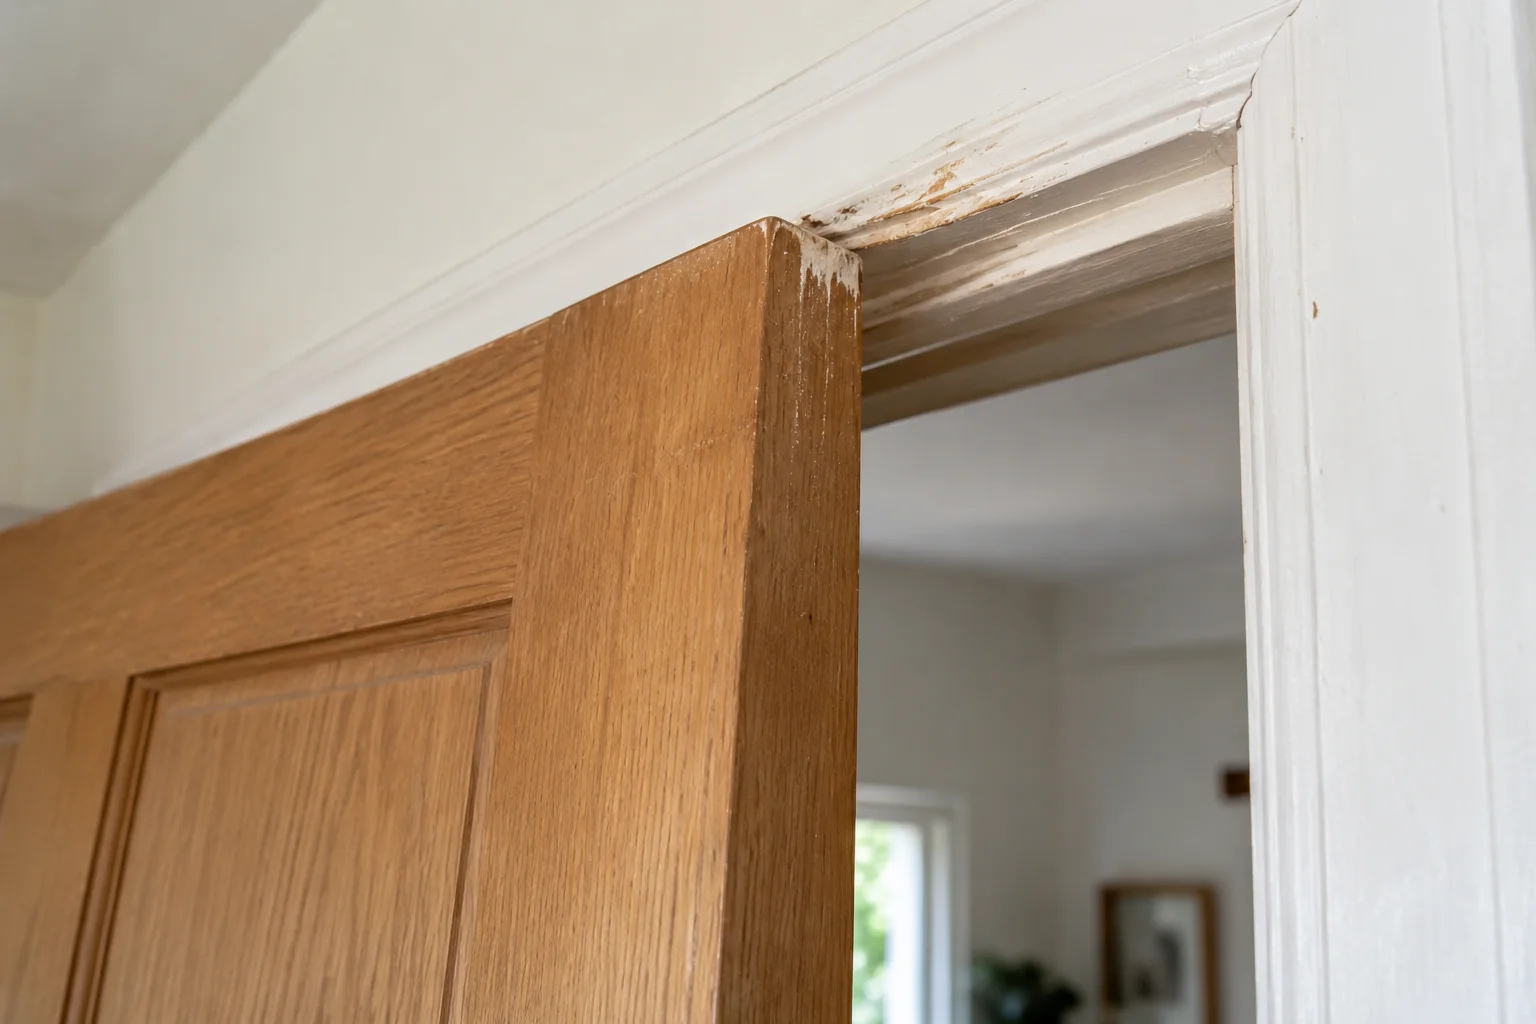
Place a thin piece of paper near a suspected contact point and move the door gently. If the paper is pinched, you have found where the door meets the frame, but do not leave it there while using the door. Look at the gap around the door: is it even, or wider on one side? Check for a loose hinge leaf or a screw that turns without tightening. A hinge can squeak because its pin is dry, but it can also move under load because the fastening is failing. Lubricant will not repair a loose hinge.
Identify special hardware before touching it
A normal interior hinge is different from a spring hinge, door closer, fire-rated assembly, or accessible automatic door. These components can store energy or have a safety function. If the door is marked as a fire door, closes by itself, or has a complex closer, do not remove pins or alter its closing force. Report the issue to the building owner or a qualified technician. The same applies to a heavy exterior door that is difficult to support safely.
Take a photo of the hinge and its screw positions before any change. This gives you a record if a pin, washer, or decorative cap has an unusual arrangement. Keep children and pets out of the swing path, especially if you are working with the door partly open. A door that moves suddenly can pinch fingers even during a small maintenance task.
Step 2: Clean and protect the area
Place a cloth below the hinge and wipe away loose dust. Keep lubricant away from flooring and painted surfaces. Read the lubricant label for compatibility with the hinge finish.
Do not use cooking oil. It can become sticky and attract dirt. A product intended for hinges is easier to apply in a controlled amount.
Protect the finish and prepare the work area
Put a cloth or cardboard under the hinge to catch drips and dirt. Wipe away visible dust or old sticky residue from accessible surfaces with a method safe for the hinge finish. Do not flood the surrounding painted wood with solvent. If the hinge is rusty, bent, or cracked, cleaning and lubrication may quiet it briefly but will not restore its strength. Inspect before you apply anything so the product does not hide a defect. A small flashlight can reveal grime at the barrel and loose screw heads.
Choose a lubricant recommended for hinges and compatible with the surrounding materials. Avoid a large spray cloud that lands on walls, flooring, or soft furnishings. Apply only a small amount at the hinge pivot, then move the door through several slow cycles. Wipe away excess. Too much product attracts dust and may drip down the door later. If the sound persists, try another identified hinge rather than coating every component at once.
Work around a stubborn pin without force
Some hinge pins lift out for cleaning, but others are fixed or retained by a set screw. Do not hammer a pin upward on an unsupported heavy door or one with a closer. If the manufacturer's design allows removal, support the door appropriately and follow the instructions. A bent or seized pin may indicate wear; forcing it can damage the hinge leaf or frame. When the task no longer feels like a simple wipe and small lubrication, stop and seek help.
If a screw is loose, tighten it with the correct driver while supporting the door. Stop when it is snug; overtightening can strip the wood or distort the hinge. A screw that spins without gripping needs a suitable repair, not repeated turning. That repair depends on the door and frame material. Avoid stuffing random material into a hole on a fire-rated or heavy door.
Step 3: Lubricate and test
Apply only a small quantity at the accessible moving joint, following the product directions. Move the door several times to distribute it, then wipe away excess.
Wait and retest before adding more. Flooding the hinge can leave a mess without solving wear or misalignment. If the sound is unchanged, check the next hinge or the latch contact point.
Apply, test, and isolate
After applying a modest amount of lubricant, close and open the door a few times. Listen from the same position and at the same speed as before. The sound should change quickly if the pin was the cause. If the squeak is gone but the door still drags, you have solved only one symptom. Mark the rubbing location with removable tape and investigate alignment separately. Do not continue spraying to try to overcome mechanical contact.
A different sound may come from the latch, strike plate, weatherstripping, or door sweep. Test the door with the latch held back if that can be done safely, then with it operating normally. If the noise happens only during the last inch of closure, the latch or seal is more likely than the hinge. Check that the strike plate is not loose and that the door is not being pushed off-center by a swollen seal. Again, make one observation and one correction at a time.
Use the result to choose the next repair
If lubrication quiets the door for only a day or two, inspect for wear, corrosion, or an underlying alignment issue. A hinge pin or bearing surface may need replacement. If one hinge is visibly damaged, a matching replacement may be appropriate, but heavy, exterior, or rated doors deserve qualified assessment. If the door does not close reliably, the problem is more than an annoyance. It can affect privacy, security, or a required safety function.
Record which hinge made the sound and what product you used. This avoids repeated applications of incompatible products. A squeaky door is easy to revisit months later; a short note helps you see whether the interval between treatments is shortening, which can signal wear rather than simple dryness.
Step 4: When to stop
Heavy doors, spring-loaded hinges, concealed hinges, and fire doors need model-specific care. Do not remove pins from an unsupported door. Damaged hinges or recurring looseness may need a carpenter's assessment.
Stop when the door's function is compromised
A door that rubs hard, drops when opened, has a cracked hinge leaf, or no longer latches should not be treated as a lubrication-only job. Check whether the frame has shifted, whether the screws are holding, and whether moisture has swollen the door. Do not plane or sand a door edge before identifying the cause. Removing material may produce an uneven gap and, on a rated door, compromise a tested assembly. An exterior door that does not latch securely warrants prompt repair.
In older homes, disturbing painted surfaces can raise additional precautions. If the repair would involve sanding or scraping unknown old paint, pause and seek the appropriate assessment. The same restraint applies to hidden wiring in an automatic door or unfamiliar access hardware. A clear photograph and description of the symptom help a professional advise on the right scope.
Keep the fix tidy
Wipe drips after the test and check the nearby floor for slippery residue. Close the door several times over the next day to confirm the squeak stays away and the latch works without extra force. If the door was used frequently, watch for returning noise at the same point. That pattern may justify replacing a worn hinge or correcting alignment. A quiet door that still swings unexpectedly or fails to close is not a complete repair.
For routine care, clean visible hinge dust gently and pay attention to changes in the door gap. Seasonal humidity can change how a wood door fits, but it should not cause a hinge to become loose. Treat a new squeak as a useful clue: locate it, identify the hardware, apply the smallest appropriate correction, and verify the door's full function afterward. That sequence is safer and more durable than reaching immediately for a spray can.
Check the work as a complete sequence
A step-by-step repair is only complete when the surrounding area works normally again. Return to the reason you started: does the part move, seal, drain, or fasten as intended? Test gently first, then under ordinary use if the product instructions allow it. Look for changes in alignment, fresh moisture, loose material, or a finish that has not cured. If the result is only partly better, identify which step failed rather than adding more product or force everywhere.
Set aside the packaging and instructions until the test is complete. They may contain a cure time, a recheck interval, or a warning about compatible materials. Photograph the finished area and record the product name and date. If someone else in the home will use the repaired item, tell them about any temporary restriction, such as avoiding water or load while a material cures. A good-looking repair can still fail if it is used too early.
Prevent the same failure
Ask what caused the original damage. A recurring leak, movement, impact, or moisture problem will undo a cosmetic fix. Deal with that cause if it is within safe homeowner scope; otherwise arrange diagnosis. Avoid making the next repair harder by hiding screws under permanent adhesive, painting over a required access point, or discarding the part number. Small notes now can save a much larger investigation later.
If the repair required more force or disassembly than expected, or if a safety feature no longer works, stop and seek help. Do not call a repair finished because the immediate symptom disappeared while the assembly is less secure. The useful endpoint is a stable, tested result that follows the relevant product instructions and can be maintained later.
Quick recap
- Identify the noisy point.
- Clean and protect the area.
- Lubricate and test.
- When to stop.
Frequently asked questions
Should I remove the hinge pin?
Usually not for the first attempt. Try accessible cleaning and lubrication; pin removal can leave a heavy door unsupported.
Why does the squeak return?
The lubricant may be unsuitable, or wear and alignment may be the real cause.