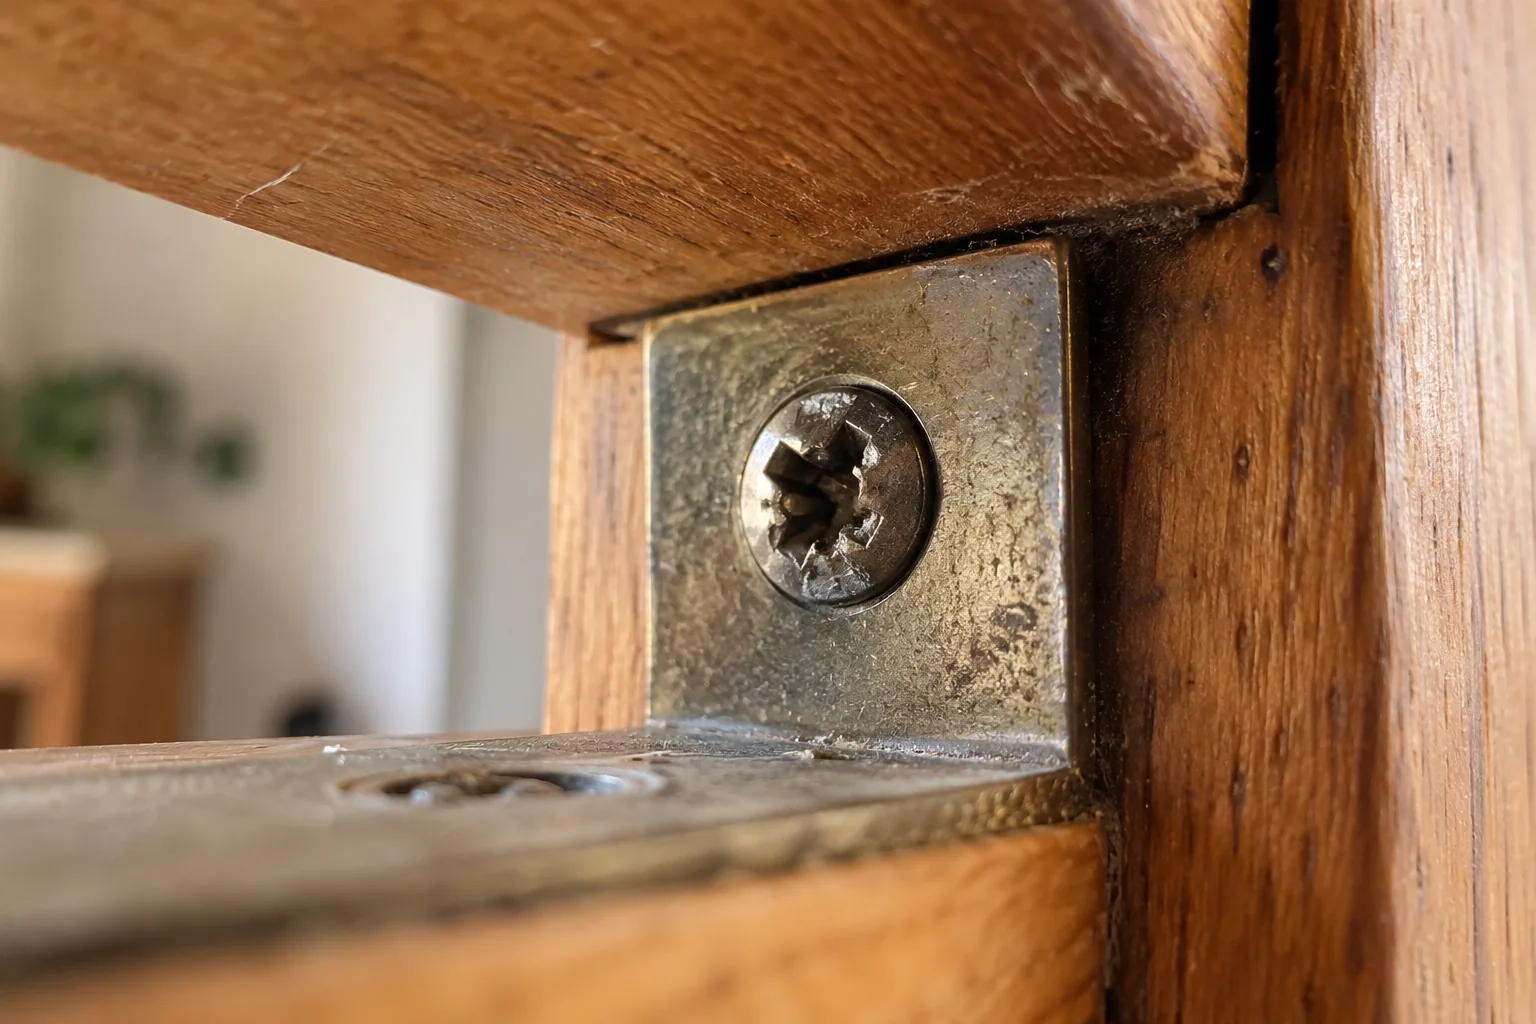
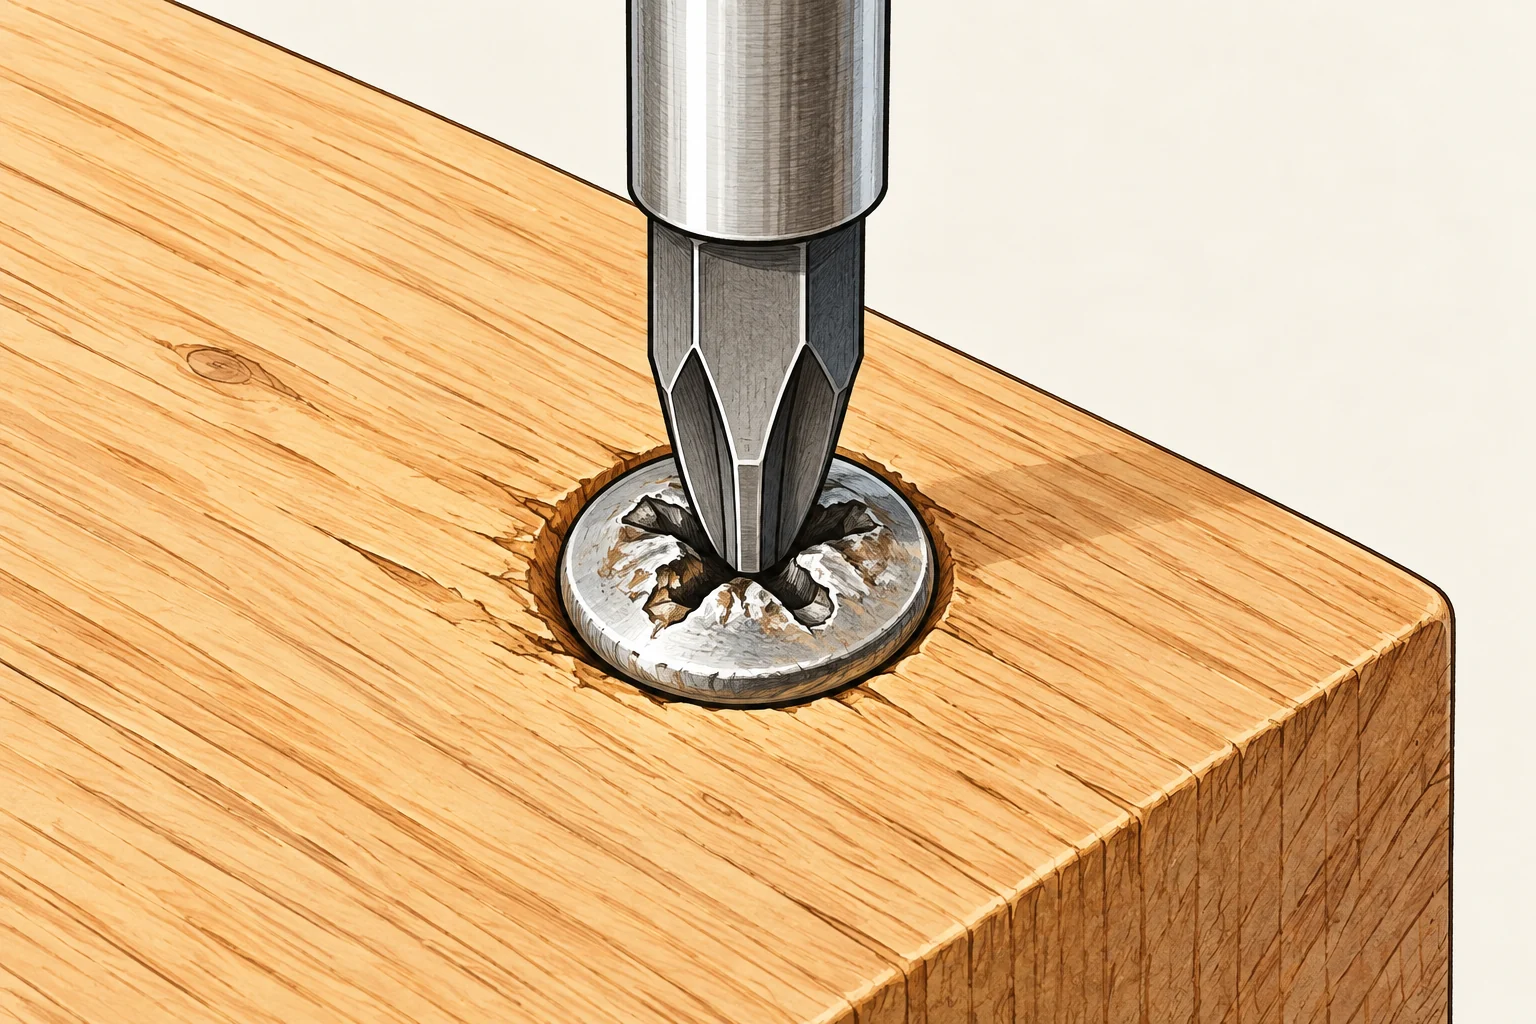
Stop using the slipping bit. Try the exact driver profile with steady alignment, or grip a raised head with suitable pliers if the surrounding surface allows it.
Each slip removes more of the recess that the driver needs to grip. The first useful step is to stop, improve access, and identify the screw. Phillips, Pozidriv, and other profiles may look similar but need different bits.
Make the first move safely
Do not drill near hidden wiring, pipes, batteries, or unfamiliar mechanisms.
Step 1: Prepare the work area
Confirm the screw is not part of electrical equipment, a pressurized assembly, or a load-bearing connection. Support the piece and protect the surrounding finish. Wear eye protection if fragments could break away.
Clean loose debris from the head carefully and inspect it in good light. Choose an undamaged bit that fits fully. A bit that rocks in the recess is not ready to apply torque.
Assess the screw and the material around it
A rounded recess is only part of the problem. Note whether the screw head stands above the surface, sits flush, or is recessed; whether the screw can turn at all; and what material it is in. A screw in soft wood, metal hardware, plastic, or masonry can react differently to a removal attempt. Check whether the item can be safely supported when the screw comes free. A cabinet hinge, door closer, battery cover, and electrical cover are not equivalent tasks. Do not work on a live electrical enclosure or an unfamiliar mechanism to practice extraction.
Protect nearby finishes with a cloth or low-tack tape where appropriate, and remove loose objects from the work area. Use good lighting. If the screw is rusty, note whether corrosion has reached the surrounding hardware. A badly corroded fastener may break before it unscrews, so forcing it harder can create a more difficult repair. Photograph the head and surrounding assembly before applying any product or tool; you may need a matching replacement later.
Match the driver before increasing force
Inspect the shape of the recess. Phillips, Pozidriv, Torx, hex, and other patterns can look similar at a glance but require different bits. A nearly fitting bit can remove the remaining edges. Choose a fresh bit that seats fully with little wobble. Press straight along the screw's axis while turning slowly by hand. If the screw begins moving, continue at a controlled pace and stop if it binds sharply. Reversing slightly and trying again can be gentler than one long forced turn, depending on the material.
Avoid a high-speed drill as the first response. It can heat the head, slip onto the finish, or bury the screw deeper. If the fastener is in a fragile item, support the surrounding material. Wear eye protection for any method that may release metal fragments.
Step 2: Try steady manual pressure
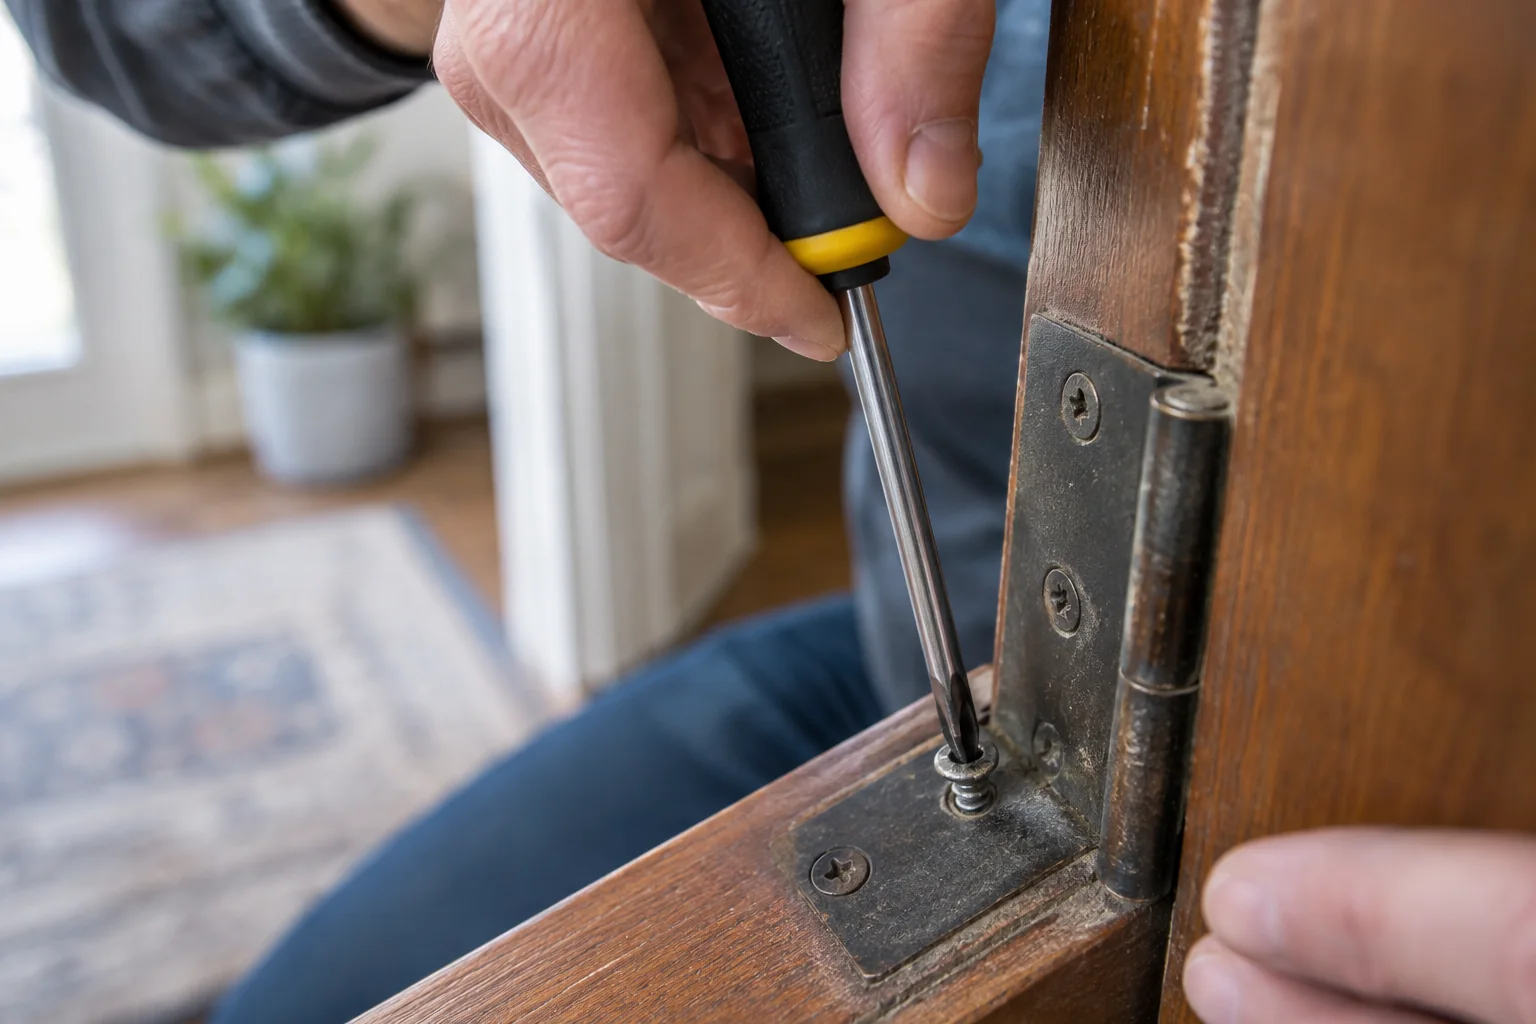
Use a hand driver aligned with the screw axis. Press firmly enough to maintain engagement and turn slowly. If it slips, stop rather than repeating the same failed motion.
A thin rubber band may add grip for a lightly damaged recess, but it is not a reliable cure for a rounded-out head. Do not let repeated attempts turn a minor defect into a completely smooth opening.
Try the least aggressive grip first
A rubber band between a slightly damaged recess and the correct driver can sometimes provide enough extra grip for a lightly tightened screw. It is not a fix for a screw seized by corrosion or cross-threading. Press the driver squarely, turn slowly, and stop if the band shreds or the bit cams out. Remove fragments so they do not enter the mechanism. A wider driver or a different bit may work if it truly fits the remaining shape; do not hammer a bit into fragile hardware without knowing what supports it.
If the head stands proud, locking pliers may grip its outer edge. Protect the nearby finish and turn a small amount at a time. This works only when enough metal is exposed and there is clearance. Do not clamp onto a screw near glass, a painted cabinet face, or delicate electronics where a slip would cause serious damage. If the head is flush, skip the plier idea instead of gouging the surface to make room.
Understand why the screw is stuck
A screw may bind because the wrong fastener was installed, the threads are damaged, the material has swollen, or a hidden nut is turning with it. If the screw turns freely without backing out, the issue may be stripped material rather than the head. Pressing harder will not restore grip. If the screw does not move at all, consider whether a thread-locking compound, corrosion, or a trapped component is involved. The correct next step depends on the assembly; stop before a small hardware issue becomes broken furniture or a damaged fitting.
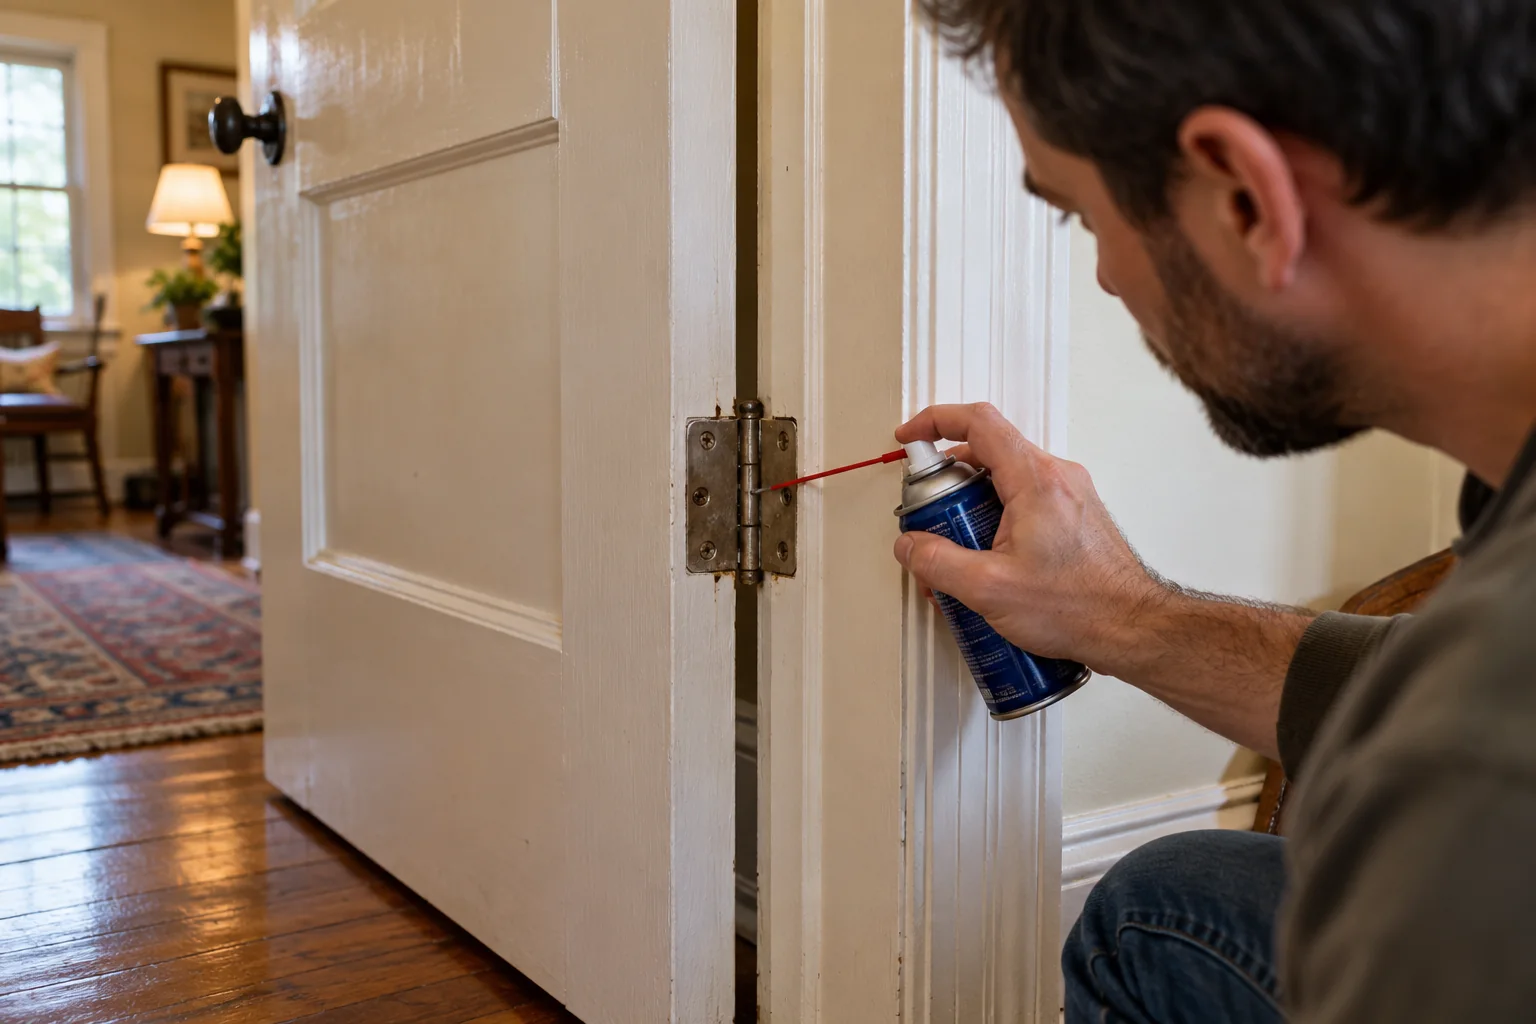
A penetrating product may help in some metal-to-metal situations, but it can stain wood, damage finishes, or be unsuitable near food-contact and electrical components. Follow the product label and the item's instructions. Do not spray indiscriminately.
Step 3: Use a raised head if available
If enough of the head stands clear, suitable locking pliers may grip its outer edge. Protect the surface and turn gradually without levering sideways against the material.
If the head is flush, an extractor may be needed. Extractors require the correct size, alignment, and sometimes drilling; ask a professional if the screw is in a delicate or valuable item.
Use the exposed head if you can control it
With a raised head, grip the sides securely using a suitable hand tool. Turn slowly, keeping the tool aligned so it does not scrape the surface. If it slips twice, stop and reassess rather than digging deeper into the head. If the screw begins to lift, you may be able to switch back to a driver once more of the shaft is exposed. Support the attached part so it does not drop when the fastener releases. Keep your other hand out of the possible tool path.
For a recessed or flush head, specialty extractor bits exist, but they are not risk-free. They may require drilling a centered pilot hole and can break or enlarge the opening. This guide does not recommend drilling near hidden wiring, pipes, batteries, or unfamiliar mechanisms. If the fastener is in a safety-critical part, a professional repair is usually a better choice. A replacement screw is cheap; the surrounding object may not be.
Decide when to stop
Stop if the head is becoming smaller, the surrounding material is cracking, or the tool is heating the fastener. Stop if you cannot keep the tool centered. A metal fragment can be sharp, and a slipping bit can injure a hand. Let a qualified repairer evaluate a screw in a structural bracket, electrical device, gas appliance, or fire-door component. The ability to remove a fastener is not worth compromising the function of the assembly it holds.
If several fasteners are seized, the problem is likely broader than a single damaged head. Ask whether the whole fitting should be serviced or replaced.
Step 4: Repair the cause before replacing
Replace the damaged screw with the specified size and type. Check whether the original was cross-threaded or the hole is damaged. A fresh screw forced into the same problem may strip again.
When reassembling, start by hand and finish with controlled torque. Do not use a high-speed driver to overcome unexplained resistance.
Repair the reason it stripped
Before installing a new screw, inspect the hole and the threads. A damaged wood hole may need an appropriate repair so the replacement can grip; a stripped metal thread may need a different engineered solution. Do not simply choose a much larger screw. It can split wood, break through a thin panel, or interfere with a hidden component. Match the original length, diameter, thread type, and head shape unless the manufacturer specifies a repair. Keep the removed screw to compare at a hardware store.
If a screw stripped during installation, consider whether the bit was wrong, the driver was tilted, or the torque was too high. Start a replacement by hand to confirm it follows the existing thread. Use a controlled driver setting and stop when the joint is snug. A screw that immediately spins without tightening indicates the hole has not been repaired. Do not hide that by adding glue to an assembly that may later need service.
Test the assembly after replacement
A cabinet hinge should move smoothly and hold alignment; a handle should not wobble; a cover should sit flush without being forced. Check the function under normal load, not merely by looking at the new screw. If the fitting is loose, find the structural cause before adding more fasteners. Record any unusual size or part number so the next maintenance task starts with the correct tool.
The safest removal strategy escalates slowly: confirm the driver, apply steady manual pressure, use an exposed head only if it can be gripped safely, and reserve extraction or drilling for situations where the surrounding material and hidden services are understood. A successful result leaves both the fastener and the object it secures in better condition than before.
Check the work as a complete sequence
A step-by-step repair is only complete when the surrounding area works normally again. Return to the reason you started: does the part move, seal, drain, or fasten as intended? Test gently first, then under ordinary use if the product instructions allow it. Look for changes in alignment, fresh moisture, loose material, or a finish that has not cured. If the result is only partly better, identify which step failed rather than adding more product or force everywhere.
Set aside the packaging and instructions until the test is complete. They may contain a cure time, a recheck interval, or a warning about compatible materials. Photograph the finished area and record the product name and date. If someone else in the home will use the repaired item, tell them about any temporary restriction, such as avoiding water or load while a material cures. A good-looking repair can still fail if it is used too early.
Prevent the same failure
Ask what caused the original damage. A recurring leak, movement, impact, or moisture problem will undo a cosmetic fix. Deal with that cause if it is within safe homeowner scope; otherwise arrange diagnosis. Avoid making the next repair harder by hiding screws under permanent adhesive, painting over a required access point, or discarding the part number. Small notes now can save a much larger investigation later.
If the repair required more force or disassembly than expected, or if a safety feature no longer works, stop and seek help. Do not call a repair finished because the immediate symptom disappeared while the assembly is less secure. The useful endpoint is a stable, tested result that follows the relevant product instructions and can be maintained later.
Quick recap
- Prepare the work area.
- Try steady manual pressure.
- Use a raised head if available.
- Repair the cause before replacing.
Frequently asked questions
Can I use any screw extractor?
No. Match it to the fastener and follow its instructions; a broken extractor can make removal harder.
Should I reuse the damaged screw?
Replace it with the correct undamaged fastener.