Use a sealant approved for the tub and wall materials. Remove failed caulk without damaging the surfaces, clean and dry the joint, apply one controlled bead, and follow the label's full cure time before using the bath.
A neat new bead is useful only if the surfaces beneath it are sound and dry. If a wall is soft, tiles move, or water has been escaping for a while, address the underlying damage before covering the gap. This guide is for a small cosmetic perimeter joint in otherwise sound materials.
Make the first move safely
Never seal over a wet, soft, or visibly damaged wall. Use ventilation and protective measures stated on the sealant label.
Step 1: Inspect before removing anything
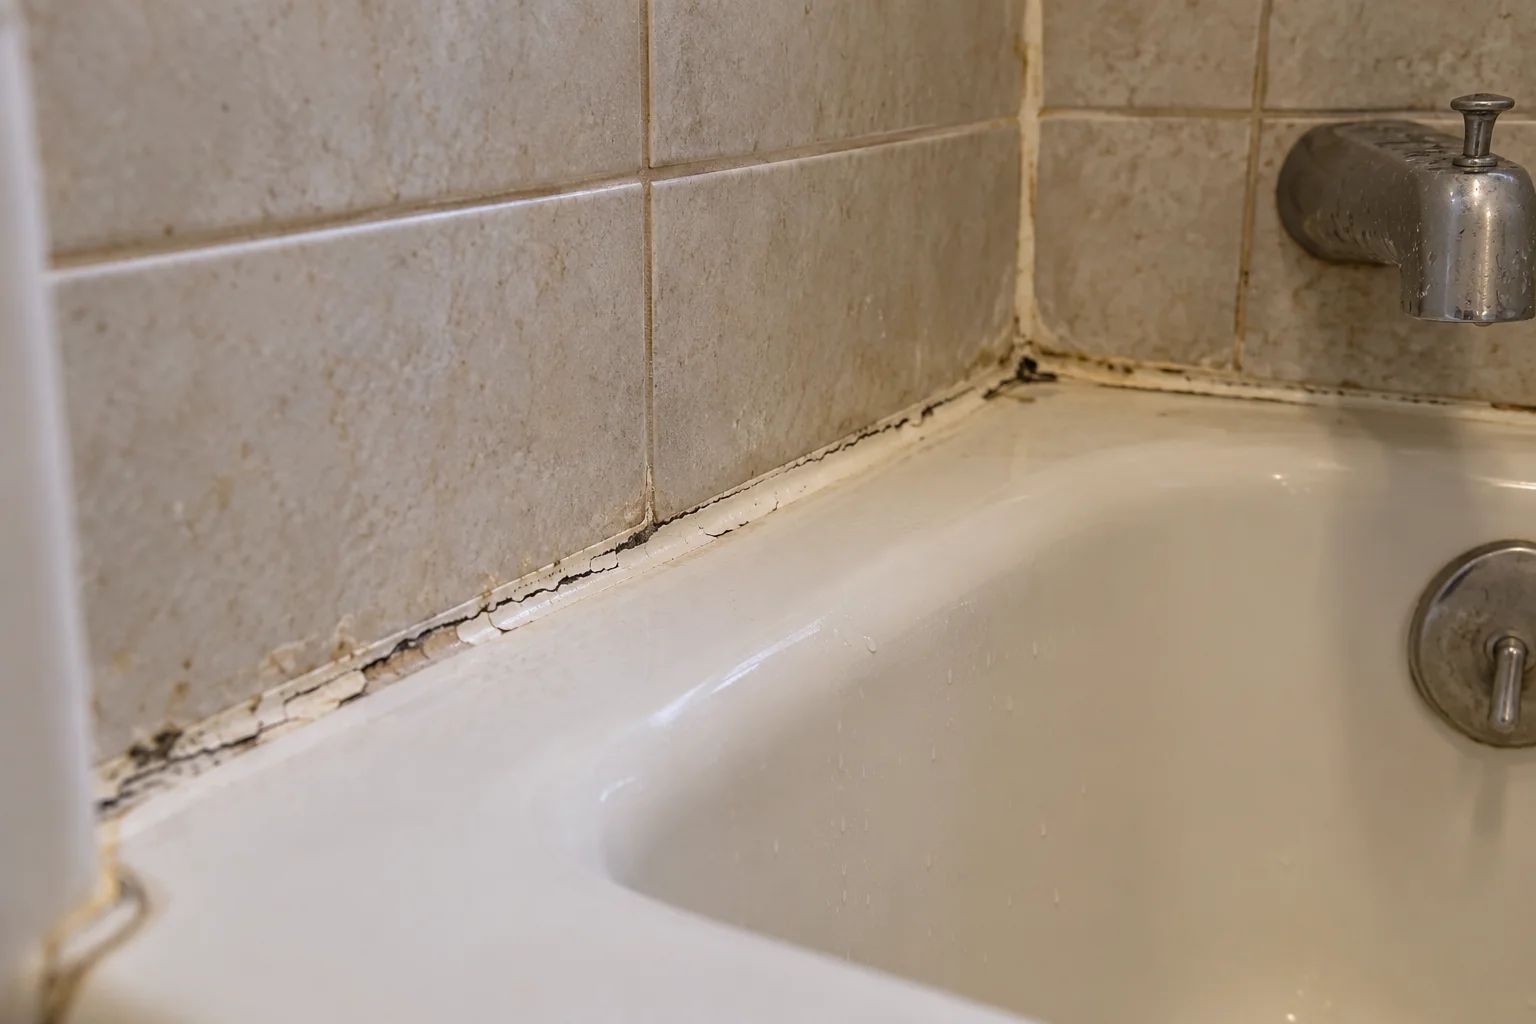
Look for gaps, peeling caulk, blackened material, loose tile, or a soft wall. A little surface staining is different from water damage behind the wall. If the joint is moving or the substrate is wet, stop and seek repair advice.
Identify the tub and wall material so you can choose a sealant and removal method that will not scratch or react with either surface. Follow any landlord requirements before altering a rented bathroom.
Decide whether the joint is ready to seal
Caulk at a bathtub edge is a flexible joint, not a cure for water damage behind tile. Look for missing sections, separation from one side, mold that returns beneath the bead, soft wallboard, or a loose tub. If water has reached the substrate, drying and repair come before new sealant. Press lightly on nearby surfaces without damaging them; softness or movement is a reason to stop. Photograph the joint and note where water appears during use. A leak from a pipe or shower door may only seem to originate at the caulk line.
Identify the materials on both sides of the joint: acrylic tub, enamel, tile, stone, glass, or metal. Choose a sealant the manufacturer specifies for those materials and wet bathroom use. Read its preparation and cure instructions before removing anything. Some products need a completely dry surface for a full day or more; plan how the household will bathe during that period. Do not start a project that cannot remain dry through the required cure.
Consider movement and joint size
A tub can flex under the weight of water or a person. A rigid filler may crack where the tub meets the wall. The sealant must accommodate the joint as designed. If the gap is unusually wide, deep, or changing, ask a professional about backing and the underlying cause rather than filling the void with a thick mass of caulk. A bead on top of old failing material is unlikely to bond to the surfaces beneath. Remove the old bead as the product instructions permit.
Check corners and vertical joints at the same time. A neat horizontal line will not keep water out if an adjacent corner is open. Yet do not strip every intact joint automatically. Define the repair area based on actual failure and compatible materials.
Step 2: Remove old caulk carefully
Use a manufacturer-approved caulk remover or a suitable plastic tool, working slowly along the joint. Avoid driving a blade into the tub finish or cutting waterproofing behind the tile.
Remove loose residue completely, then clean with a compatible product. Do not place fresh caulk over a failing bead. Rinse as directed, and allow the joint to dry fully.
Remove the old bead without damaging the tub
Score and lift the old caulk with a tool suited to the surface. Keep the blade angle shallow and your free hand away from its path. Acrylic can scratch; tile can chip; a metal scraper can mark both. If a remover is used, check compatibility with the tub and follow its ventilation and dwell-time instructions. Pull out loose material in sections rather than forcing a tool deep behind the wall finish. Vacuum or wipe debris afterward.
Inspect the exposed joint. If it is dark, wet, soft, or crumbling, stop and investigate. Cleaning visible residue is different from drying a hidden cavity. Do not seal over mold or moisture. EPA guidance advises cleaning and drying moldy surfaces before caulking or painting. A repair made while the wall is still wet may trap the problem and fail soon.
Clean and dry for adhesion
Use the cleaning method specified by the new sealant maker. Different products call for different surface preparation, and some residues interfere with adhesion. Do not mix cleaners. Rinse as directed and allow both sides of the joint to dry thoroughly, including the narrow gap. A fan may help room air circulate when safe, but do not blow dust into the wet joint. Test with a dry cloth where accessible. If moisture keeps returning, identify the source before applying sealant.
Masking tape can help make a straight edge, but it must be placed so the bead contacts both surfaces properly. A pretty line that sits only on the tape edge is not a seal. Practice a small section if this is your first time with the product.
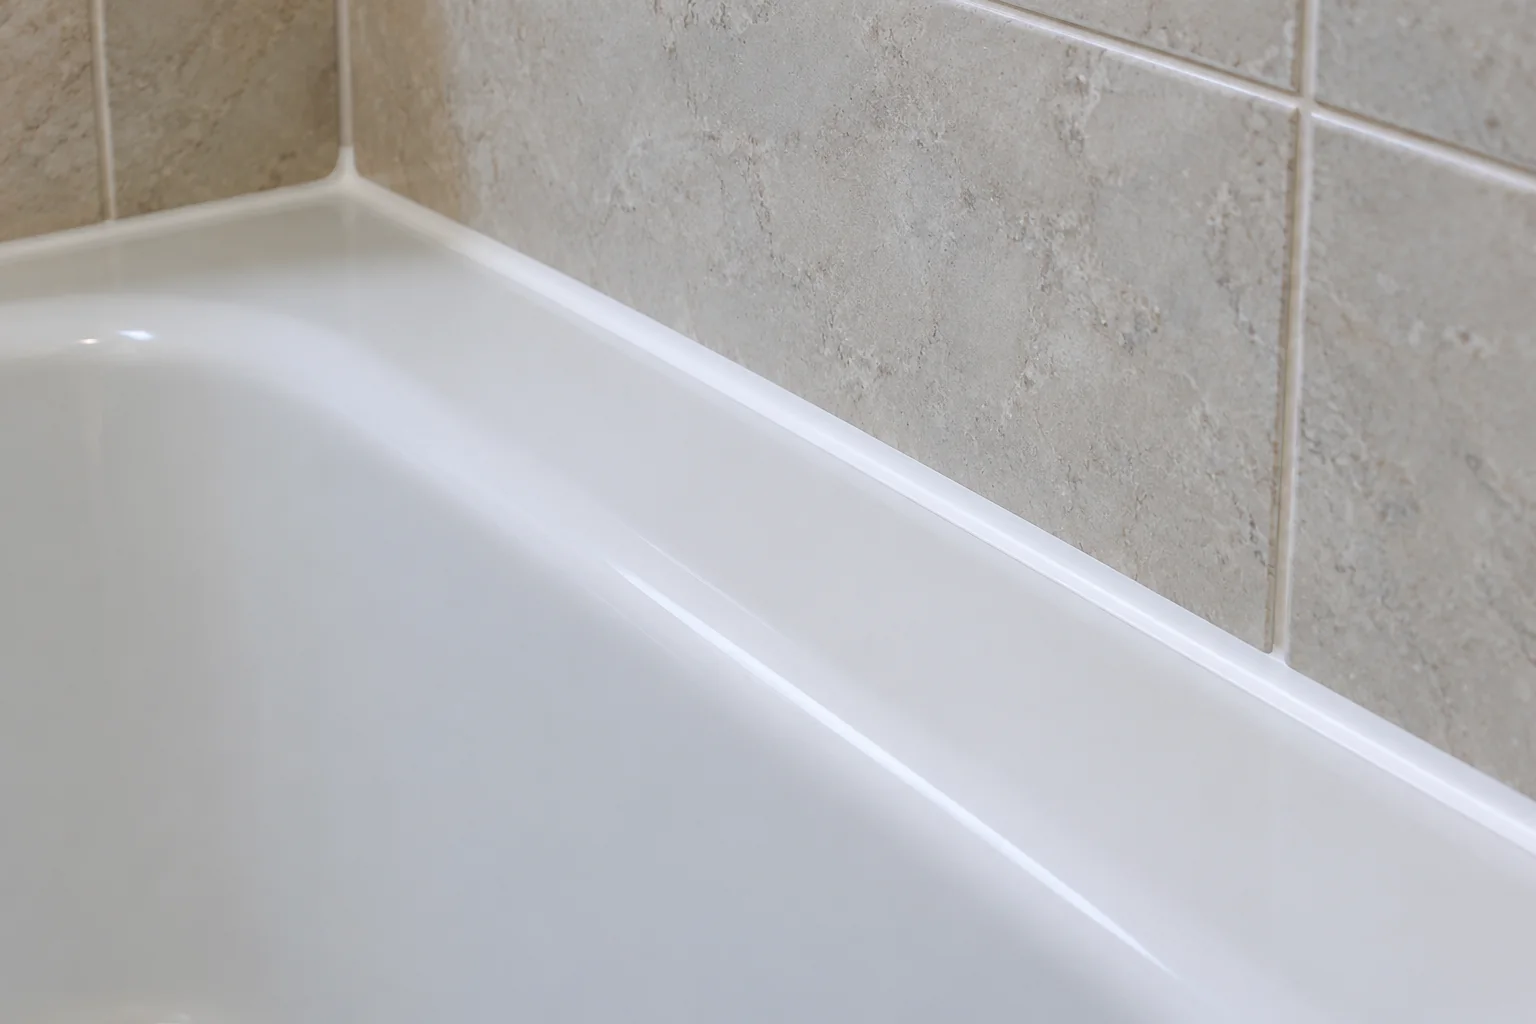
Step 3: Apply a controlled new bead
Read the sealant instructions for joint width, masking, ventilation, and cure time. If masking is appropriate, leave only the intended joint exposed. Cut the nozzle conservatively so the bead is not unnecessarily wide.
Move the applicator steadily and use the approved tooling method to make consistent contact with both sides of the joint. Remove masking at the stage specified by the product instructions.
Apply one controlled bead
Cut the nozzle opening to suit the joint; a small opening is easier to control than a large one. Move steadily and keep the bead continuous through corners. Follow the manufacturer's guidance on whether and how to tool the bead. Excessive wiping can pull sealant away from one side. Remove masking tape at the time the product directs, before it tears the edge. Do not repeatedly add more sealant to a partly skinned bead to repair a cosmetic flaw; the layers may not bond as expected.
Keep ventilation and gloves consistent with the label. Some sealants have a strong odor while curing. Store the tube as directed and keep it away from children. If a bead slips into the tub drain or onto a finish, clean it using the maker's recommended method before it cures. Do not use a harsh solvent that could damage acrylic or stone.
Check continuity before walking away
Look closely at the full line, especially the ends and changes of direction. Are there pinholes, gaps, or places where the bead did not touch one side? Correct them within the product's working time, following its instructions. Do not press the tub or shower wall repeatedly while the bead is fresh. Note the completion time so no one uses the bath too early. A sign on the door may be useful in a shared household.
If the tub maker specifies filling the tub or another preparation to account for movement, follow that exact guidance. Generic advice is not a substitute for product instructions.
Step 4: Protect the cure
Keep the area dry and unused for the full stated cure period. Do not assume that a surface which feels dry is ready for water exposure. Check the finished bead for skips or gaps only after curing.
If the gap repeatedly opens, the tub or wall may be moving. Repeating the same caulk job will not fix a loose installation or hidden leak.
Protect the cure and verify later
The sealant may look dry on the surface before it has cured through its full depth. Keep water off it for the stated period. Humidity, bead thickness, and product type can affect timing; follow the label. Do not shower early to “test” the seal. After cure, inspect the bead under good light. It should be continuous, attached to both sides, and free of obvious gaps. A gentle water-use test should be done only when permitted, with someone watching the outside of the joint and adjacent floor.
If water still escapes, confirm its actual path. A shower door, overflow, loose faucet trim, or supply leak can direct water past a good tub-edge bead. Recaulking the same line again will not fix a different source. Dry the area and observe a controlled normal use. If the wall becomes damp or a stain grows, arrange professional assessment.
Maintain the joint rather than hiding failure
Wipe the edge dry after bathing when practical and keep ventilation working. Clean with products compatible with the sealant. Abrasive scrubbing can damage the bead or break its bond. Inspect for lifting, cracks, or persistent dark marks during routine cleaning. A joint that fails repeatedly may signal movement, poor preparation, or a hidden moisture problem. Document the recurrence instead of layering new caulk on top.
A durable repair has three parts: a sound, dry substrate; a compatible, continuous sealant bead; and enough cure time before water returns. If any of those cannot be confirmed, the correct next step is investigation, not another tube of caulk.
Keep the sealant product name and a photo of its label in your home records. If the bead discolors or pulls away soon after installation, the label helps identify whether the material was suitable for the tub and whether the stated preparation and cure conditions were met. That is more useful than repeating the job with an unidentified tube.
Check the work as a complete sequence
A step-by-step repair is only complete when the surrounding area works normally again. Return to the reason you started: does the part move, seal, drain, or fasten as intended? Test gently first, then under ordinary use if the product instructions allow it. Look for changes in alignment, fresh moisture, loose material, or a finish that has not cured. If the result is only partly better, identify which step failed rather than adding more product or force everywhere.
Set aside the packaging and instructions until the test is complete. They may contain a cure time, a recheck interval, or a warning about compatible materials. Photograph the finished area and record the product name and date. If someone else in the home will use the repaired item, tell them about any temporary restriction, such as avoiding water or load while a material cures. A good-looking repair can still fail if it is used too early.
Prevent the same failure
Ask what caused the original damage. A recurring leak, movement, impact, or moisture problem will undo a cosmetic fix. Deal with that cause if it is within safe homeowner scope; otherwise arrange diagnosis. Avoid making the next repair harder by hiding screws under permanent adhesive, painting over a required access point, or discarding the part number. Small notes now can save a much larger investigation later.
If the repair required more force or disassembly than expected, or if a safety feature no longer works, stop and seek help. Do not call a repair finished because the immediate symptom disappeared while the assembly is less secure. The useful endpoint is a stable, tested result that follows the relevant product instructions and can be maintained later.
Quick recap
- Inspect before removing anything.
- Remove old caulk carefully.
- Apply a controlled new bead.
- Protect the cure.
Frequently asked questions
Can I put new caulk over old caulk?
A failing old bead should be removed. New sealant may not bond properly to dirty or loose material.
How soon can I use the shower?
Follow the exact product's cure time; it varies by formulation and conditions.