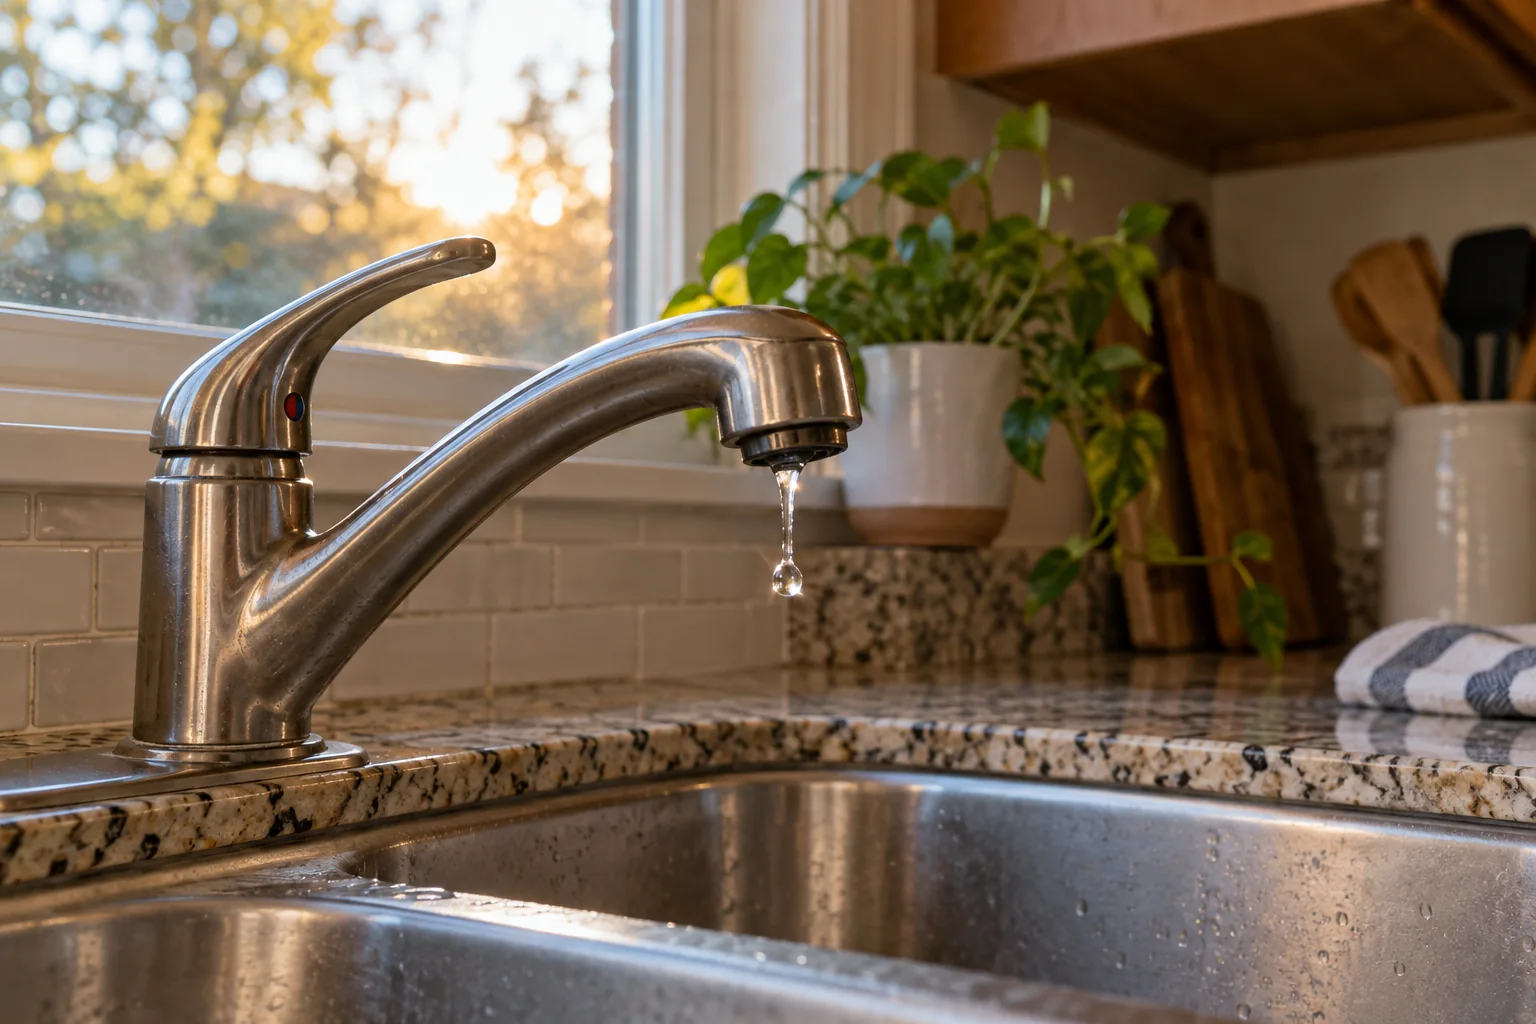
Identify whether the leak comes from the spout, handle, base, or a supply connection. The location determines whether a seal, cartridge, or connection needs attention.
Water can travel along the faucet before dripping, so the wettest spot is not always the source. Dry the area, run the tap briefly, and watch where moisture first appears. Put a towel and shallow tray under the sink to protect the cabinet while inspecting.
What to check first
Identify the faucet and leak
Record the brand and model and find its parts diagram. A drip from a closed spout may involve the cartridge or sealing surfaces. Water at a handle or below the counter may have a different cause.
Check with a dry tissue around accessible connections without putting hands near electrical equipment. If water is escaping from a hose or the supply line, stop using the fixture and arrange the appropriate repair.
Locate the leak before opening the faucet
Dry the faucet, sink deck, and cabinet floor. Then run cold water, hot water, and the sprayer separately while watching from a safe position. Water dripping from the spout after the handle is off suggests an internal shutoff component. Water appearing around the base only while the faucet runs may follow a different path. A wet cabinet can come from supply fittings, a sprayer hose, or the drain rather than the faucet body itself. Place a dry tissue beneath suspected points to identify fresh moisture. Do not assume that the first wet surface is the source; water can travel along hoses and cabinet walls.
Identify the brand and model if possible. Look for a label, installation paperwork, or a distinctive marking. Photograph the handle, spout, under-sink connections, and leak location. Manufacturer parts diagrams can show whether the faucet uses a cartridge, valve, O-ring, or another serviceable component. Two faucets with a similar silhouette may have completely different internals. Matching the model before purchasing parts saves a failed trip and avoids damaging an assembly while guessing how it comes apart.
Separate faucet leaks from drain leaks
If water appears under the sink, fill a bowl without letting water go down the drain, then check for moisture. Next, pour water down the drain without operating the faucet and inspect again. This simple separation can reveal whether the supply side or waste side is involved. Keep electrical outlets and appliances away from any wet cabinet. If the leak is active near wiring or the floor is becoming wet, prioritize shutting off water safely and arranging help. Do not keep running tests after you have identified a serious leak.
Notice whether the symptom is constant or appears only when the faucet is swung, the sprayer is extended, or a dishwasher operates. A moving hose can drip at one position and look dry at another. A short video of the exact trigger can be more useful than a general description.
Confirm the water is off
Close both supply valves, then open the faucet to relieve pressure and verify flow stops. If the valves are seized, leaking, or do not isolate the tap, call a plumber before disassembly.
Cover the drain so screws cannot fall in. Photograph each step and keep parts in order. The handle removal and cartridge retaining method must match your specific faucet.
Confirm that isolation really works
Find the hot and cold shutoff valves serving the faucet. Turn them slowly according to their design, then operate the faucet to confirm the flow stops. Some old valves do not close completely or begin leaking when moved. If that happens, stop. Do not loosen a faucet fitting with water still supplied. A working building or main shutoff may be needed, and a plumber can replace a failing local valve. Keep a towel and shallow container ready for water already inside the lines even after isolation.
If the valves work, clear space under the sink and protect the cabinet floor. Take a photo of hose routing and any clips before disconnecting anything. Read the manufacturer's service instructions for the exact model. A handle may hide a small fastener under a cap; forcing it in the wrong direction can break a finish or plastic retainer. Use the specified tool and keep parts in order on a clean towel. Do not mix hot and cold components or assume a generic video shows the same faucet.
Protect finishes and connections
Wrap a tool where it might touch a visible finish, and use only as much force as necessary. Deposits can make a part feel stuck, but increased force is not always the solution. The maker may specify a puller or a particular removal sequence. If a retaining nut, clip, or cartridge will not move without excessive force, pause. Breaking the faucet body can turn a small drip repair into a replacement and a larger leak.
Before fitting a new component, compare it with the old one in orientation, seal positions, and dimensions. Check the manufacturer's instructions for any supplied lubricant or cleaning method. Do not substitute household grease or adhesive. Clean accessible deposits gently, avoiding scratches in the sealing surface. A new seal installed against damage or grit may leak again immediately.
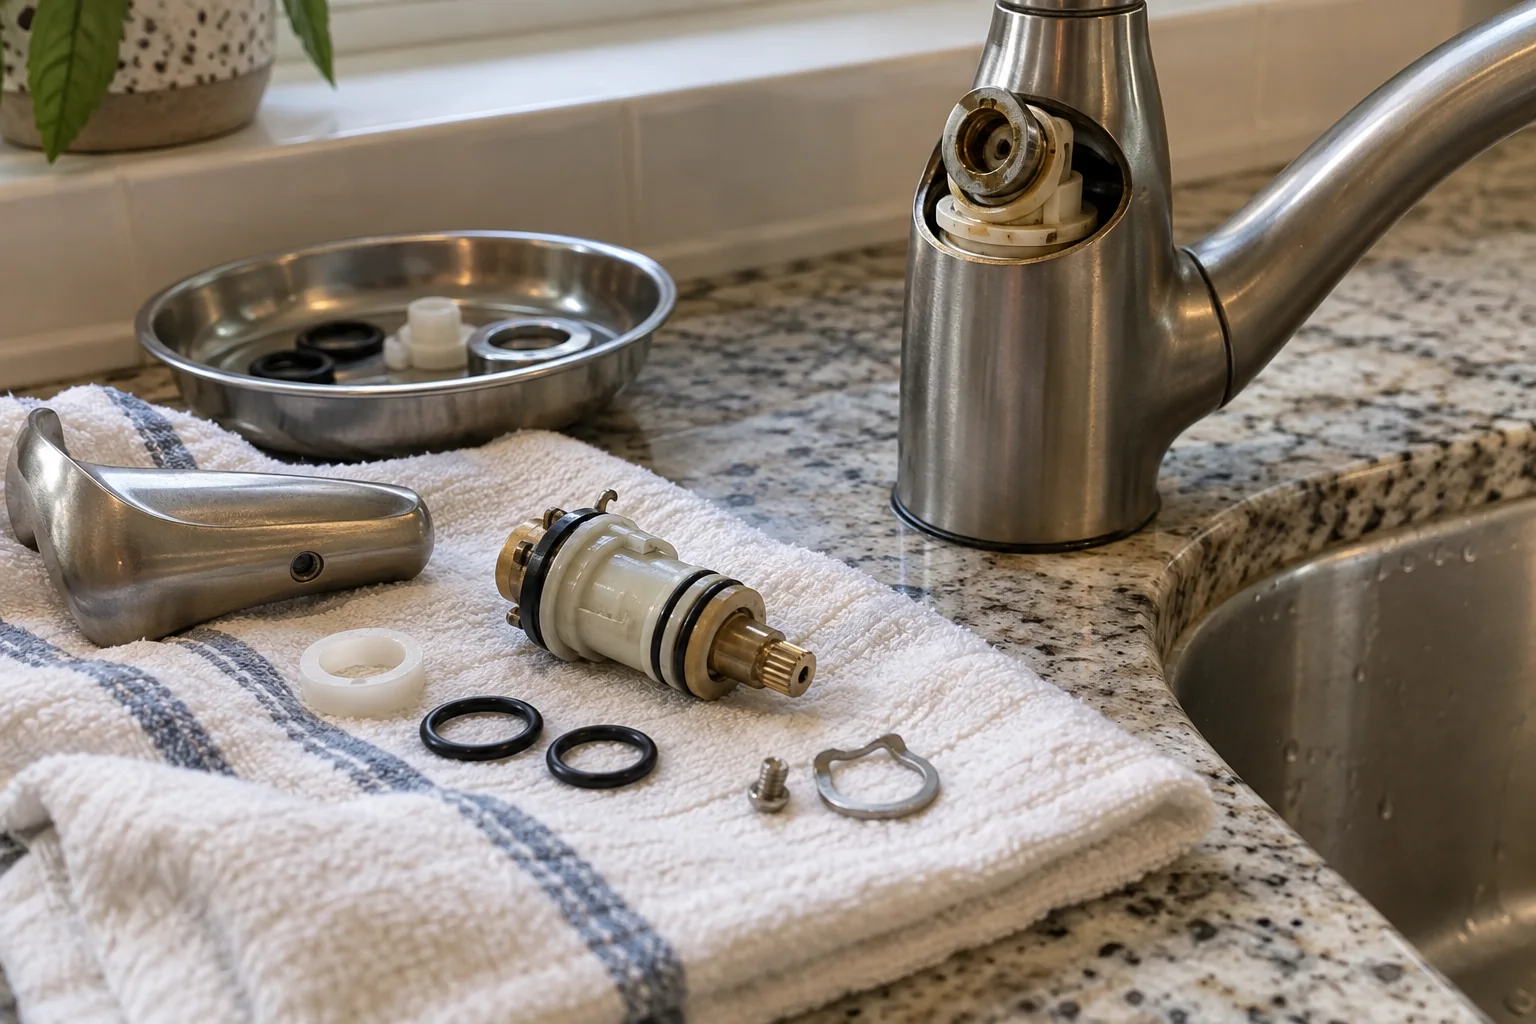
Replace only the identified part
Use the manufacturer's exact replacement and installation sequence. Avoid forcing a seized cartridge or substituting a part because it looks similar. Inspect the sealing area as directed and use only the lubricant the instructions permit.
Reassemble carefully, reopen the supply gradually, and check both while running and when closed. Dry the cabinet and inspect again later for slow seepage.
Replace the identified part and reassemble
Follow the parts diagram step by step. Keep the old component until the faucet has passed its final test so you can confirm the replacement was correct. Seat seals without twisting or pinching them. Refit any clip or retainer fully before restoring water. A small retaining piece that is only partly engaged can allow a cartridge to shift under pressure. Do not overtighten plastic fittings; use the torque or hand-tightening guidance provided by the maker.
Reopen the shutoff valves gradually while watching the cabinet. Leave the faucet off briefly and check for moisture at connections. Then run cold and hot water separately, swing the spout, use the sprayer, and check again. Dry everything and repeat the tissue test. A slow seep may show only after several minutes. If a connection begins to leak, turn the supply back off rather than tightening it repeatedly while pressurized. Revisit the specified assembly sequence or call a plumber.
Test the original symptom
If the original complaint was a drip from the spout after shutoff, wait long enough for residual water to drain and then observe whether fresh drops continue. A few drops immediately after use can be trapped in a high spout or aerator; an ongoing regular drip is different. If the leak was under the sink, test with the sprayer extended and retracted. If water appeared only during drainage, the faucet repair may not have addressed the true source. Confirm the cabinet stays dry under the exact conditions that previously produced the problem.
Keep a note of the part number and any warranty support. Faucet makers may provide model-specific instructions or parts. This record matters when a seal wears again years later.
Check for damage beyond the faucet
Swollen cabinet material, recurrent moisture, or corrosion may indicate the leak has been present for some time. Fix the water source and allow the cabinet to dry. A new cartridge does not address damaged hoses or separate plumbing leaks.
Know when replacement or a plumber is the better choice
A cracked faucet body, badly corroded fastener, leaking shutoff valve, damaged supply line, or inaccessible connection changes the scope. Repairing a cartridge will not fix a leak through a cracked casting. If water has damaged the cabinet, wall, or floor, assess and dry those materials as well. A plumber can isolate the supply, replace unsafe valves or hoses, and check for hidden damage. Do not leave a towel under an ongoing leak as a long-term plan.
If the faucet is old and parts are unavailable, compare the cost and installation complexity of a replacement. Check sink-hole configuration, countertop thickness, clearance behind the faucet, sprayer requirements, and supply connection compatibility before buying. A new fixture is not a simple drop-in if these conditions differ. In a rental, report the leak to the responsible party before replacing hardware.
Keep the repaired area observable
After the work, leave the cabinet organized so the supply lines and floor are visible. Check it again after a day of normal use, especially if the original leak was intermittent. A cabinet liner can protect the surface, but it should not conceal water or trap moisture. Keep cleaning products from pressing on hoses. If you notice a musty smell or swollen cabinet material, investigate even when no active drip is visible.
A good faucet repair ends with dry connections, a handle that operates normally, and no continuing drip under the original test. The most effective route is to identify where the water begins, confirm isolation, match the exact part, make one controlled repair, and test both supply and drain conditions afterward. That sequence prevents a small leak from becoming a larger plumbing problem.
Make the next decision from evidence
Before buying another part or repeating a treatment, compare the current symptom with the one you recorded at the start. Has the frequency, location, sound, smell, or amount of water changed? A partial improvement can mean the first issue was real but not the only issue. Write down the single action you took and what happened afterward. A photograph or short video is useful when a fault appears only briefly. Keep the record factual; “ran for two minutes after the cycle ended” is more useful than “seems broken.”
If the first safe check does not explain the problem, return to the affected-versus-unaffected comparison. Check whether the issue follows one fixture, one room, one operating mode, or the entire system. This pattern can prevent unnecessary replacements. Do not keep resetting an alarm, breaker, or safety cutout to gather more observations. A stop signal is itself evidence that the owner-level investigation has reached its boundary.
Hand off a useful case
When you contact a professional, provide the model or fixture type, the timeline, the conditions that reproduce the problem, and the checks you have already completed. Ask what the technician plans to measure or inspect before authorizing a major replacement. If the proposed work changes after the inspection, request a clear explanation of the new finding. Keep invoices and part information with your home records. This makes a return visit easier to evaluate.
After any correction, test the original symptom under normal conditions and then check for new leaks, odors, noises, or error indicators. A quiet moment is not proof that an intermittent fault has gone. If you cannot verify the result safely, ask the service provider to demonstrate it. The point of troubleshooting is to narrow the cause and make an informed decision, not to keep working until every component has been disturbed.
Frequently asked questions
Is every drip a cartridge problem?
No. The design and leak location matter. Use the specific faucet's troubleshooting guide.
Should I tighten everything harder?
No. Overtightening can damage seals, threads, and fittings.
Sources & further reading
Manufacturer instructions for your exact model take priority.