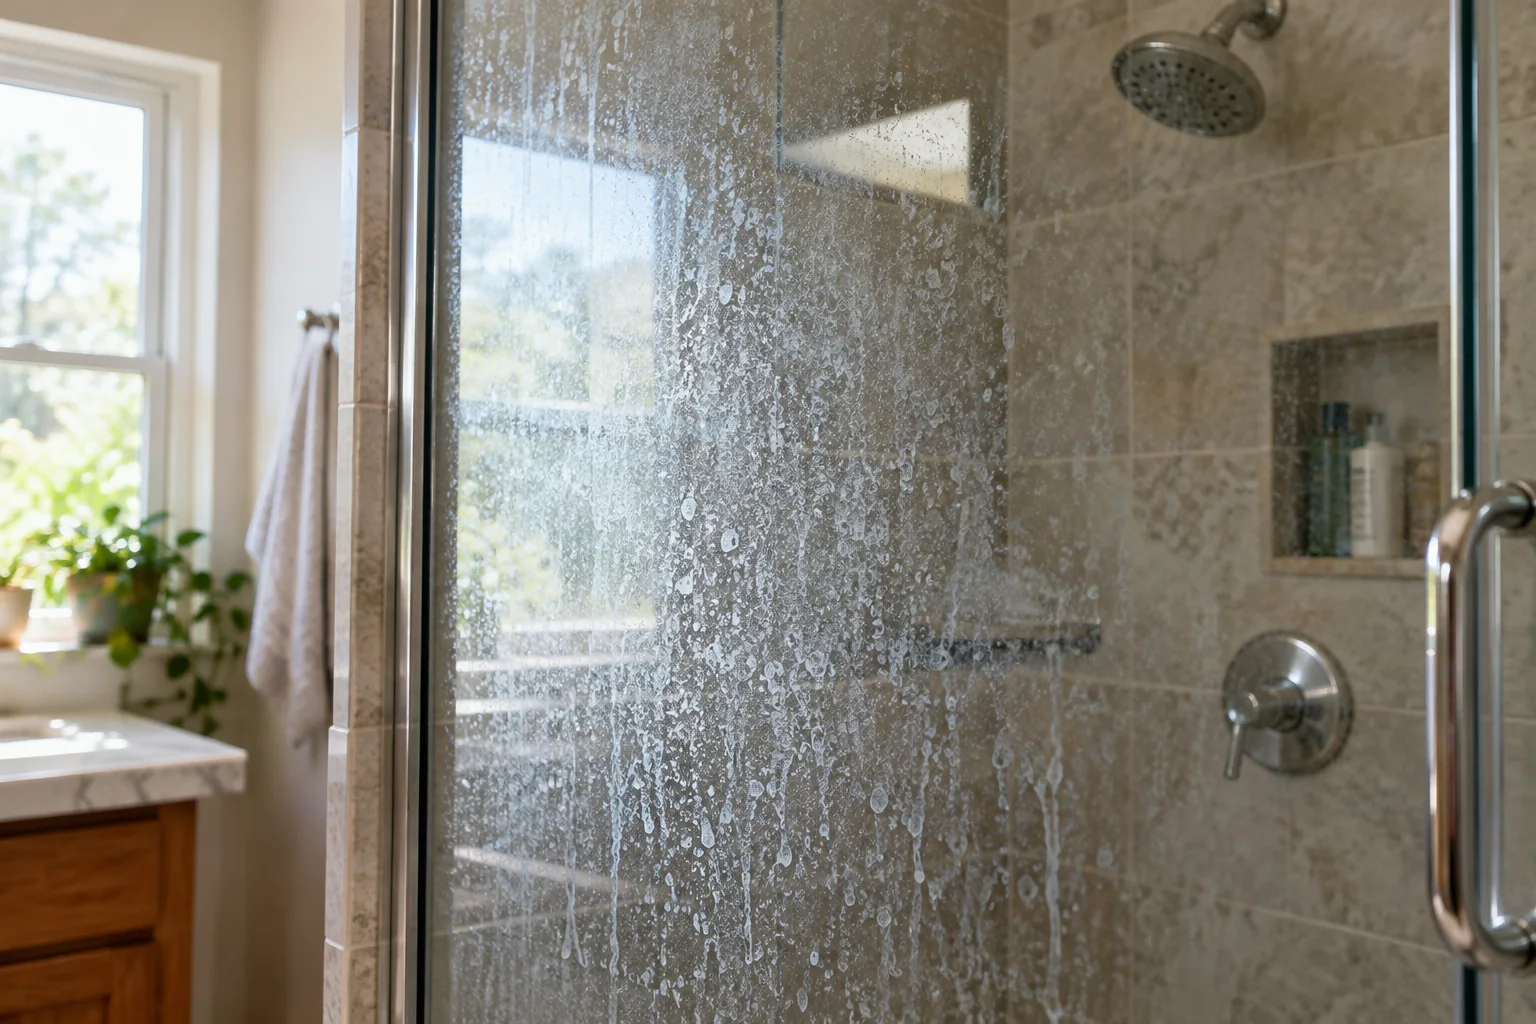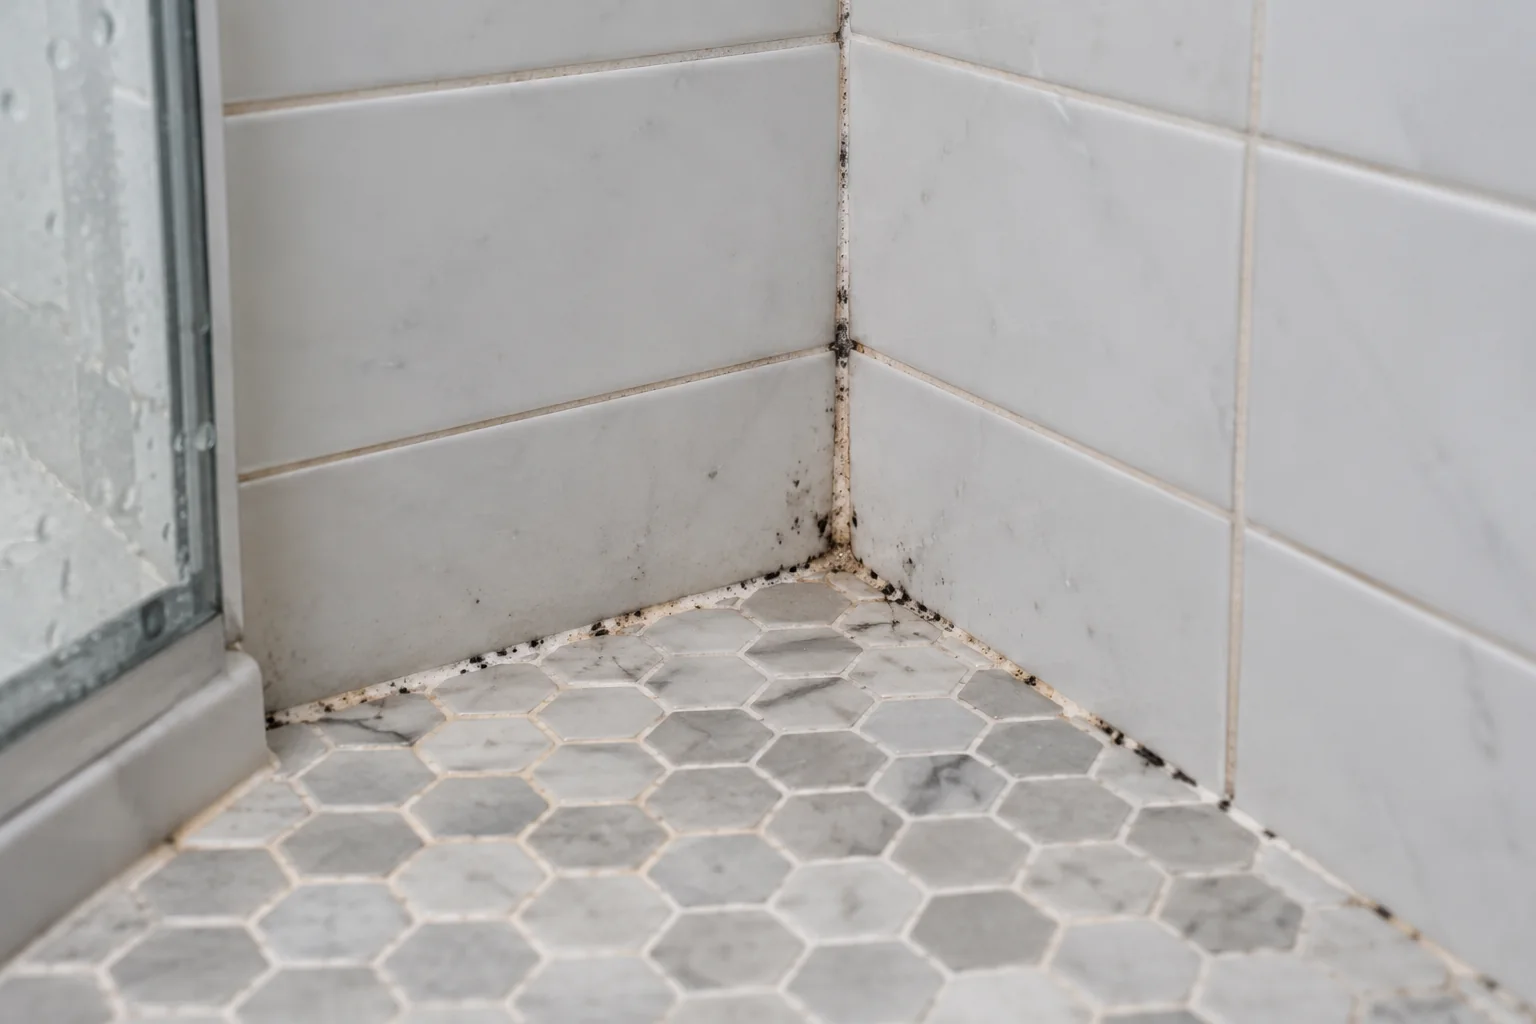
Small surface patches may be cleaned with a compatible detergent and water, then dried thoroughly. Recurring, extensive, or hidden growth needs the moisture source investigated.
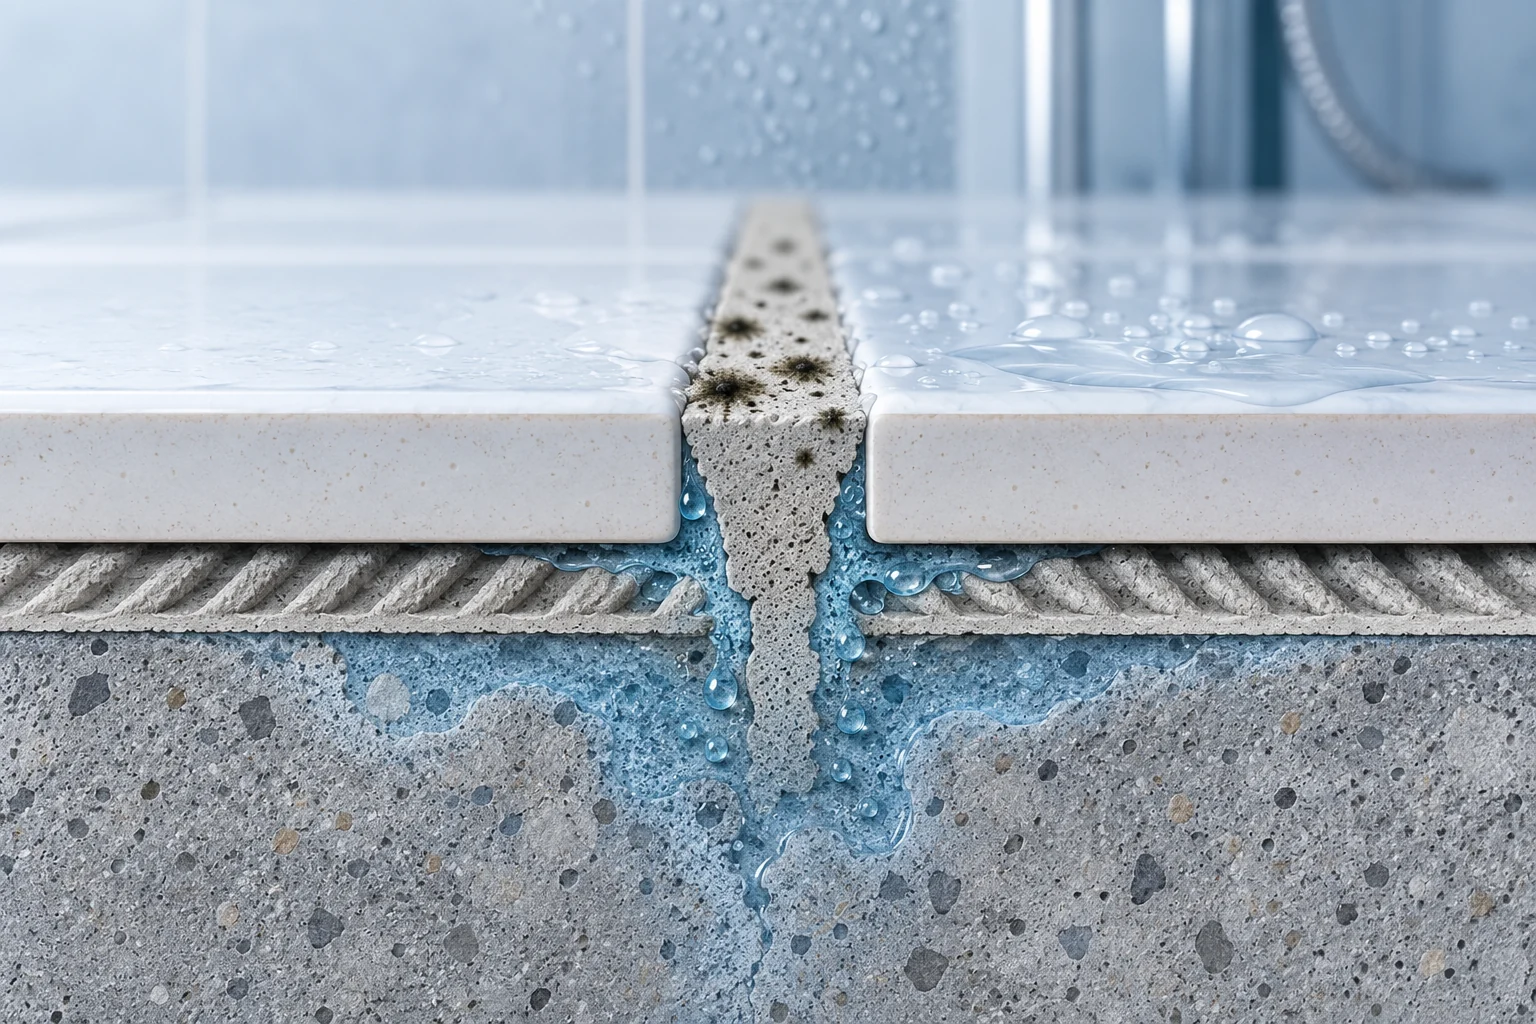
A dark line on grout may be staining, surface growth, or a sign that water is getting behind the finish. Cleaning the visible mark is only one part of the job. Check for failing seals, soft wall material, and leaks before treating it as routine bathroom cleaning.
Work gently, one stage at a time
Decide whether this is a small cleaning job
Assess the whole affected area, including adjacent walls and ceiling. EPA guidance uses about 10 square feet as a point for consulting more extensive remediation guidance; significant water damage or uncertain conditions also change the approach.
People with health concerns should seek appropriate advice before cleanup. Do not disturb extensive mold or open a wall to investigate it yourself. Renters should report recurrent growth and moisture damage to the property manager.
Decide whether the stain is a surface-cleaning task
A few dark marks on intact grout after repeated shower use are different from growth spreading across a ceiling, wet drywall, or a wall softened by a leak. Look at the size of the affected area, whether the grout is solid, and whether adjacent caulk or wall materials are failing. EPA guidance says small mold areas may often be handled by the occupant, but extensive growth, significant water damage, and suspected hidden contamination require a different response. Do not use a small-grout cleaning method to cover a broad moisture problem.
Ask what keeps the area wet. Is water reaching it during every shower? Does the exhaust fan work and vent properly? Is a tap, shower fitting, or wall joint leaking even when no one bathes? If staining returns rapidly after cleaning, the cause may be persistent moisture or deteriorated material. Photograph the area and note when it appears. If there has been sewage contamination or flooding, avoid ordinary household cleanup and seek qualified guidance. People with health concerns should consider advice from a medical professional before handling mold.
Understand the material
Grout is not the same as glazed tile, silicone caulk, natural stone, or painted drywall. A product safe for one may stain, etch, or weaken another. Read the surface manufacturer's care advice where available. If the dark area sits in cracked grout or a soft caulk joint, replacing damaged material after addressing moisture may be more useful than scrubbing repeatedly. Do not paint or caulk over an active moldy, wet surface; EPA advises cleaning and drying first.
Open a window or run appropriate ventilation before starting, and keep other people away from splashes or fumes. Use gloves and any other protective measures directed by the chosen cleaner. A toothbrush used for cleaning should never return to personal use. Protect nearby metal finishes and stone from products that could damage them.
Use one compatible cleaner
Ventilate the room and use the protective equipment recommended by the cleanup guidance and product label. For a small suitable surface, work gently with detergent and water, avoiding abrasive tools that damage grout.
Do not combine cleaners, bleach, acids, or disinfectants. Check compatibility with nearby stone, metal, and sealants. Rinse as directed and dry the area fully rather than leaving it wet.
Choose one compatible method
For hard surfaces, EPA describes scrubbing mold with detergent and water and drying completely. Begin with the least aggressive method compatible with the grout and nearby tile. Test an inconspicuous area, use a small amount, and follow the product label. Do not assume that stronger concentration or a longer dwell time will clean better; it may damage the finish or create unnecessary exposure. Work in small sections so you can control where liquid goes and can rinse or wipe as directed.
Never mix bleach with another cleaner, disinfectant, acid, or ammonia-containing product. CDC warns that mixing disinfectants and cleaners can release dangerous vapors. If a previous product was used on the surface, follow its rinse instructions and allow the area to clear before considering a different method. Do not combine two products in a bucket or spray one over the other. Keep original containers labeled and out of reach of children and pets.
Clean without spreading the problem
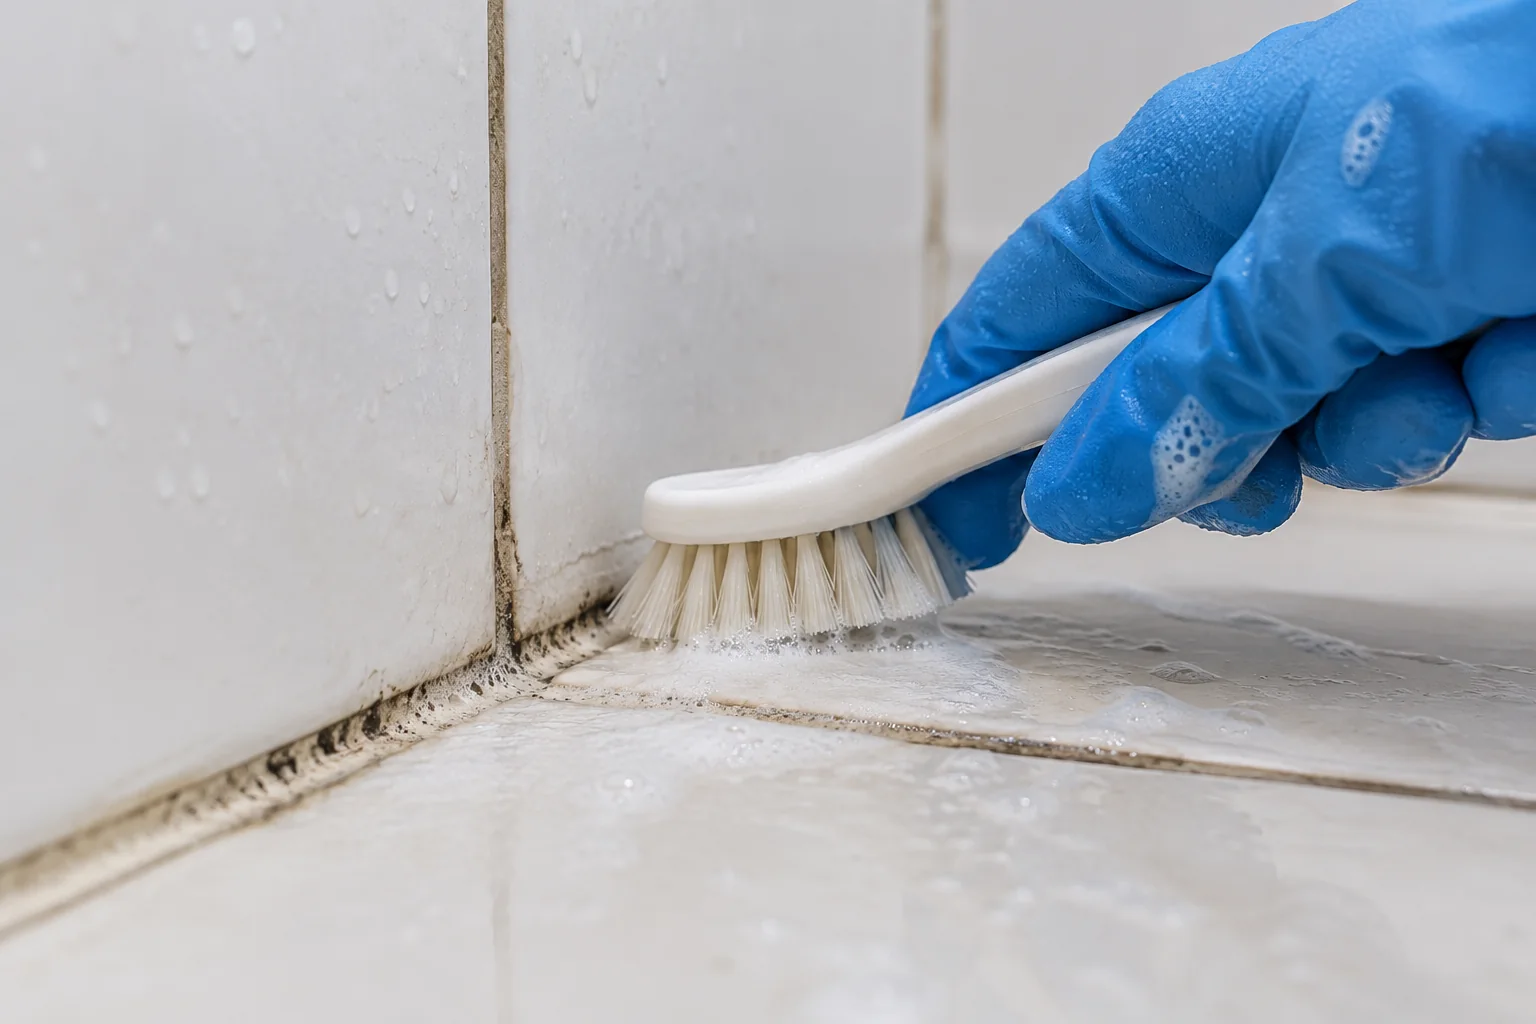
Avoid dry brushing that can scatter material into the room. Use the selected cleaner as directed, gently work the grout surface, and wipe away loosened material. Change cloths when they become dirty rather than wiping the same residue across a larger area. Rinse if the label requires it, then dry the area. A wet surface can make discoloration hard to judge; inspect again after it has dried. Do not run a fan directly across a visibly contaminated area if that would blow dust or debris through the bathroom.
If the mark does not come away, do not automatically escalate to scraping or grinding. Surface discoloration can persist after cleaning, and damaged grout may require repair. Grinding out grout creates dust and may affect waterproofing; that is a different project. If the substrate behind the tile is soft or there is a musty smell from a wall cavity, stop and have the moisture source assessed.
Separate staining from material failure
A remaining stain does not by itself prove that more aggressive chemicals are needed. Crumbling grout, loose tile, or mold embedded in failed sealant can require replacement and investigation.
Do not cover a damp problem with fresh caulk. A competent repair should address the water path and the condition of the backing material, not just the surface appearance.
Tell staining from material failure
After drying, check whether the grout remains firm and continuous. Small hairline cracks, missing sections, or a joint that crumbles under light touch can allow water where it should not go. Caulk at changes of plane behaves differently from grout and may need replacement if it has separated or hardened. Cleaning cannot restore a failed seal. Before any regrouting or recaulking, make sure the underlying area is dry and the leak source has been addressed.
Do not mistake a white mineral deposit or soap residue for mold simply because it sits in a damp bathroom. Observe color, texture, location, and whether it returns after the surface dries. An uncertain mark near extensive water damage is a reason for assessment rather than repeated chemical treatment. If you are renting, report damaged grout and suspected leaks to the responsible party; a hidden moisture problem may involve parts of the building you cannot inspect.
Verify more than the appearance
A successful cleaning leaves the surface dry, intact, and without continuing moisture. Watch the same joint over the next several showers. Does it dry between uses? Does water continue to seep from a crack? Does the stain return in the same exact spot? Document the pattern. A stain that reappears quickly may indicate that the moisture source was not resolved. In that case, more vigorous scrubbing is unlikely to be the durable answer.
If a professional repairs the bathroom, ask what moisture path was found, which materials were replaced, and when the shower can be used again. Keep photos before and after. A cosmetic white grout line is not sufficient evidence that the wall behind it is dry.
Reduce repeated wetting
Use the bathroom's ventilation, wipe standing water from accessible surfaces, and repair dripping fittings. Note whether growth returns quickly in the same spot. Recurrence is a reason to reassess moisture, not merely repeat stronger cleaning.
Reduce repeated wetting
Use the bathroom's ventilation during and after bathing according to the fan or building guidance. Wipe or squeegee frequently wet surfaces if that is practical. Keep shower curtains or doors arranged so water stays in the designed wet area. Check that towels dry rather than remaining piled against tile. These habits reduce the time grout stays wet, but they do not replace repair of a leak, failed joint, or ineffective ventilation system.
Clean soap film before it becomes thick. A light routine with a compatible product is gentler on grout than an occasional aggressive scrub. Avoid storing many bottles on a ledge where water cannot drain. If a fan is loud, does not draw air, or vents into an unintended space, have it assessed rather than assuming it is working because it makes noise. Persistent condensation on walls and ceilings is useful evidence.
Escalate when the pattern changes
Seek qualified help if the affected area grows, returns soon after drying, follows a leak, involves porous wall material, or comes with a soft or discolored substrate. Tell the professional what products were used and when, and whether there has been prior flooding. Do not conceal the area with paint, adhesive film, or new caulk before inspection. That can hide the visible clue while moisture continues behind the surface.
The practical endpoint is not perfectly white grout at any cost. It is a stable, cleanable surface with controlled moisture and intact joints. A small surface stain can be addressed carefully; widespread or hidden mold requires a different scope. Keeping that boundary clear protects both the bathroom material and the people using it.
Test the result after the surface is dry
A cleaned surface can look different while it is still wet. Let it dry fully before deciding whether a mark remains, whether the finish has dulled, or whether another pass is needed. Use normal room light and, if useful, a lamp at an angle. If a stain does not respond to the first compatible method, avoid escalating immediately to a stronger chemical. The mark may be mineral damage, worn finish, or material failure rather than removable dirt.
Rinse, dry, and ventilate as the product and surface instructions require. Store the cleaner in its original labeled container, away from food and children. Do not mix leftovers from different products or pour them into an unmarked bottle. If the task involved a removable part, reinstall it only when it is dry and seated as the maker intended. A small cleaning job should not create a leak or leave a slippery residue.
Make the next cleaning easier
Notice why the buildup appeared. Frequent splashes, poor drying, a leak, or an unsuitable cleaner may cause the same problem to return quickly. A short regular wipe can be gentler than repeating aggressive deep cleaning. Choose the routine that the material maker permits, and check it against the household's use. If the area stays wet because of a plumbing or ventilation defect, fix that cause rather than treating the surface indefinitely.
Keep a note of the product used, dilution if specified, contact time, and whether the finish reacted. This is particularly useful in a shared household where someone may reach for a different cleaner next time. The goal is a clean surface that remains intact. Stop when the material itself needs repair or when a hidden moisture issue is suspected.
Quick recap
- Decide whether this is a small cleaning job.
- Use one compatible cleaner.
- Separate staining from material failure.
- Reduce repeated wetting.
Frequently asked questions
Is bleach always required?
No. Choose a method appropriate to the material and the cleanup guidance; more chemical strength is not a substitute for drying and moisture control.
Why does it return?
Persistent dampness, poor ventilation, or a leak can keep the conditions favorable for growth.
Sources & further reading
Manufacturer instructions for your exact model take priority.