Clean accessible residue traps and run the manufacturer's cleaning cycle with an approved product. Persistent drain odors or standing water need separate troubleshooting.
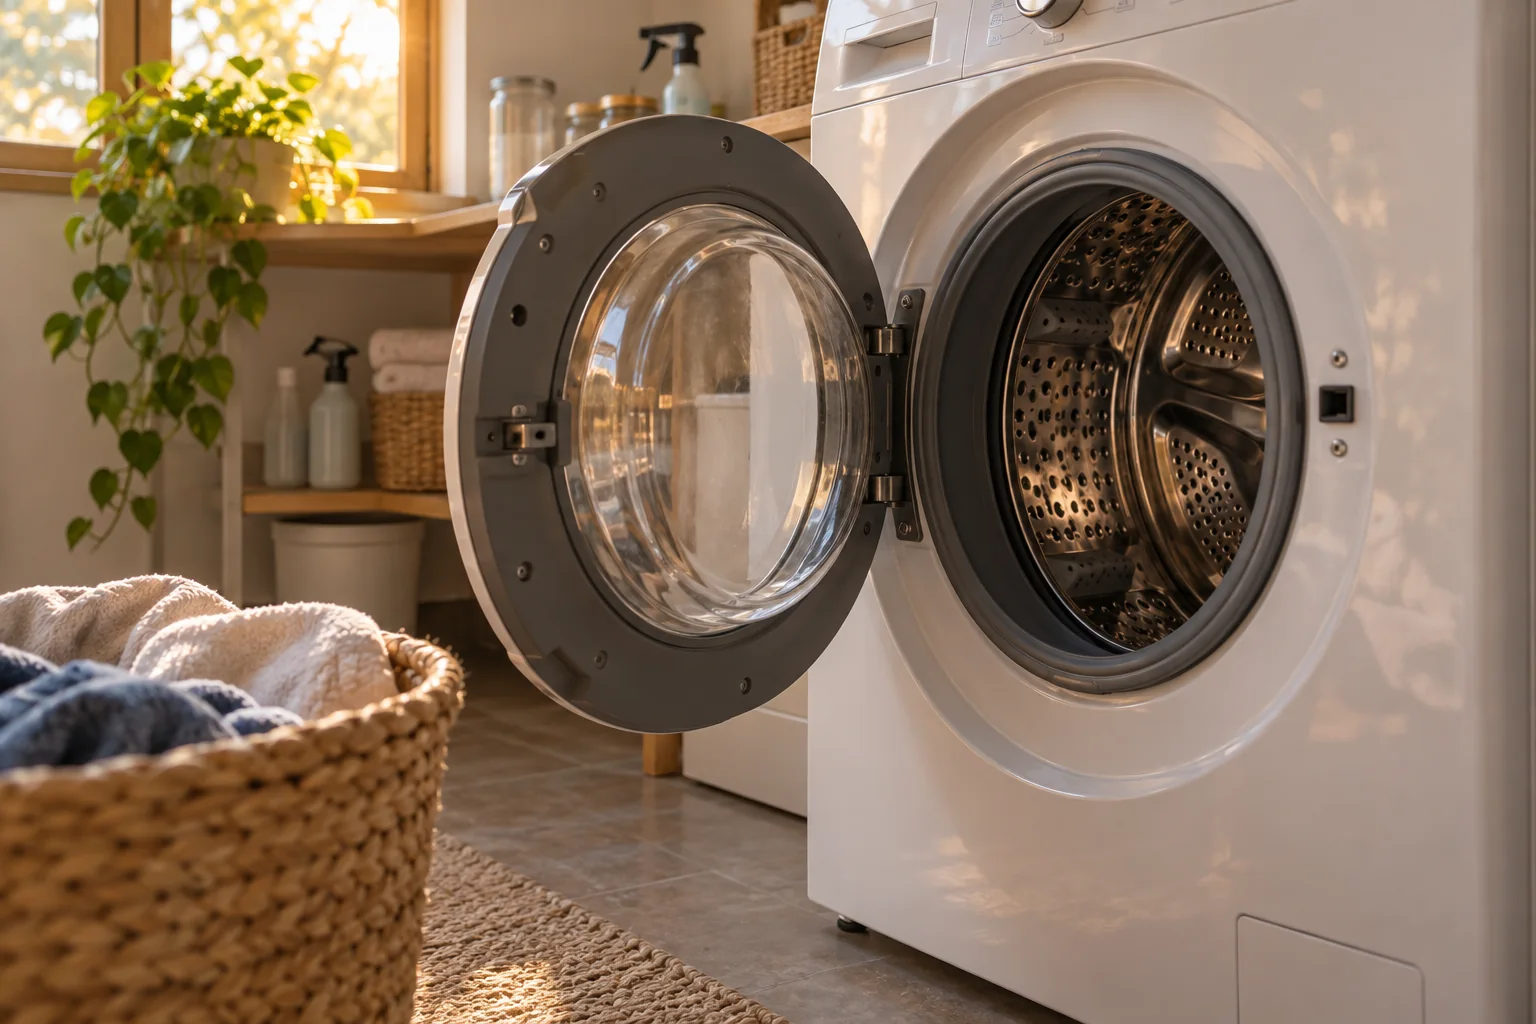
A fresh-smelling drum does not guarantee the dispenser or door seal is clean. Detergent buildup and trapped moisture can remain in places the wash water does not clear well. Start with the model manual so you do not damage a seal or open the wrong access point.
Work gently, one stage at a time
Empty and inspect the machine
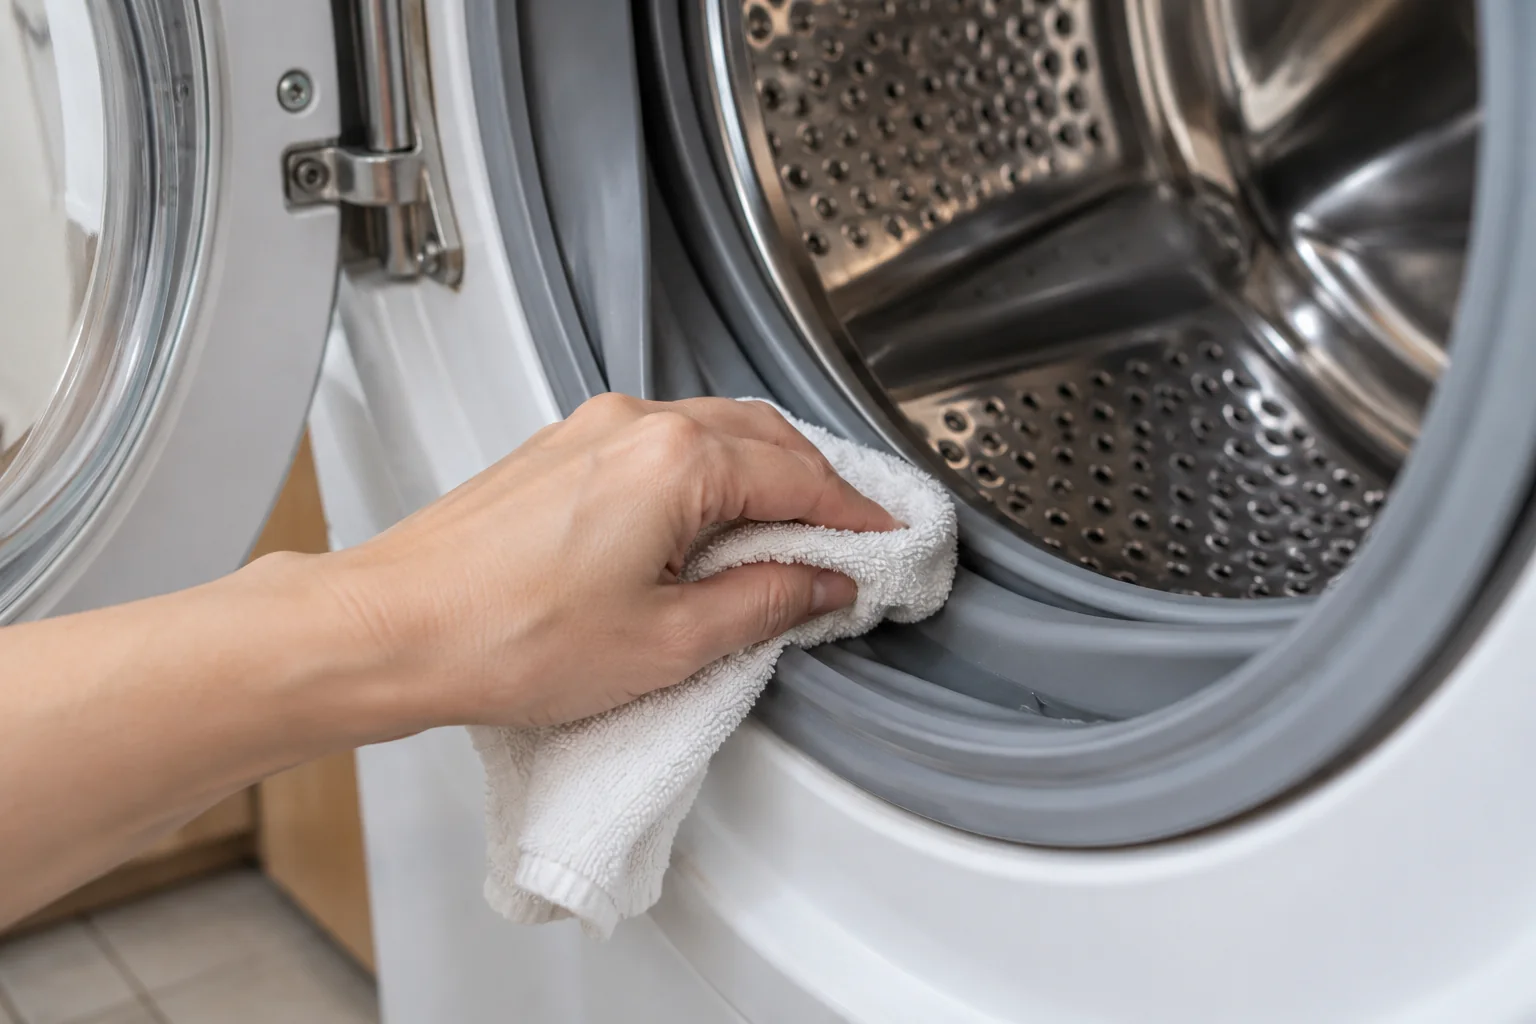
Remove laundry and check visible folds of the door seal for small items and residue. Use the manual's cleaning method for the gasket and dispenser. Do not pull seals away from their mountings.
If the detergent drawer is designed to be removed, release it as instructed, clean it, and dry it before refitting. Keep water away from controls and electrical openings.
Identify where the odor begins
A stale smell may come from the drum, door gasket, detergent drawer, drain area, or even a nearby floor drain. Empty the machine and smell each user-accessible area without putting your face into an opening that may contain cleaner residue. Look for lint, pooled water, detergent buildup, or a small garment trapped in the door seal. Take a photo before cleaning if a recurring deposit is visible. The location matters: a clean drum will not solve an odor caused by a blocked drain or a damp laundry-room wall.
Check the manual for removable parts intended for routine owner care. Many machines have a detergent drawer that can be taken out and washed, but the release method differs. Some have a user-accessible pump filter with a specific draining procedure; others do not. Do not open a service panel because a generic video shows one. A filter can release a significant amount of water. Prepare a tray and towels only after confirming the model's instructions and the safe sequence.
Look at the room and the laundry habits
A washing machine can smell musty if wet loads sit inside for hours or the door remains sealed while the interior is damp. Remove finished laundry promptly and let the appliance dry in a way the maker recommends. Check whether the laundry room itself has a damp odor, a leaking hose, or a clogged floor drain. If the smell comes from a drain or sewage backup, that is not a drum-cleaning problem. Stop using the appliance and arrange appropriate plumbing help if water is backing up or overflowing.
Use the detergent amount specified for the product, water conditions, and load. More is not automatically cleaner; excess can leave residue. Review whether fabric softener is being used beyond its dispenser guidance. A machine repeatedly running only cool, short cycles may also accumulate residue, though any cleaning cycle must follow the maker's recommendations.
Run the correct cleaning cycle
Select the designated cleaning program if the machine has one. Use only the approved dose of a cleaner specified for that purpose, with no laundry in the drum.
Do not combine a cleaning tablet with bleach, vinegar, or another product. Complete the cycle and follow any required rinse step. A hot wash chosen at random is not equivalent to the model's maintenance instructions.
Run the designed maintenance program
Use the washer's tub-clean or maintenance cycle if it has one, following the manual for whether to add a designated product. Do not add bleach, vinegar, and a commercial cleaner together. CDC guidance warns against mixing bleach or disinfectants with other cleaners. A cleaner sold for washing machines should still be used only as its label and the appliance maker allow. Check whether the cycle needs an empty drum, a particular water temperature, or a later rinse. Avoid interrupting it to inspect the machine while hot or full.
If the model has no dedicated cleaning cycle, the manual may describe an alternative. Follow that rather than selecting the hottest program by guesswork. Keep children and pets away from an open or running appliance. Afterward, inspect the drum and gasket when safe and dry any accessible moisture. A cleaning program can loosen residue; if a strong odor or visible deposits remain, examine the user-serviceable areas rather than repeating chemicals several times in one day.
Clean removable parts gently
Wash a removable detergent drawer in a suitable sink using a compatible cleaner and a soft brush if the maker permits it. Rinse and dry it before reinstalling. Wipe accessible gasket folds carefully without stretching or tearing them. Do not dig behind the seal with a sharp object. If a small item is trapped where it cannot be reached safely, arrange service. Check the door glass and rim for residue that can be wiped away. Use a separate cloth for the machine and launder or dispose of it appropriately afterward.
Do not pour water into openings that the manual does not identify for cleaning. Moisture in controls or electrical areas can create a new fault. If a part is cracked, loose, or moldy through a porous material, cleaning may not restore it. Ask the maker or technician whether replacement is appropriate.
Check user-serviceable areas
Some machines have an accessible pump filter; others do not. Only clean one if the manual identifies it as a user-maintenance task. Follow its isolation, cooling, and draining instructions to avoid releasing a large quantity of water.
If water remains in the drum, the machine will not drain, or a sewer-like smell persists, arrange appliance or plumbing diagnosis rather than adding more fragrance.
Check the parts the owner is meant to service
If the manual identifies a pump filter, follow its exact draining instructions. Unplugging, waiting, placing a low tray, opening an emergency drain hose, and replacing a cap may be required in a particular order. Never assume a filter can be opened without water release. Inspect for coins, lint, or small objects only within the user-accessible area. Refit the seal and cover exactly as instructed. Run a short test while watching for leaks.
Check the inlet and drain hoses from a visible position. A kinked drain hose, poor installation height, or leaking connection can affect drainage and odor. Do not disconnect pressurized water lines or pull the machine across the floor alone. If a hose shows bulging, cracking, or leakage, stop use and arrange a suitable replacement. A persistent sewage smell or backup may call for a plumber rather than an appliance cleaner.
Test whether the odor is actually gone
After the cleaning and a normal load, smell the drum, gasket, and laundry. A perfume-like cleaner scent can mask an underlying musty smell for a short time. Check again after the machine has been closed overnight. If odor returns quickly, look for a recurring wet area, a drainage fault, or residue in a part you could not reach. Keep a note of the products and cycles used so a technician does not repeat an incompatible treatment.
If clothing itself smells after washing, consider whether loads are too dense, detergent is overdosed, or laundry sat wet before or after the cycle. Test with one ordinary load at the recommended settings. Do not change five variables at once; you want to know which habit made a difference.
Change the between-load routine
Measure detergent for the load, water conditions, and product concentration. Too much can leave residue. Remove finished laundry promptly and allow approved ventilation between uses when safe around children and pets.
Use the maintenance frequency in the manual. Keep a reminder tied to that schedule and inspect the gasket and drawer as part of the same routine.
Make drying part of every load
Remove clothes promptly when the cycle ends. Wipe standing water from a gasket fold if the manual permits, and leave the door and drawer open only as the maker recommends and only where children and pets cannot enter or be trapped. A machine in a small closet may need airflow around it; follow installation clearances. If the room has recurring condensation, address that environmental moisture rather than relying on fragrance products.
Use a measured dose of detergent and clean the dispenser at a practical interval based on what you observe. Mark the maker's recommended maintenance cycle on a calendar. If the machine handles heavily soiled loads or sits unused for long periods, inspect more often. A routine should prevent residue without exposing the seals or household to unnecessary chemicals.
Know when cleaning is not the repair
A burning smell, leak, electrical fault, sewage backup, or drain pump that cannot complete a cycle is not solved by another cleaning tablet. Stop use and arrange qualified service. If the machine remains smelly despite correct owner-level cleaning, provide the model number, photos of any deposits, the products used, and the cycles tried. Ask the technician to assess drainage and inaccessible components. Do not dismantle a tub or control panel to chase an odor.
A clean washer should leave laundry fresh without a strong masking scent, drain correctly, and dry between uses. The most useful sequence is to identify the odor source, follow the model's cleaning method, inspect only serviceable parts, and change the damp habits that let residue return. This avoids turning a simple maintenance task into a series of incompatible chemical experiments.
Test the result after the surface is dry
A cleaned surface can look different while it is still wet. Let it dry fully before deciding whether a mark remains, whether the finish has dulled, or whether another pass is needed. Use normal room light and, if useful, a lamp at an angle. If a stain does not respond to the first compatible method, avoid escalating immediately to a stronger chemical. The mark may be mineral damage, worn finish, or material failure rather than removable dirt.
Rinse, dry, and ventilate as the product and surface instructions require. Store the cleaner in its original labeled container, away from food and children. Do not mix leftovers from different products or pour them into an unmarked bottle. If the task involved a removable part, reinstall it only when it is dry and seated as the maker intended. A small cleaning job should not create a leak or leave a slippery residue.
Make the next cleaning easier
Notice why the buildup appeared. Frequent splashes, poor drying, a leak, or an unsuitable cleaner may cause the same problem to return quickly. A short regular wipe can be gentler than repeating aggressive deep cleaning. Choose the routine that the material maker permits, and check it against the household's use. If the area stays wet because of a plumbing or ventilation defect, fix that cause rather than treating the surface indefinitely.
Keep a note of the product used, dilution if specified, contact time, and whether the finish reacted. This is particularly useful in a shared household where someone may reach for a different cleaner next time. The goal is a clean surface that remains intact. Stop when the material itself needs repair or when a hidden moisture issue is suspected.
Quick recap
- Empty and inspect the machine.
- Run the correct cleaning cycle.
- Check user-serviceable areas.
- Change the between-load routine.
Frequently asked questions
Can I clean every washer with vinegar?
No. Follow the machine manufacturer's guidance on chemical compatibility.
Why does it smell after a cleaning cycle?
Residue may remain elsewhere, or there may be a drainage problem that the cleaning cycle cannot fix.
Sources & further reading
Manufacturer instructions for your exact model take priority.