Use a non-abrasive cleaner approved for your shower glass and nearby materials, follow its dwell time, rinse, and dry. Check for protective coatings before using acidic products.
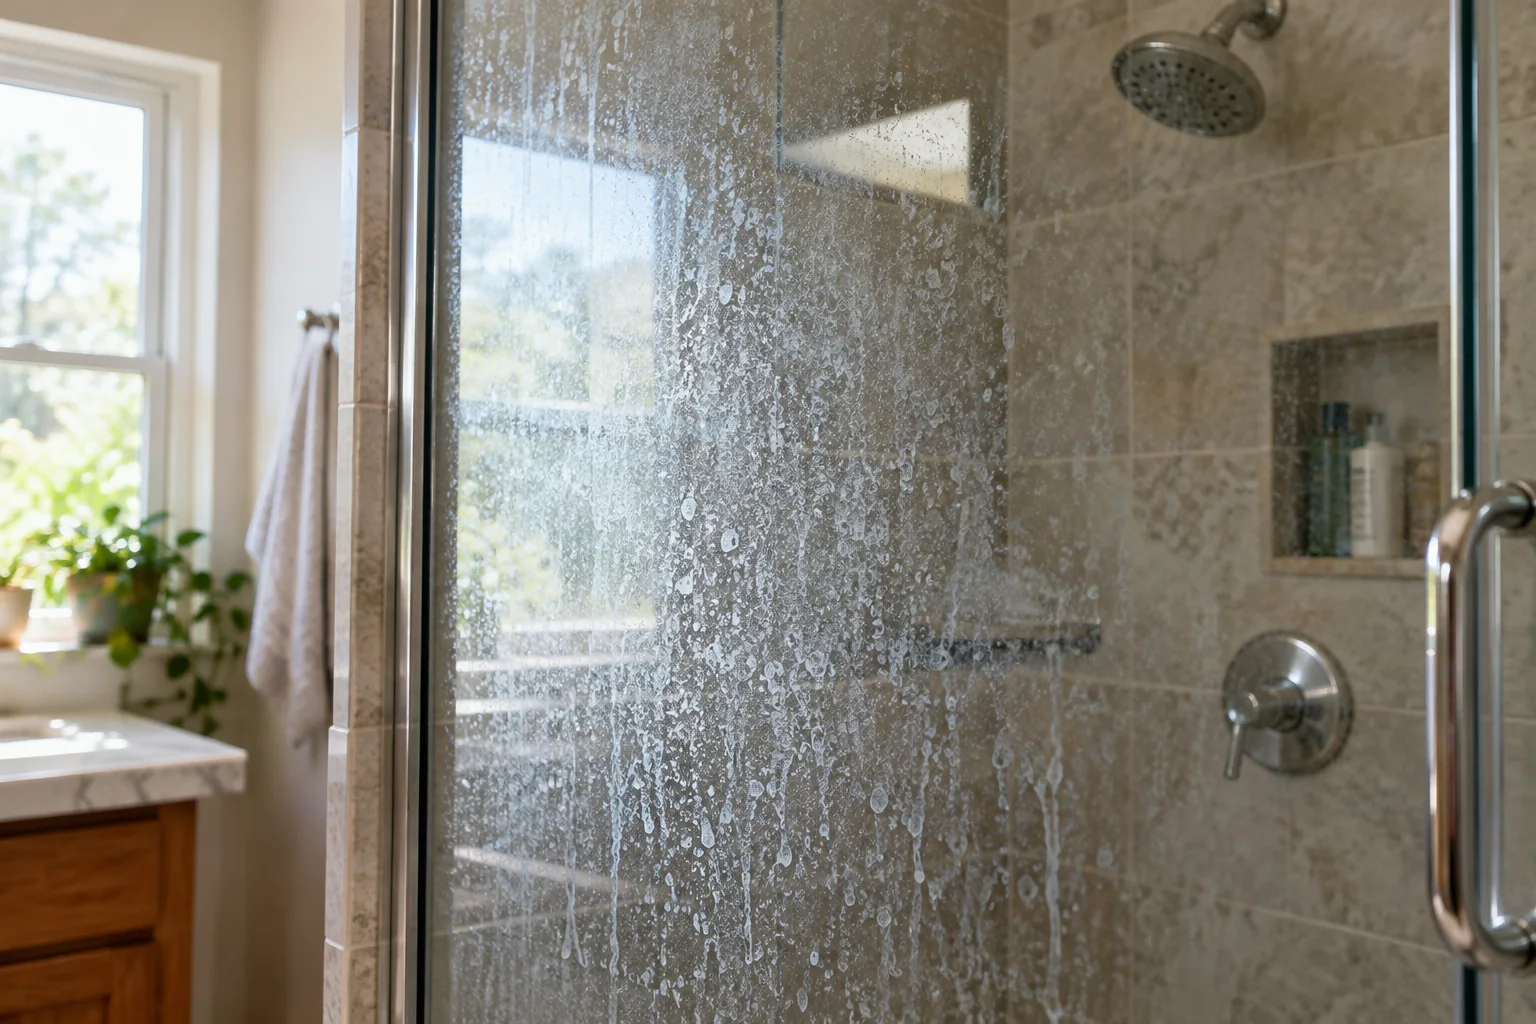
Cloudy shower glass can hold soap residue as well as minerals. It can also be etched, which a cleaner cannot reverse. Work on a small test area first so you can distinguish removable buildup from permanent surface damage.
Work gently, one stage at a time
Identify the materials
Check whether the glass has a factory coating and read its care instructions. Look at the surrounding stone, grout, frames, and seals as well; a product safe for glass may not be safe for all of them.
Use soft cloths or the tools the manufacturer recommends. Avoid metal scrapers, harsh scouring pads, and abrasive powders unless explicitly approved.
Confirm that the surface is actually glass
A shower enclosure may combine tempered glass, coated glass, metal trim, stone tile, grout, and plastic seals. A cleaner that is acceptable on bare glass can damage nearby stone or plated hardware. Check the enclosure maker's care instructions and look for any special coating. If you cannot identify a coating, test the gentlest recommended method on a small inconspicuous area. Avoid using an abrasive pad or scraper simply because the spots look stubborn; scratches are permanent.
Look at the marks in good light. Hard-water deposits often leave pale, irregular spots after droplets evaporate. Soap film can look cloudy and feel slightly greasy. Etching or damage to a coating can resemble mineral haze but will not dissolve with ordinary cleaning. If the mark appears unchanged after a careful small test, stop rather than applying stronger acid repeatedly. Photograph the test area before and after it dries; a wet surface can look clear while residue remains.
Protect everything beside the pane
Place a towel at the bottom to catch drips, but keep liquids out of tracks where they might reach unsealed material. Cover sensitive stone or metal only with a method that will not trap cleaner against it. Use ventilation and protective gloves as directed by the chosen product. Never mix acidic descalers with bleach or other cleaners. If bleach was used earlier, follow the label's rinse and ventilation steps before changing products. Do not pour a chemical into an unmarked spray bottle.
If the door has loose hardware or a cracked pane, stop cleaning and arrange repair. Avoid leaning heavily on a glass panel. A shower screen is not a support rail.
Remove loose soap residue
Rinse and clean with an appropriate mild product first. This exposes the mineral film so you are not treating several layers at once. Work in sections and keep the floor safe from slippery runoff.
Never apply a second chemical over residue from another cleaner. Rinse thoroughly and follow product directions; household combinations can be dangerous.
Remove soap residue before targeting minerals
A mild, glass-compatible cleaner can remove body-oil and soap film so a mineral treatment reaches the deposit. Work from top to bottom in manageable sections. Use a soft cloth or non-scratching pad approved for the surface, then rinse and dry as directed. If the film lifts, you may not need a stronger product. This first pass also reveals whether the haziness is confined to splash zones or extends beneath a coating.
Do not use steel wool, abrasive powder, or a razor on coated glass unless the manufacturer expressly permits it. A tiny abrasive mark can catch light more visibly than the original spot. Clean door handles and tracks separately with products compatible with their finish. If a gasket is worn or trapped with debris, clean or replace it according to the maker's instructions; a dirty seal can hold water against the pane and frame.
Use a controlled mineral treatment
If spots remain and the glass maker permits a descaler, follow the product label exactly for concentration, contact time, and rinsing. Apply to a small area first. Keep the product off natural stone, grout, and vulnerable metal. Longer dwell time is not automatically better. Set a timer if the label gives a limit so the cleaner does not dry on the surface. Rinse thoroughly and dry with a clean cloth. Do not add another cleaner during this step to “boost” the result.
A small test should reveal improvement without haze, dulling, or roughness. If it does not, the stain may be bonded differently or the surface may be damaged. Repeated aggressive treatment can make the panel worse. At that point, ask the enclosure manufacturer or a specialist about the finish rather than escalating by internet recipe.
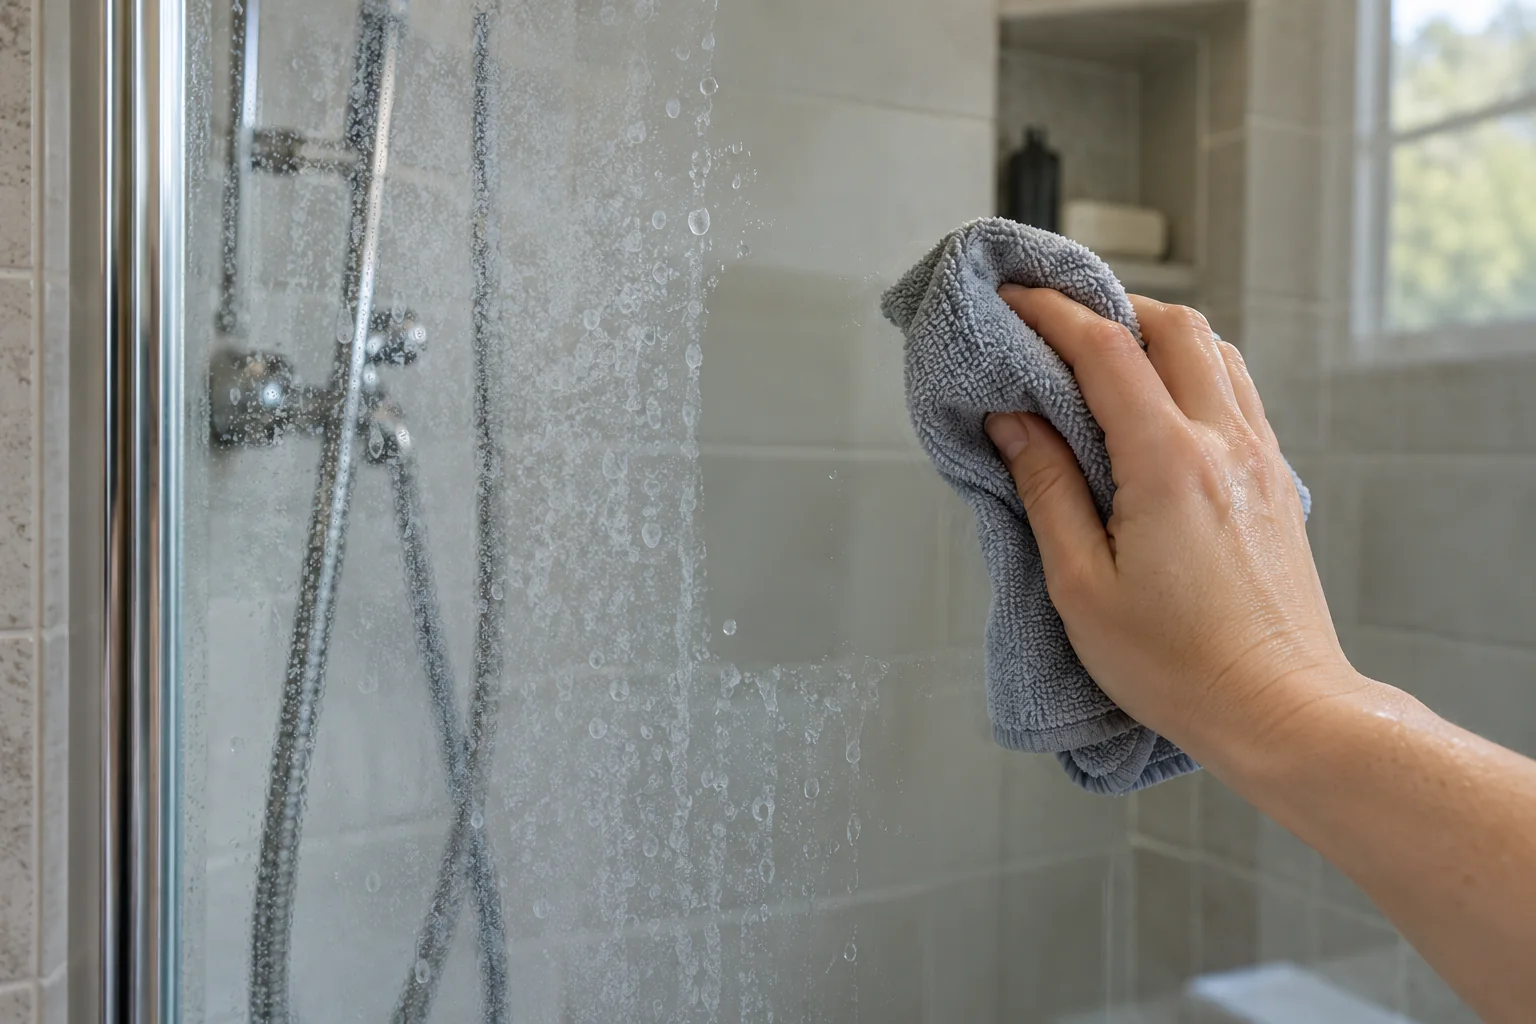
Treat a small area
Apply the approved mineral-deposit cleaner for the stated time. Do not allow it to dry on the glass. Wipe gently, rinse fully, and dry to assess the result.
Repeat only as the label permits. If the glass looks unchanged when dry, stop escalating and ask the glass supplier whether the surface may be etched or the coating damaged.
Judge the result after full drying
Dry the test patch completely, then view it from several angles and under the bathroom's usual light. Mineral spots may vanish while wet and reappear once water evaporates. Compare the cleaned section with an untouched section. If a boundary remains, it may be residue from the cleaner; rinse and dry again as directed. If the glass looks permanently cloudy or scratched, stop. Cleaning cannot reverse etched glass or a failed coating in the way it removes loose scale.
Do not aim for perfect clarity by rubbing harder. The pressure used on a supported pane should be gentle and controlled. If the glass flexes, the hardware shifts, or water reaches behind a seal, the process is too aggressive. A professional may assess whether the panel can be restored or whether replacement is the only option. Request a small demonstration before paying for full-surface treatment.
Maintain the surrounding joints
While the pane is dry, inspect the bottom seal, frame corners, and caulk where they meet tile. A leaking enclosure can leave repeated mineral trails and damage adjacent materials. Do not seal over a wet or failing joint. Identify where water escapes during a normal shower and repair the joint or alignment appropriately. Cleaning the glass without correcting a leak may hide the sign for a week while damage continues.
If you are renting, report loose hardware or leakage rather than changing the enclosure design yourself. Keep a note of any cleaner that reacted poorly with a finish, so it is not used again.
Slow down new buildup
Squeegee water away after use and wipe accessible edges. This reduces the water left to evaporate on the glass. Clean regularly with the recommended maintenance product so deposits do not accumulate into a thick layer.
Change the drying pattern
A squeegee after showering removes droplets before they can evaporate and leave new mineral rings. Work gently and keep the blade clean so grit does not scratch the pane. A soft cloth can dry edges and tracks. This routine is often more effective than buying a harsher cleaner. If the enclosure stays wet for hours, improve ventilation according to the room's setup. Check whether a showerhead sprays directly at a vulnerable seal or keeps one panel constantly wet.
For routine cleaning, use a compatible mild product at a frequency that prevents buildup. Avoid applying protective coatings without checking compatibility with existing coated glass and the maker's warranty. A product promising “waterproof glass” still requires maintenance and may need careful application.
Know when water treatment is a separate decision
Persistent spotting throughout the home may reflect local water hardness, but a shower pane alone is not enough to justify a whole-house treatment purchase. If considering one, obtain a reliable water-quality result and evaluate maintenance, cost, and plumbing requirements. The immediate glass task remains simple: identify the surface, remove soap film, use only a compatible mineral treatment, rinse and dry, then reduce standing droplets.
A clean pane should look better after it is dry, not only while covered in water. If the remaining cloudiness is damage, say so and stop cleaning. Preserving the glass and surrounding finishes matters more than erasing every mark with an unsuitable chemical.
A useful way to prevent the next round of trial and error is to keep a tiny test record. Write down the glass or coating brand if known, the cleaner, how long it contacted the surface, whether it was rinsed, and what the pane looked like after drying. If a mineral product worked but left one stubborn corner, compare whether that corner is actually glass or a different insert or seal. Do not repeat the treatment on a new material without checking compatibility. If the pane is older and permanently etched, a specialist may be able to assess options, but be wary of any promise to restore every coating or scratch. Replacement may be the only way to regain perfect clarity, and that decision should weigh cost against how much the mark affects use. For many homes, a gentle cleaning and daily drying routine gives a satisfactory result without risking the entire enclosure.
Test the result after the surface is dry
A cleaned surface can look different while it is still wet. Let it dry fully before deciding whether a mark remains, whether the finish has dulled, or whether another pass is needed. Use normal room light and, if useful, a lamp at an angle. If a stain does not respond to the first compatible method, avoid escalating immediately to a stronger chemical. The mark may be mineral damage, worn finish, or material failure rather than removable dirt.
Rinse, dry, and ventilate as the product and surface instructions require. Store the cleaner in its original labeled container, away from food and children. Do not mix leftovers from different products or pour them into an unmarked bottle. If the task involved a removable part, reinstall it only when it is dry and seated as the maker intended. A small cleaning job should not create a leak or leave a slippery residue.
Make the next cleaning easier
Notice why the buildup appeared. Frequent splashes, poor drying, a leak, or an unsuitable cleaner may cause the same problem to return quickly. A short regular wipe can be gentler than repeating aggressive deep cleaning. Choose the routine that the material maker permits, and check it against the household's use. If the area stays wet because of a plumbing or ventilation defect, fix that cause rather than treating the surface indefinitely.
Keep a note of the product used, dilution if specified, contact time, and whether the finish reacted. This is particularly useful in a shared household where someone may reach for a different cleaner next time. The goal is a clean surface that remains intact. Stop when the material itself needs repair or when a hidden moisture issue is suspected.
Quick recap
- Identify the materials.
- Remove loose soap residue.
- Treat a small area.
- Slow down new buildup.
Frequently asked questions
Is vinegar safe on every shower?
No. Coatings, stone, grout, and metal finishes may require a different method.
Why will some cloudy areas not clear?
They may be etched or have damaged coatings rather than removable deposits.
Sources & further reading
Manufacturer instructions for your exact model take priority.