Identify the cabinet finish, test a mild cleaner in a hidden spot, and wipe small areas with a barely damp soft cloth. Dry promptly and avoid soaking edges or hardware.
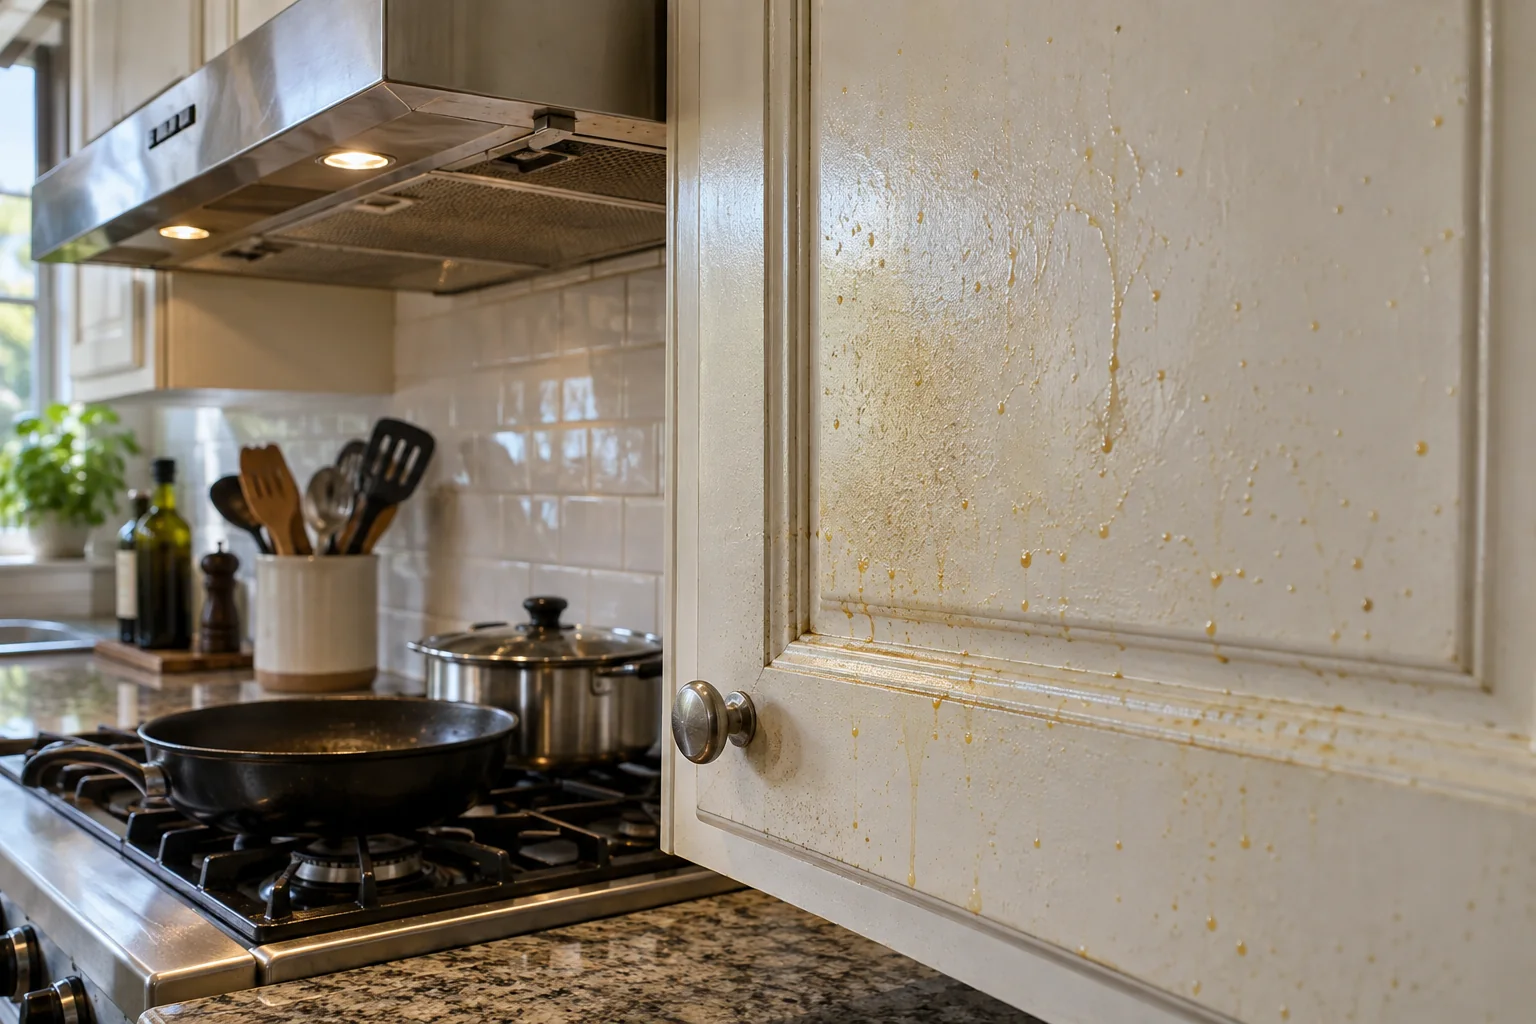
The doors closest to a stove often collect a fine sticky film that attracts dust. The cabinet finish decides what is safe to use; a cleaner that works on laminate may dull paint or damage timber. Work gently and check the surface before increasing cleaning strength.
Work gently, one stage at a time
Identify the finish and prepare
Find the cabinet maker's care guidance if available. Paint, laminate, veneer, and natural wood can need different products. Protect the counter and remove food and fragile items from the work area.
Dust with a soft dry cloth first so grit does not act as an abrasive. Check hinges, edges, and any peeling finish; water can penetrate damaged seams.
Identify the surface under the grease
Kitchen cabinets may be painted wood, laminate, thermofoil, veneer, sealed timber, or an unknown factory finish. A cleaner that is harmless on one can dull, soften, or lift another. Check the cabinet maker's care instructions if available. Look at the edge of a door, the inside face, and a hidden area for clues. If the finish is peeling, swollen, or sticky before cleaning, aggressive wiping can make it worse. The objective is to remove a surface film without dissolving the protective layer.
Take doors and hardware one section at a time. Photograph any damaged finish so you can tell whether cleaning changes it. Protect nearby stone, metal, and electrical outlets from splashes. Lay a towel below the work area, especially under a cabinet over a countertop appliance. Do not spray liquid directly into hinges or seams. A damp cloth gives much better control than saturating a vertical door.
Separate grease from finish failure
Cooking grease often collects near the stove, range hood, and handles. It may feel tacky and gather dust. A finish that has degraded can also feel sticky, even after the grease is removed. Test a small hidden area with the gentlest compatible method and let it dry. If the surface remains tacky, sheds color onto the cloth, or looks dull, stop and identify the finish. Repeated degreaser applications will not repair a failing coating.
Consider the range hood as part of the problem. A filter that is not maintained according to its maker can allow more grease to settle on cabinets. Cleaning the doors while ignoring the cooking source may make the buildup return quickly. Follow the hood instructions for filter care; do not assume every filter is washable.
Test one inconspicuous spot
Use a mild cleaner appropriate to the finish, diluted exactly as its label requires. Dampen a soft cloth rather than spraying liquid directly onto the cabinet.
Wipe a hidden patch and allow it to dry. Look for color transfer, clouding, softening, or a changed sheen. If any appears, stop and ask the cabinet maker or a finish specialist for advice.
Run a small compatibility test
Use a mild cleaning solution allowed for the cabinet material. Apply it to a cloth, not directly to the cabinet, and wipe a small inconspicuous spot. Check whether color transfers, the sheen changes, or the edge begins to swell. Allow the spot to dry fully before judging it. A wet surface can temporarily look darker or glossier. If the test is sound, move to a small visible section. Do not mix household cleaners or add bleach to a degreaser. CDC warns against mixing disinfectants with other products.
Use a soft cloth or sponge that will not scratch the finish. Avoid abrasive pads, strong solvents, or a scraper on unknown cabinetry. Grease that has built up over months may need repeated gentle passes rather than a single harsh one. Fold the cloth to a clean side as it loads with residue. That prevents spreading a gray film across the rest of the door.
Keep water out of vulnerable edges
Cabinet seams, veneer edges, and the area around pulls are vulnerable to moisture. Wring the cloth thoroughly. Work in small sections from top to bottom, then wipe with a second cloth if the product instructions require a rinse. Dry immediately with a clean towel, paying attention to lower edges and hardware. Do not leave cleaner pooled along a panel joint. If the edge is already swollen, stop and consider repair rather than adding more moisture.
Remove handles only if doing so is safe and useful; photograph their orientation and keep fasteners together. A decorative handle may have a finish that requires a different cleaner from the door. Clean it separately according to its material.
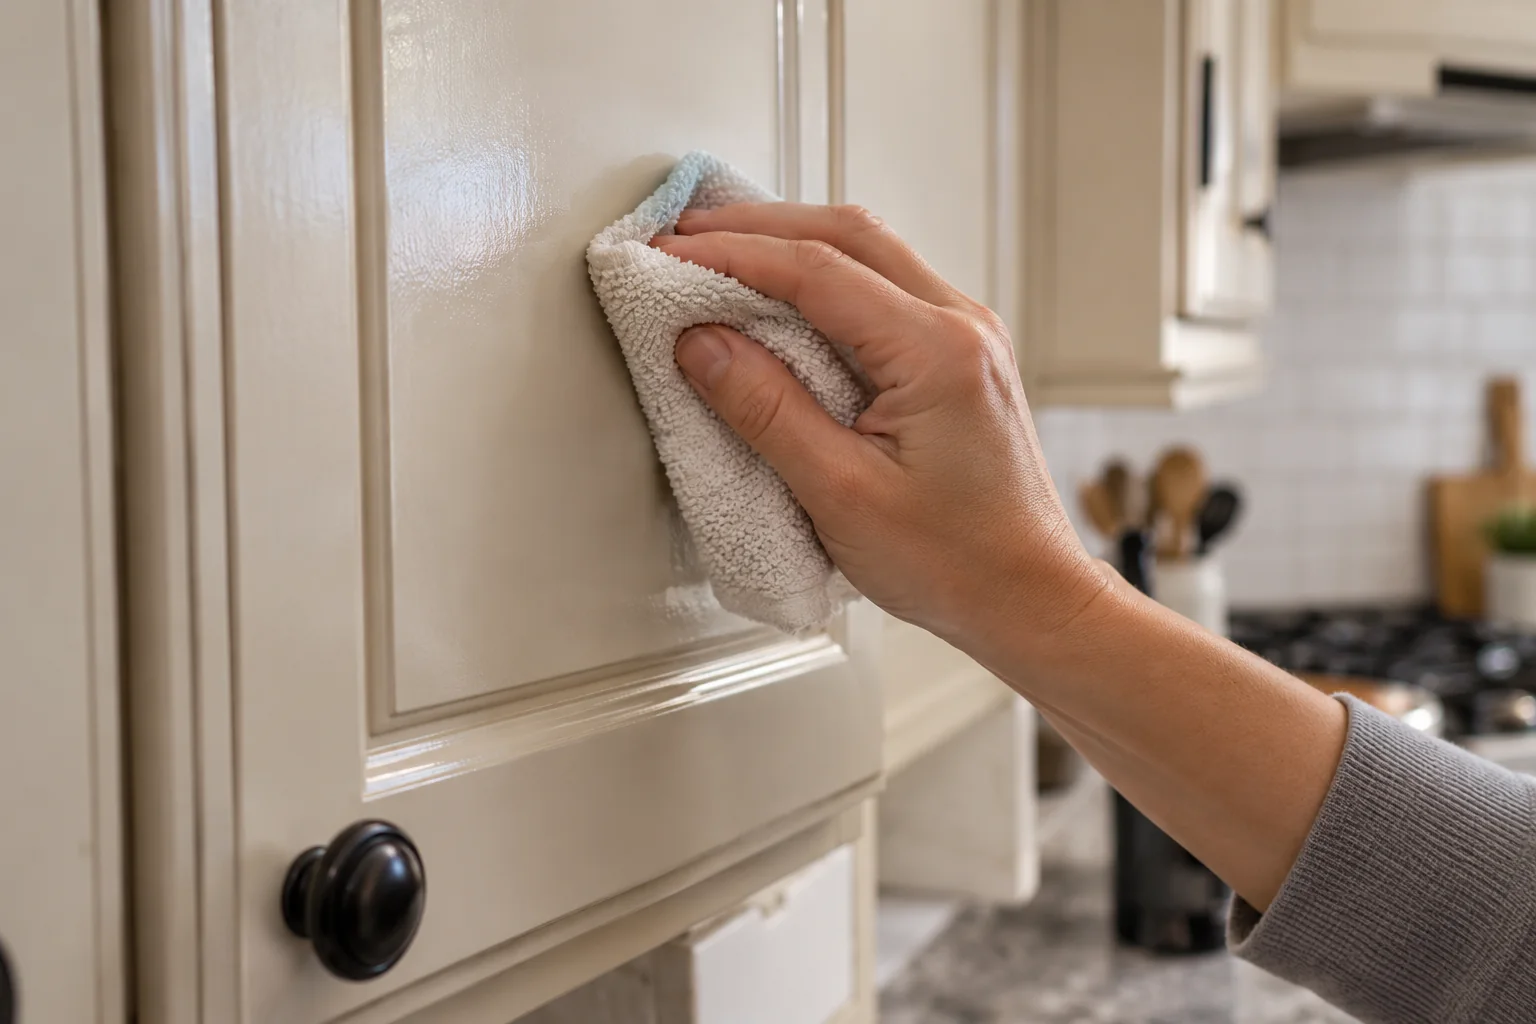
Clean small sections
Work from top to bottom in short areas, using light pressure. Change cloths as they become greasy rather than spreading the film. Pay attention to handles and the lower edge where hands touch the door.
If buildup remains, repeat the safe mild method after checking the finish. Avoid abrasive pads, concentrated degreasers, steam, or excess water unless expressly approved for that cabinet.
Clean in an order that avoids rework
Start above eye level and move downward so loosened grease does not drip onto a section you have already finished. Pay special attention to the handle area, door corners, and the narrow strip beside the cooker. Use a gentle circular motion only where needed; long aggressive scrubbing can wear through paint. If a stubborn spot remains, let the compatible product work for the label's permitted time rather than increasing pressure. Then wipe and dry. Avoid allowing the product to dry on the finish unless the instructions say to do so.
Open cabinet doors to wipe accessible edges, but keep cleaning liquid away from stored food. Move food temporarily if a shelf is being cleaned, and return it only after the surface is dry. If grease has entered a hinge, wipe only what is accessible. Do not flood the mechanism with cleaner; a hinge that binds or leaks dark residue may need separate service.
Evaluate after drying
Look across the doors in daylight and at night. A clean patch beside a dull panel may reveal old wear rather than remaining grease. Feel for tackiness with a clean dry finger after the surface is fully dry. If the film is gone but the sheen varies, stop cleaning and consider whether the finish needs restoration. If color transfers or paint lifts, do not keep wiping. A cabinet refinisher or the maker can advise on the coating.
Check the countertop and floor for drips so no slippery residue remains. Wash or discard cloths according to the cleaning-product instructions, especially if grease has saturated them.
Rinse and dry as directed
If the cleaner requires rinsing, use a separate lightly damp cloth. Dry edges, joints, and hardware promptly. Leave doors open briefly only if it is safe and the maker permits it.
Reduce future buildup by wiping splashes before they harden and using the kitchen ventilation as intended. Repeated sticky film near a hood may signal that its filters need maintenance.
Reduce new buildup near cooking
Use the range hood as directed while cooking and clean its filter on the manufacturer's schedule. Wipe fresh splatters before they harden, using the same compatible mild method you tested. A light regular pass is less risky for a finish than an occasional heavy degreasing session. Keep pans positioned to reduce splashes where practical, and clean the backsplash at the same time so grease does not move back onto cabinet edges.
A cabinet near a cooker can still accumulate a fine film even with a hood. Plan a quick check around handles and lower door corners when you clean the stovetop. If the finish repeatedly becomes sticky, assess whether it is grease or coating deterioration before changing products. A stronger cleaner is not always the answer.
Know when the cabinet needs repair
Swelling, peeling laminate, lifting veneer, exposed particleboard, or a door that no longer closes points to material damage. Cleaning can remove dirt but cannot restore the substrate. Check for a nearby leak or persistent steam exposure. Address the source before refinishing or replacing a panel. If electrical outlets or under-cabinet lighting have been exposed to liquid, stop and seek appropriate help.
A successful cleaning leaves the cabinet dry, smooth, and with its original finish intact. The reliable method is to identify the surface, test a mild compatible product, work in small sections, rinse only as directed, and dry thoroughly. That sequence may take longer than spraying a strong degreaser across the whole kitchen, but it protects the cabinets you are trying to maintain.
If several cabinet doors have different finishes because some were repaired or replaced, test each finish separately. Do not assume the same cleaner is safe across the entire kitchen. Open a door and compare the interior face, which may be less exposed to cooking residue, with the exterior. This helps identify whether a color difference is dirt, sunlight, or an aged coating. If a panel has a soft edge or blistering near the sink, check for a leak before spending time on grease removal. Cleaning cannot reverse swelling caused by water, and repeated damp wiping can make it worse.
Test the result after the surface is dry
A cleaned surface can look different while it is still wet. Let it dry fully before deciding whether a mark remains, whether the finish has dulled, or whether another pass is needed. Use normal room light and, if useful, a lamp at an angle. If a stain does not respond to the first compatible method, avoid escalating immediately to a stronger chemical. The mark may be mineral damage, worn finish, or material failure rather than removable dirt.
Rinse, dry, and ventilate as the product and surface instructions require. Store the cleaner in its original labeled container, away from food and children. Do not mix leftovers from different products or pour them into an unmarked bottle. If the task involved a removable part, reinstall it only when it is dry and seated as the maker intended. A small cleaning job should not create a leak or leave a slippery residue.
Make the next cleaning easier
Notice why the buildup appeared. Frequent splashes, poor drying, a leak, or an unsuitable cleaner may cause the same problem to return quickly. A short regular wipe can be gentler than repeating aggressive deep cleaning. Choose the routine that the material maker permits, and check it against the household's use. If the area stays wet because of a plumbing or ventilation defect, fix that cause rather than treating the surface indefinitely.
Keep a note of the product used, dilution if specified, contact time, and whether the finish reacted. This is particularly useful in a shared household where someone may reach for a different cleaner next time. The goal is a clean surface that remains intact. Stop when the material itself needs repair or when a hidden moisture issue is suspected.
Quick recap
- Identify the finish and prepare.
- Test one inconspicuous spot.
- Clean small sections.
- Rinse and dry as directed.
Frequently asked questions
Can I use vinegar on painted cabinets?
Do not assume so. Follow the paint or cabinet manufacturer's care instructions and test first.
Why did the finish turn cloudy?
The cleaner, water, or rubbing may have affected the finish. Stop cleaning and seek finish-specific advice.
Sources & further reading
Manufacturer instructions for your exact model take priority.